

You can update a Device's main details one field at a time, directly from its Overview tab. Each editable field (Display name, Policies, Device Employee, Tags, and Segment) has its own pencil icon that opens a small dialog to change just that field.
The dialogs are the same on every platform: Apple, Android, AOSP, and Windows.
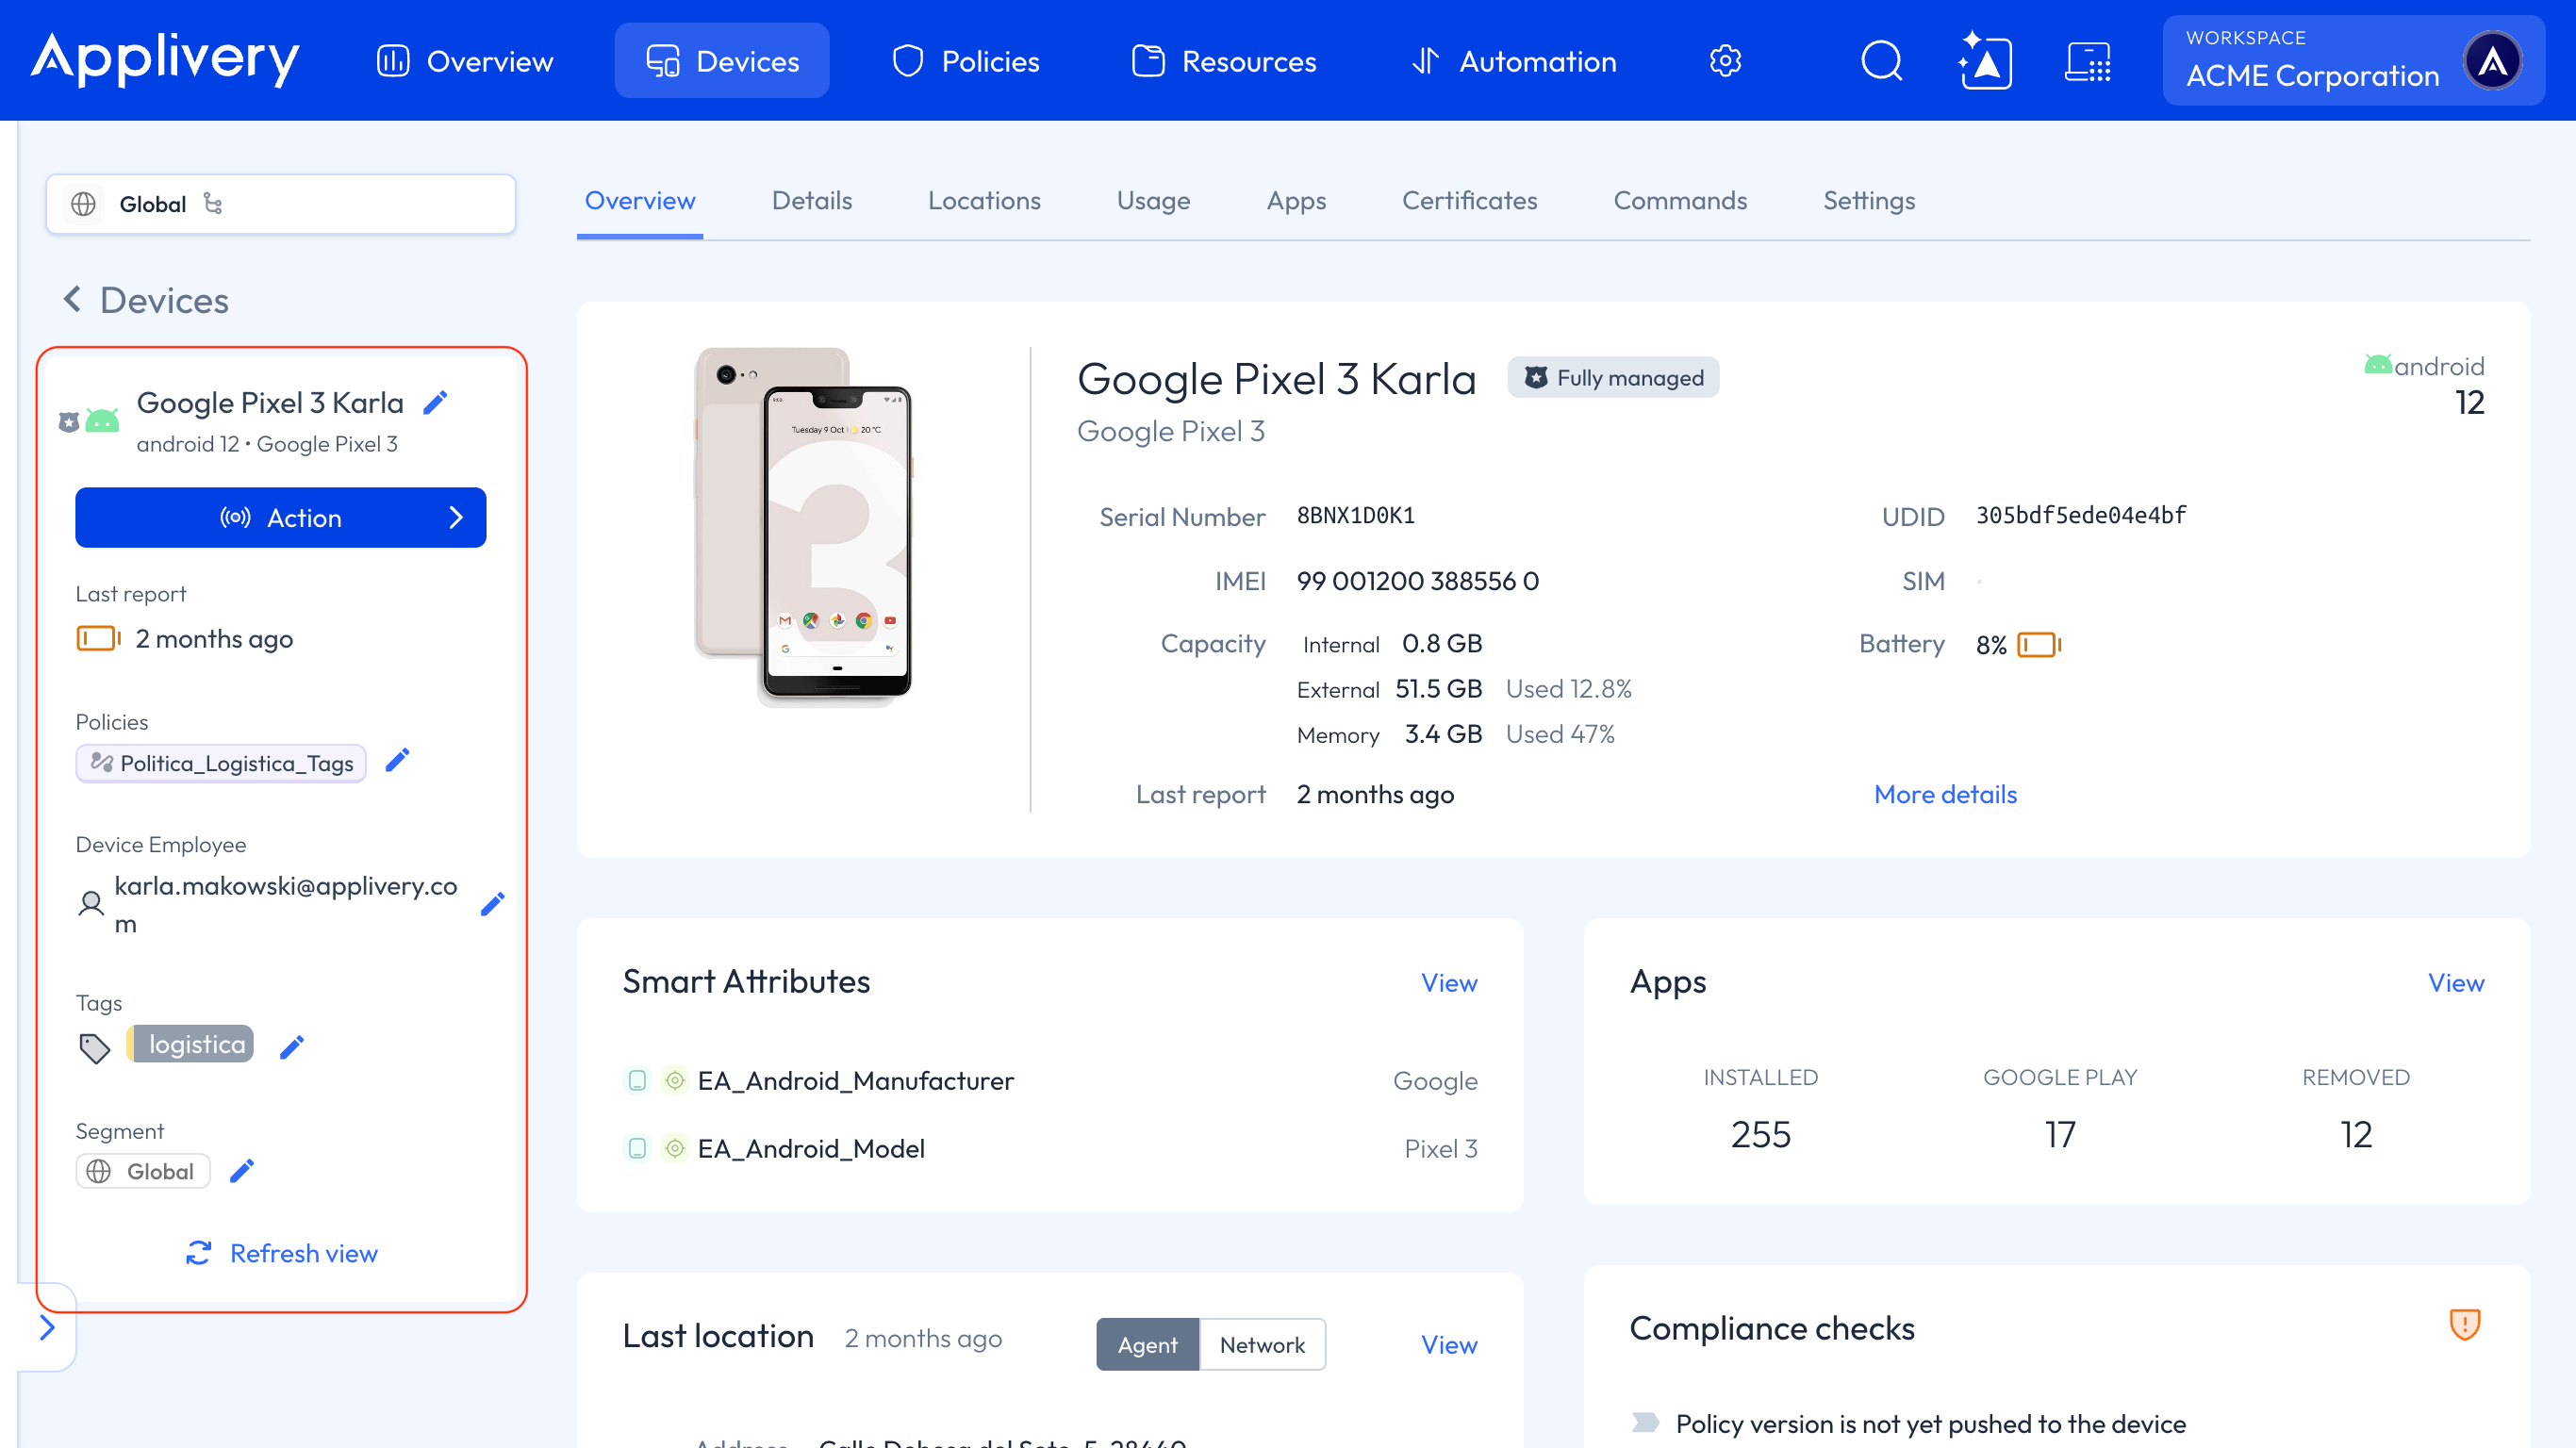
Each dialog saves on its own. Once you click Save (or Move, for Segments), Applivery shows Saved successfully! and the Overview tab reflects the change right away, with no need to save the whole page.
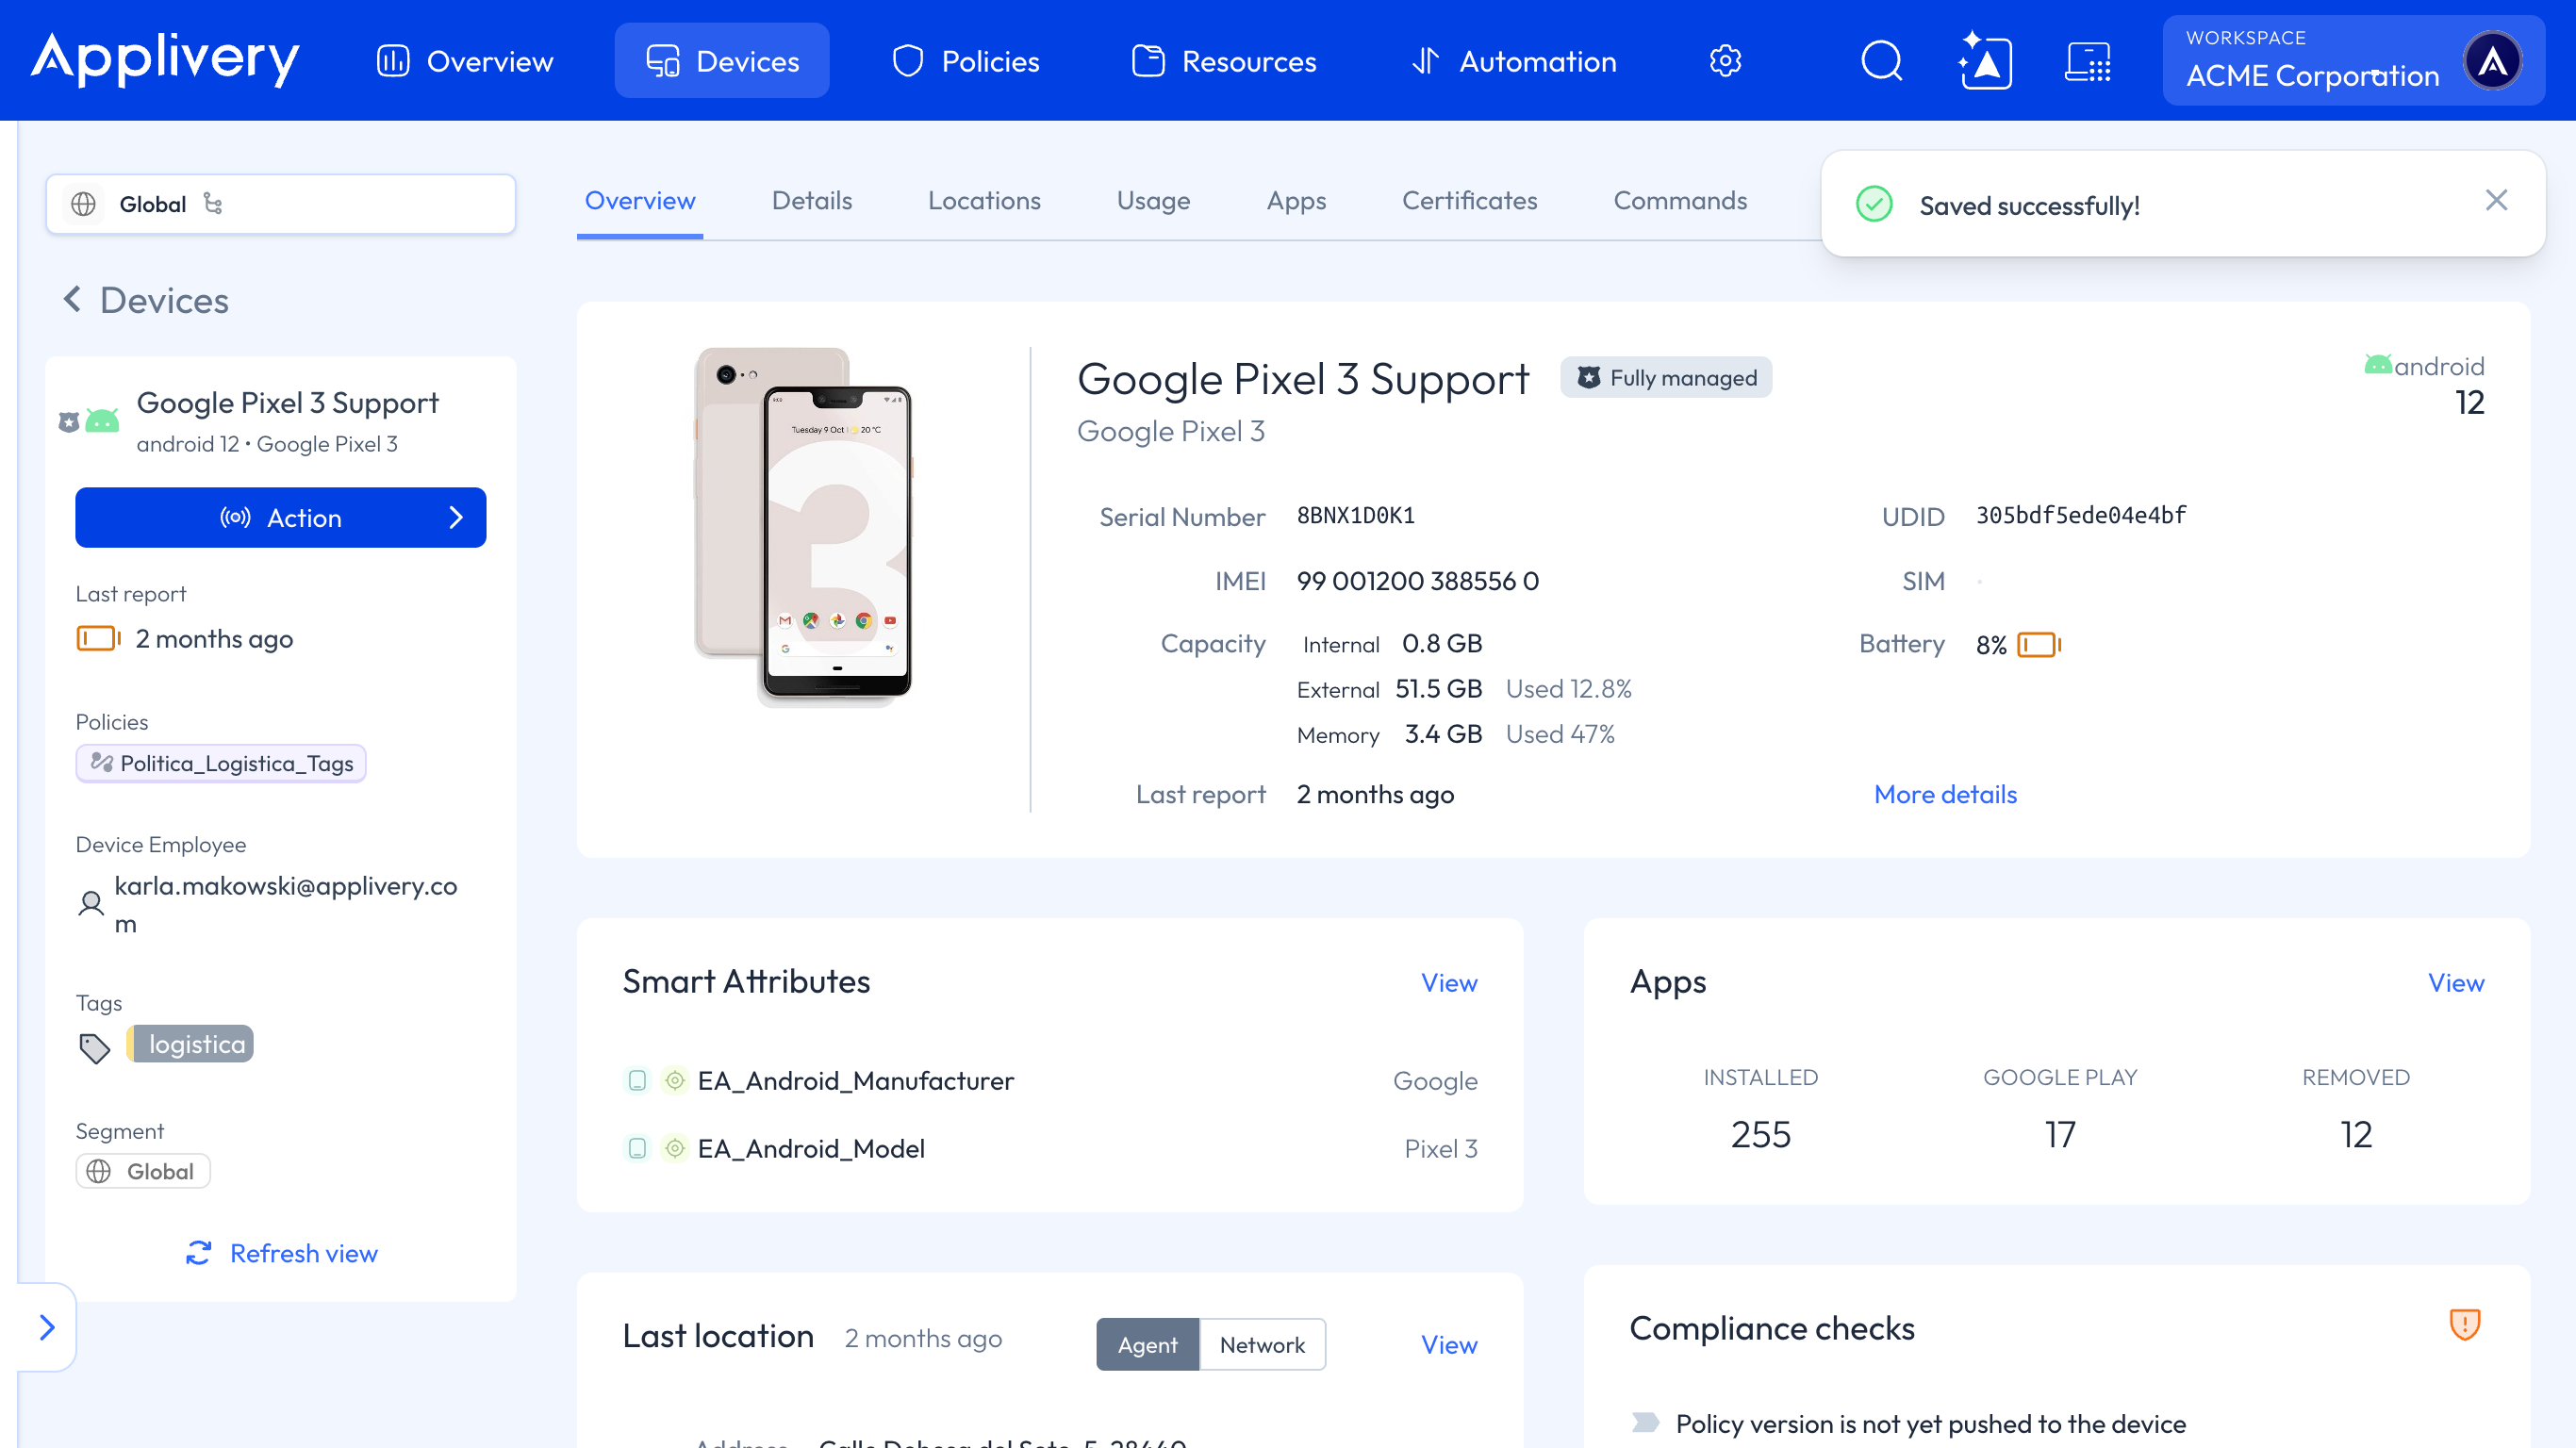
Rename a Device
Click the pencil icon next to the Device's name at the top of the Overview tab to open Change display name. Enter the new Display name and click Save.
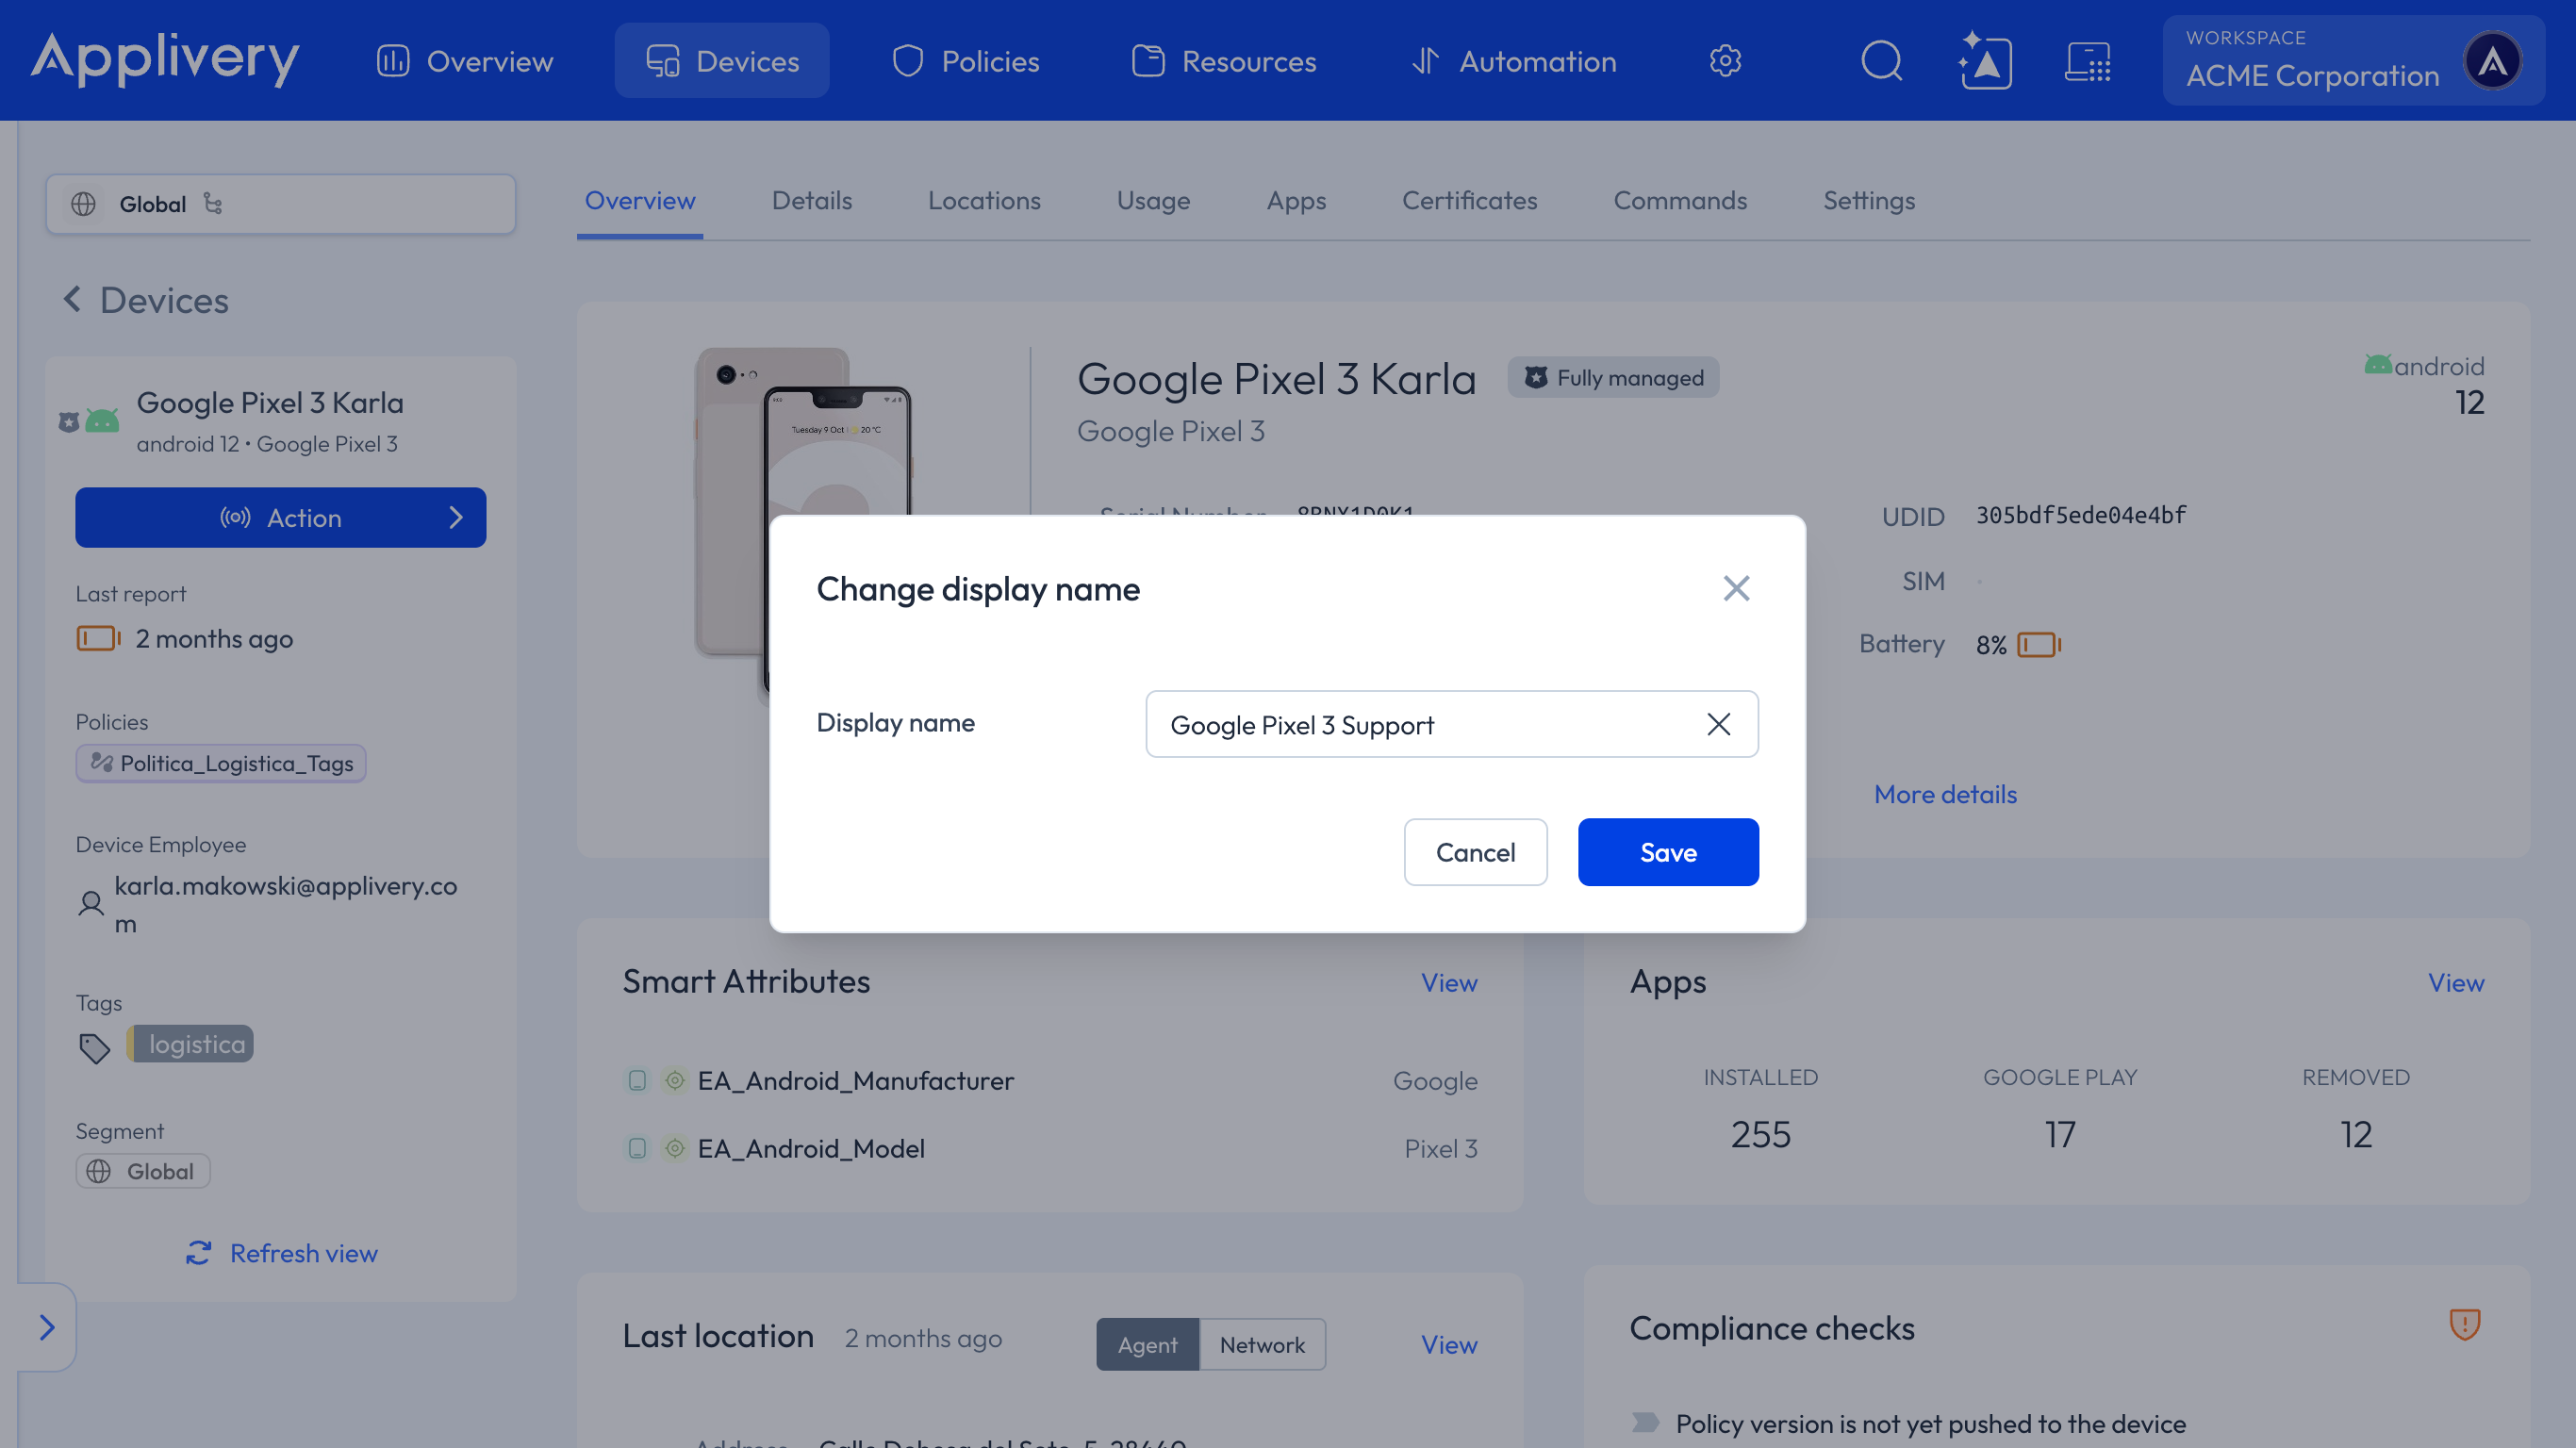
The new name shows up immediately, both in the page header and in the Devices list.
The Display name only changes how the Device appears in Applivery. It doesn't rename the Device itself. On Apple Devices, you can learn more about renaming the Device itself in Device Renaming by following this link.
Change the assigned Policies
Click the pencil icon next to Policies to open Change policy. Here you can add more than one Policy and set their priority.
You can learn more about assigning several Policies and how priority works in Policy Composition by following this link.
Reassign the Device Employee
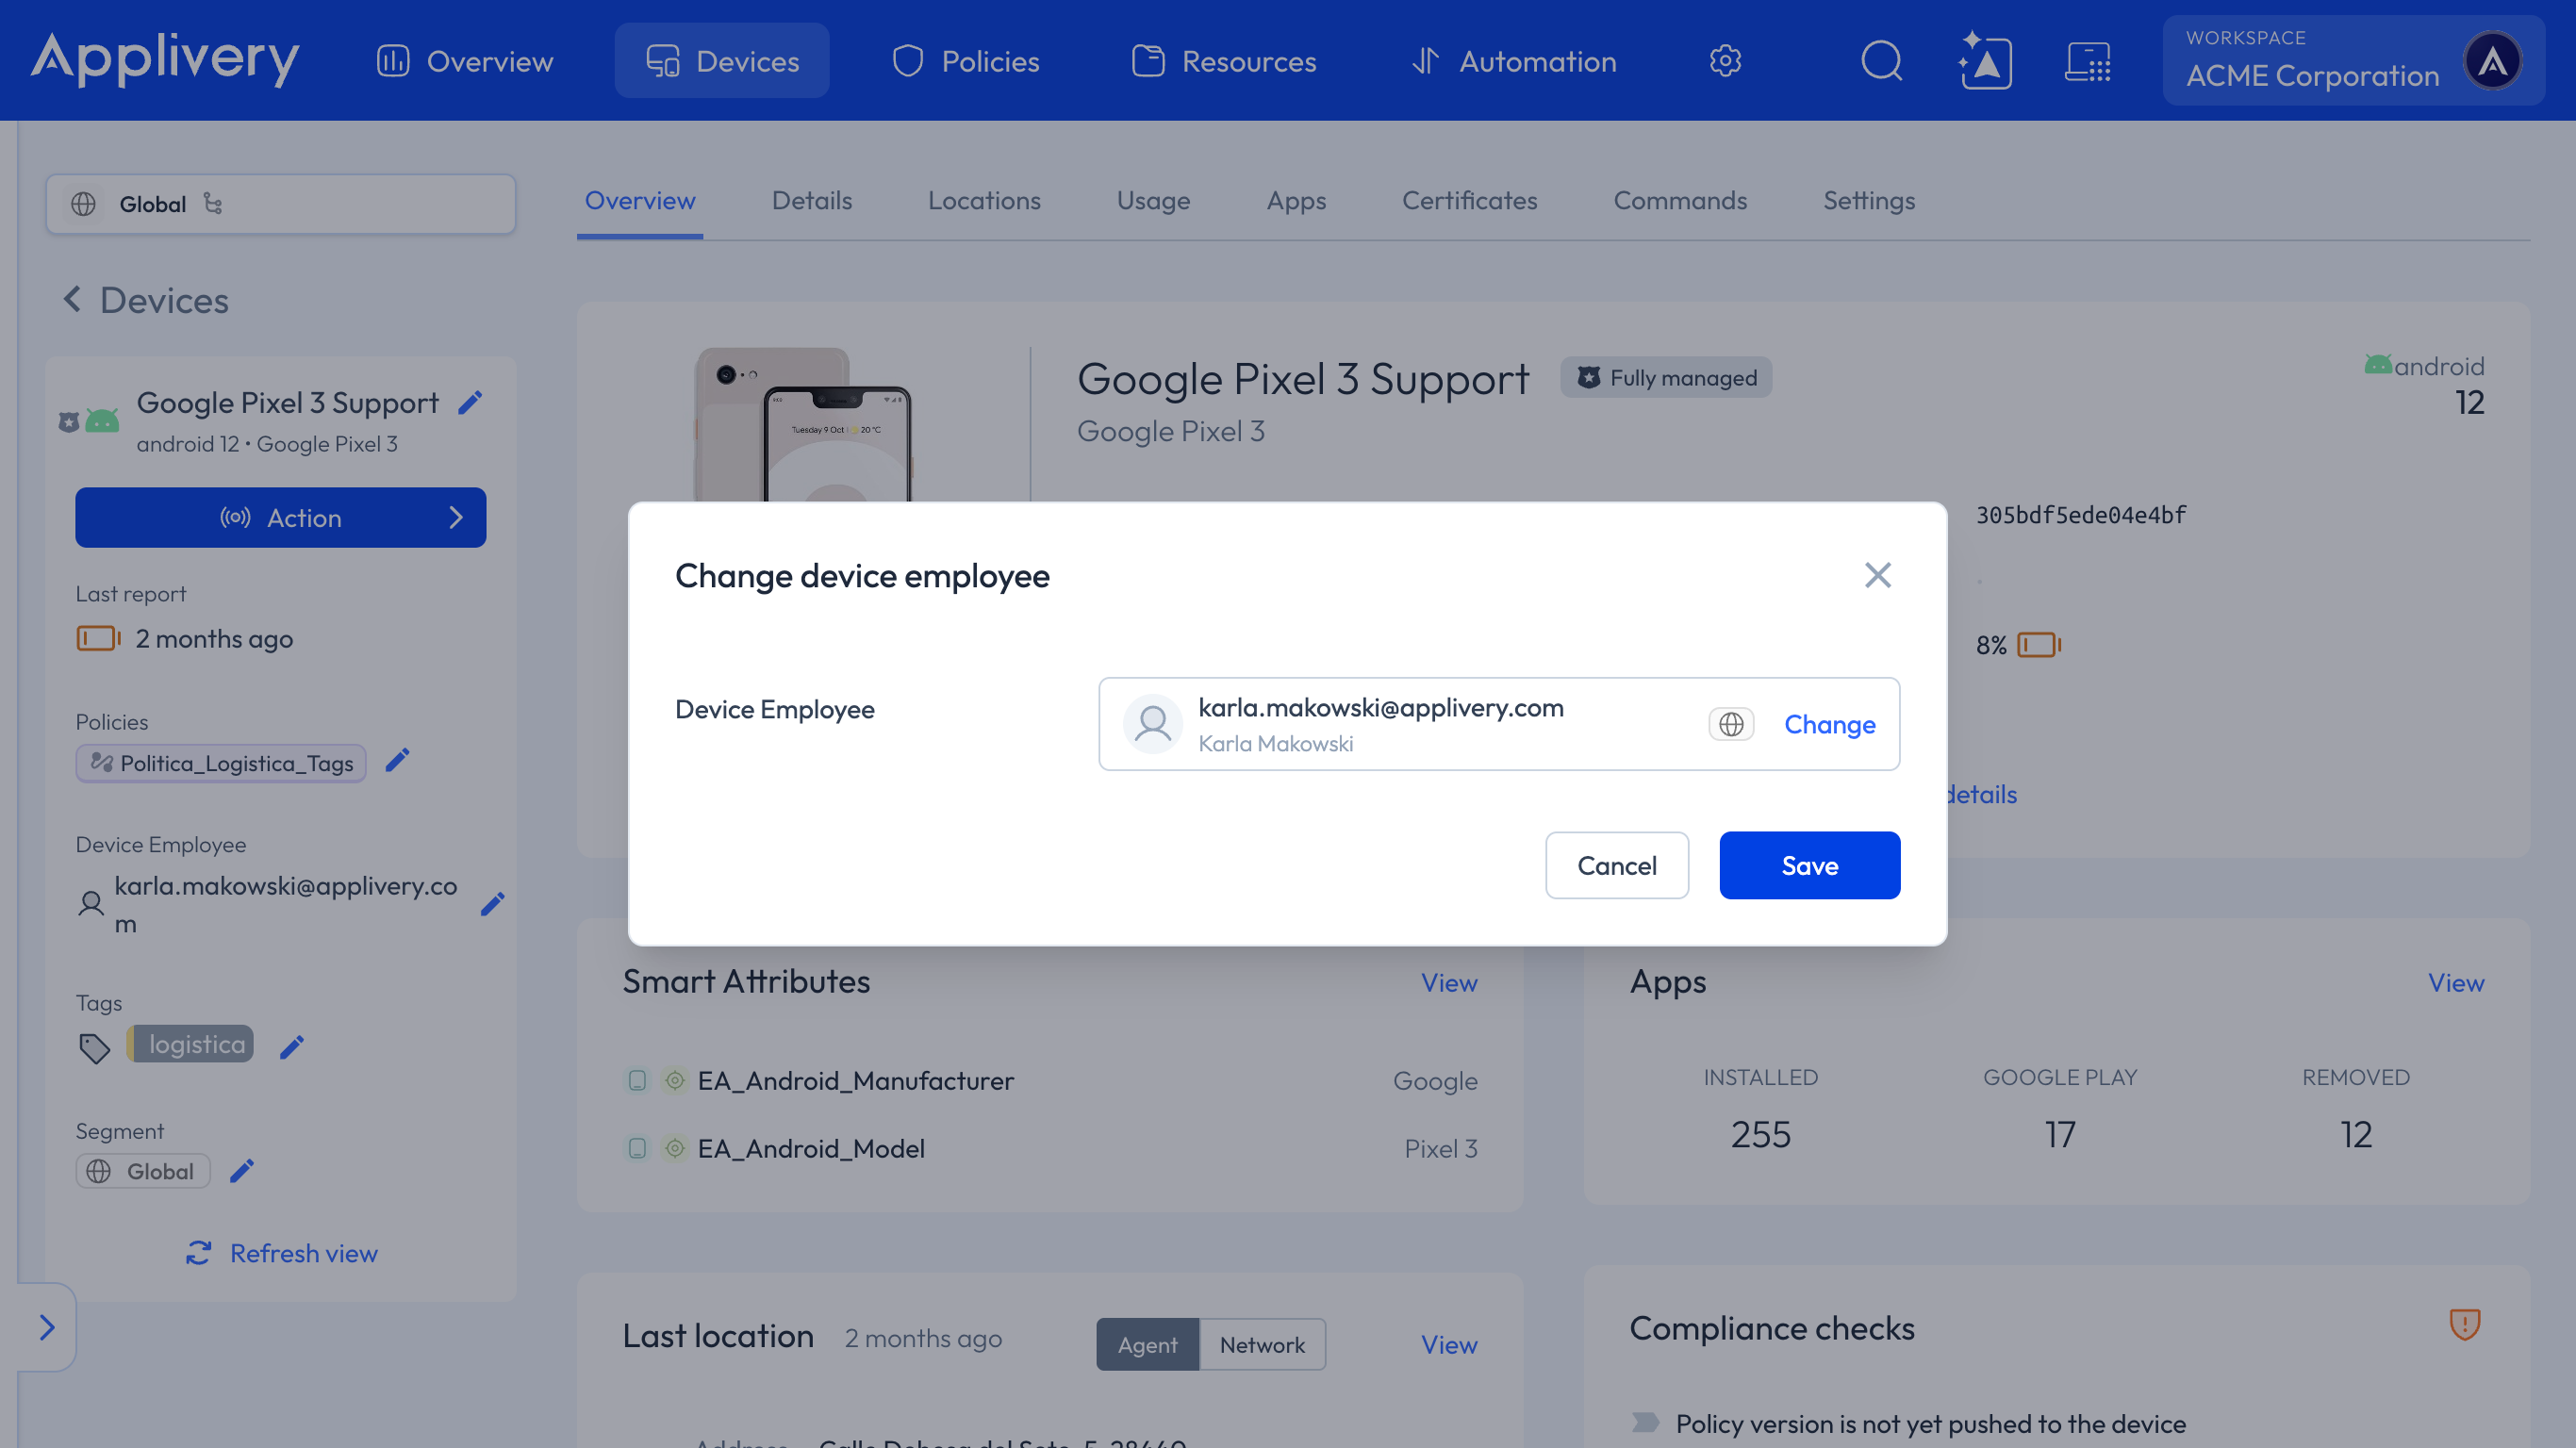
Click the pencil icon next to Device Employee to open Change device employee. Start typing a name or email to search the Employees in your Workspace, then select one. If you want to pick someone else, click Change. Click Save to apply it.
Change Tags
Click the pencil icon next to Tags to open Change tags. You'll see the tags already used in your Workspace as a selectable list. Click a tag to add it, or remove one you no longer need, and click Save.
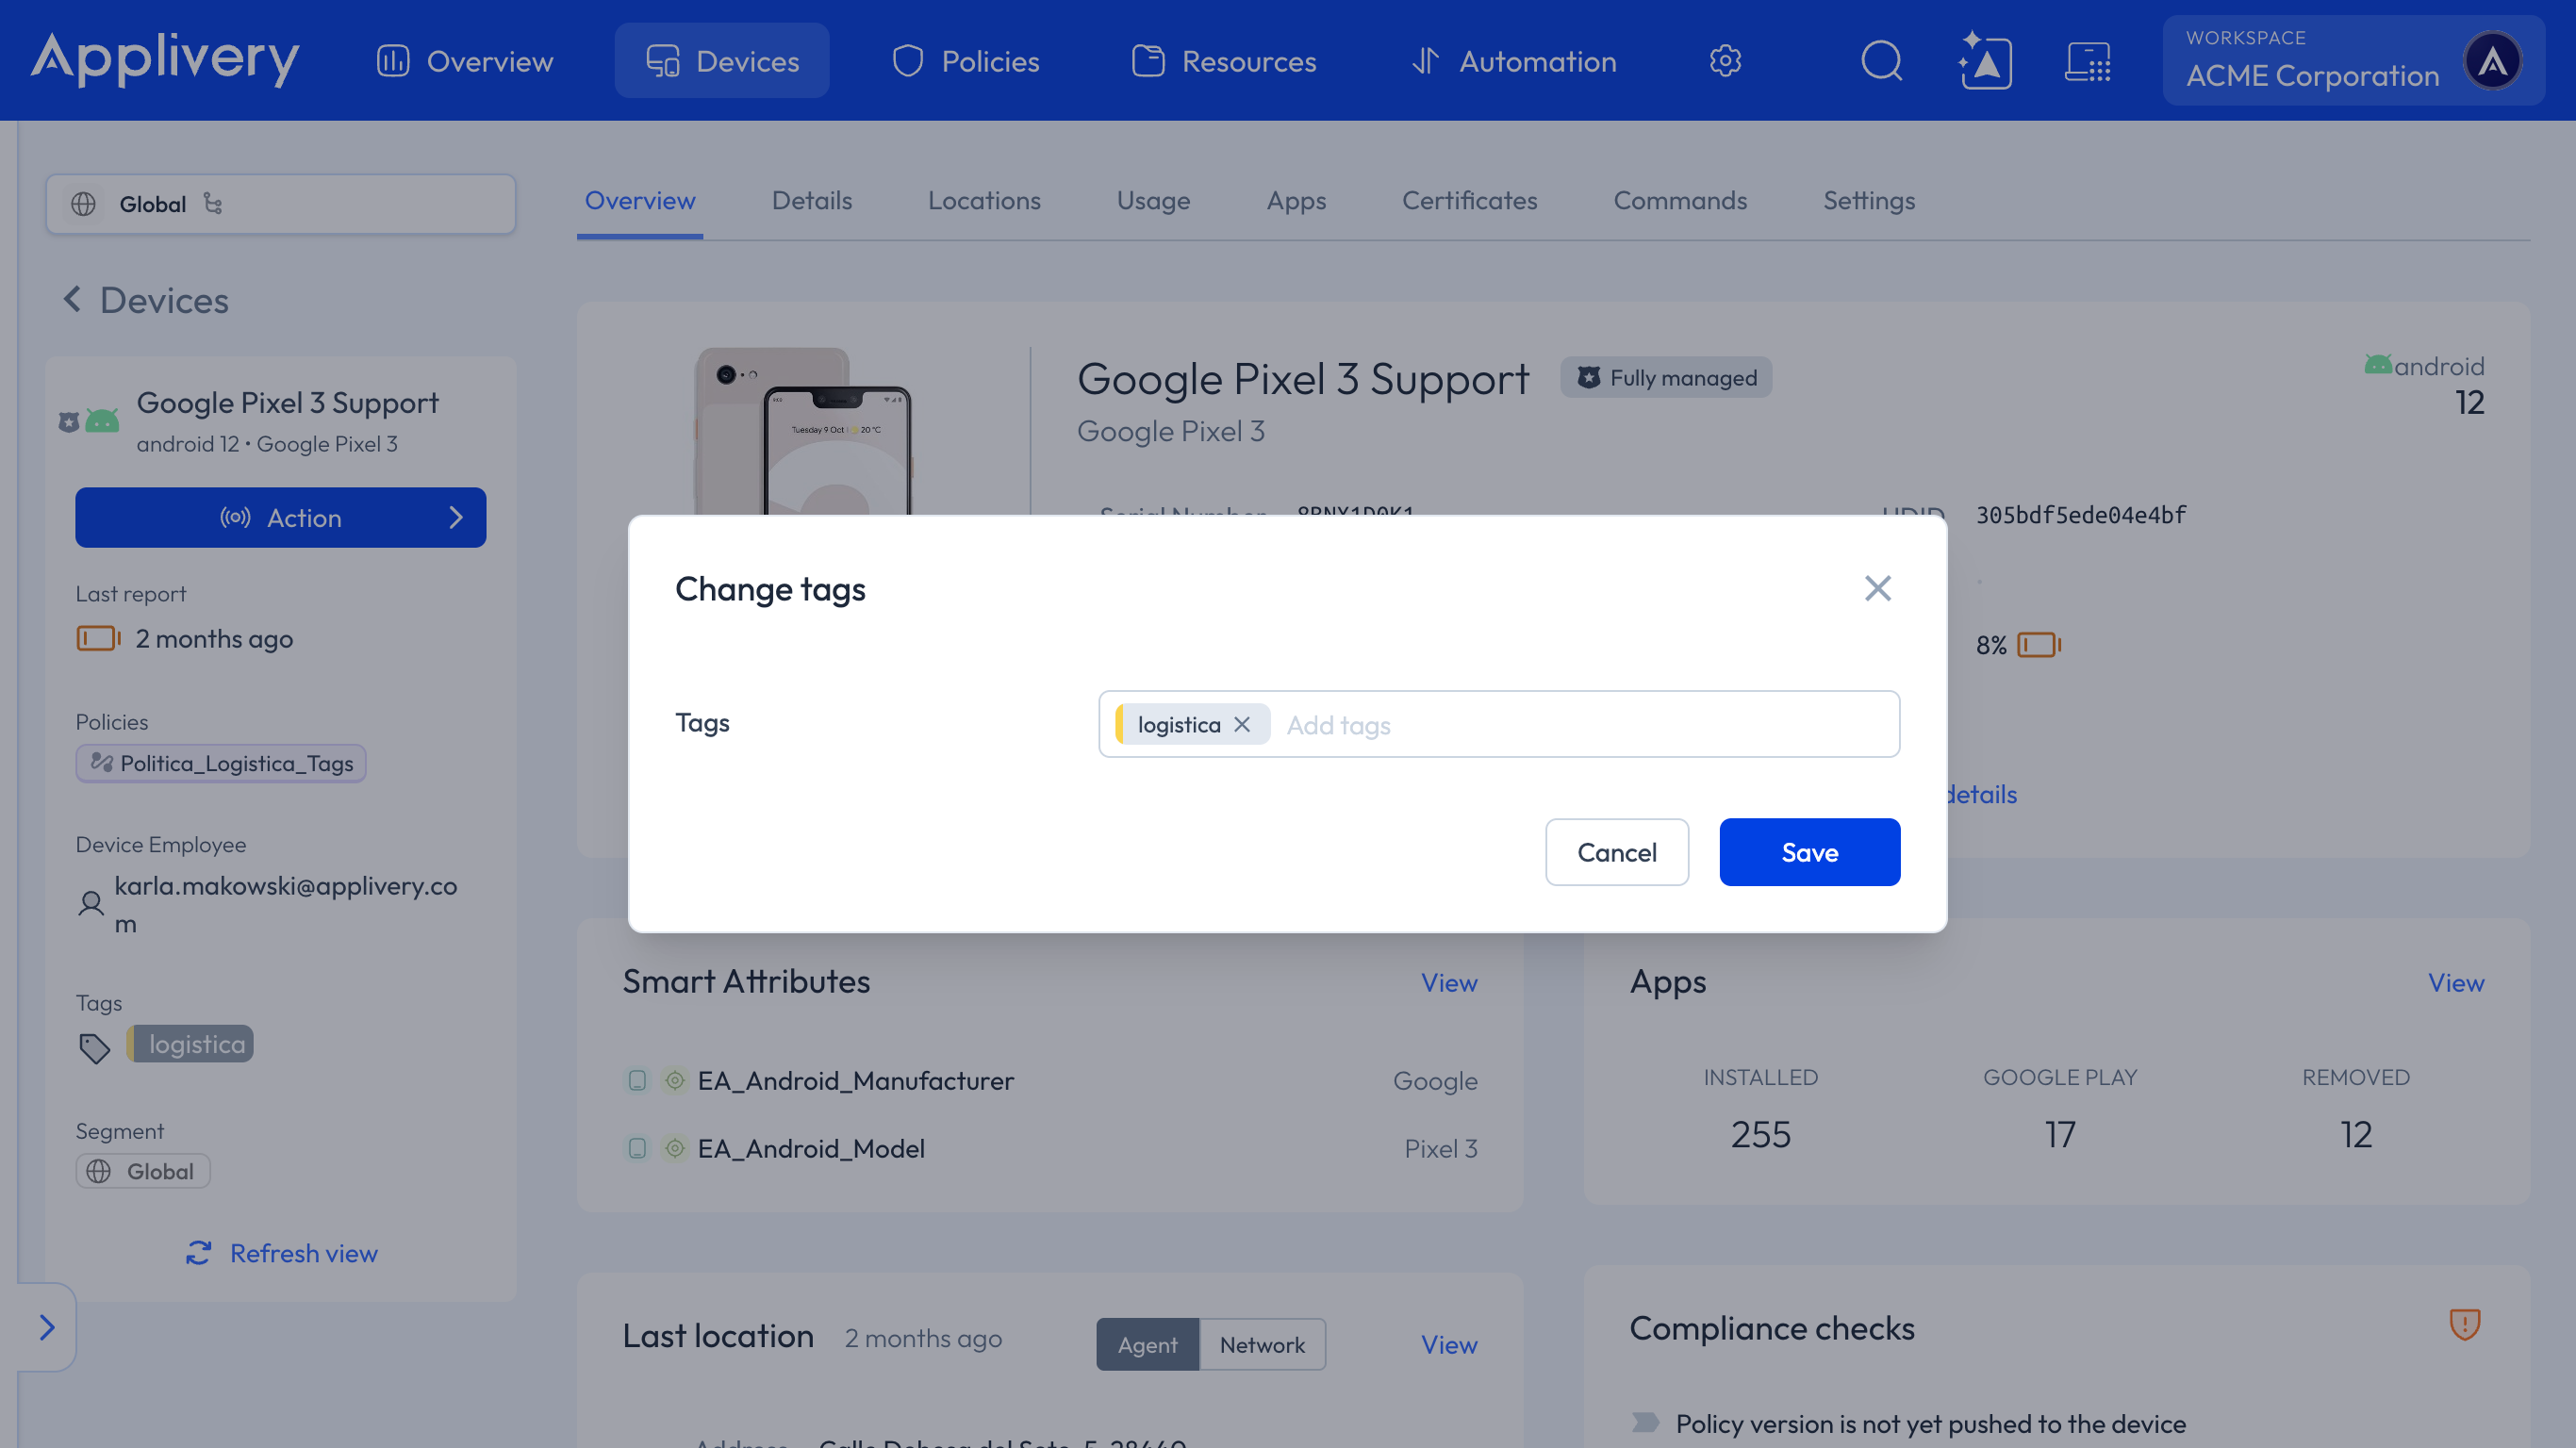
You can learn more about how tags work and how to use them in Device Tags by following this link.
Move a Device to another Segment
Click the pencil icon next to Segment to open Move device to other segment. You'll see your full Segment tree with the Current Segment highlighted. Search or browse to the Segment you want, select it as the Target Segment, and click Move.
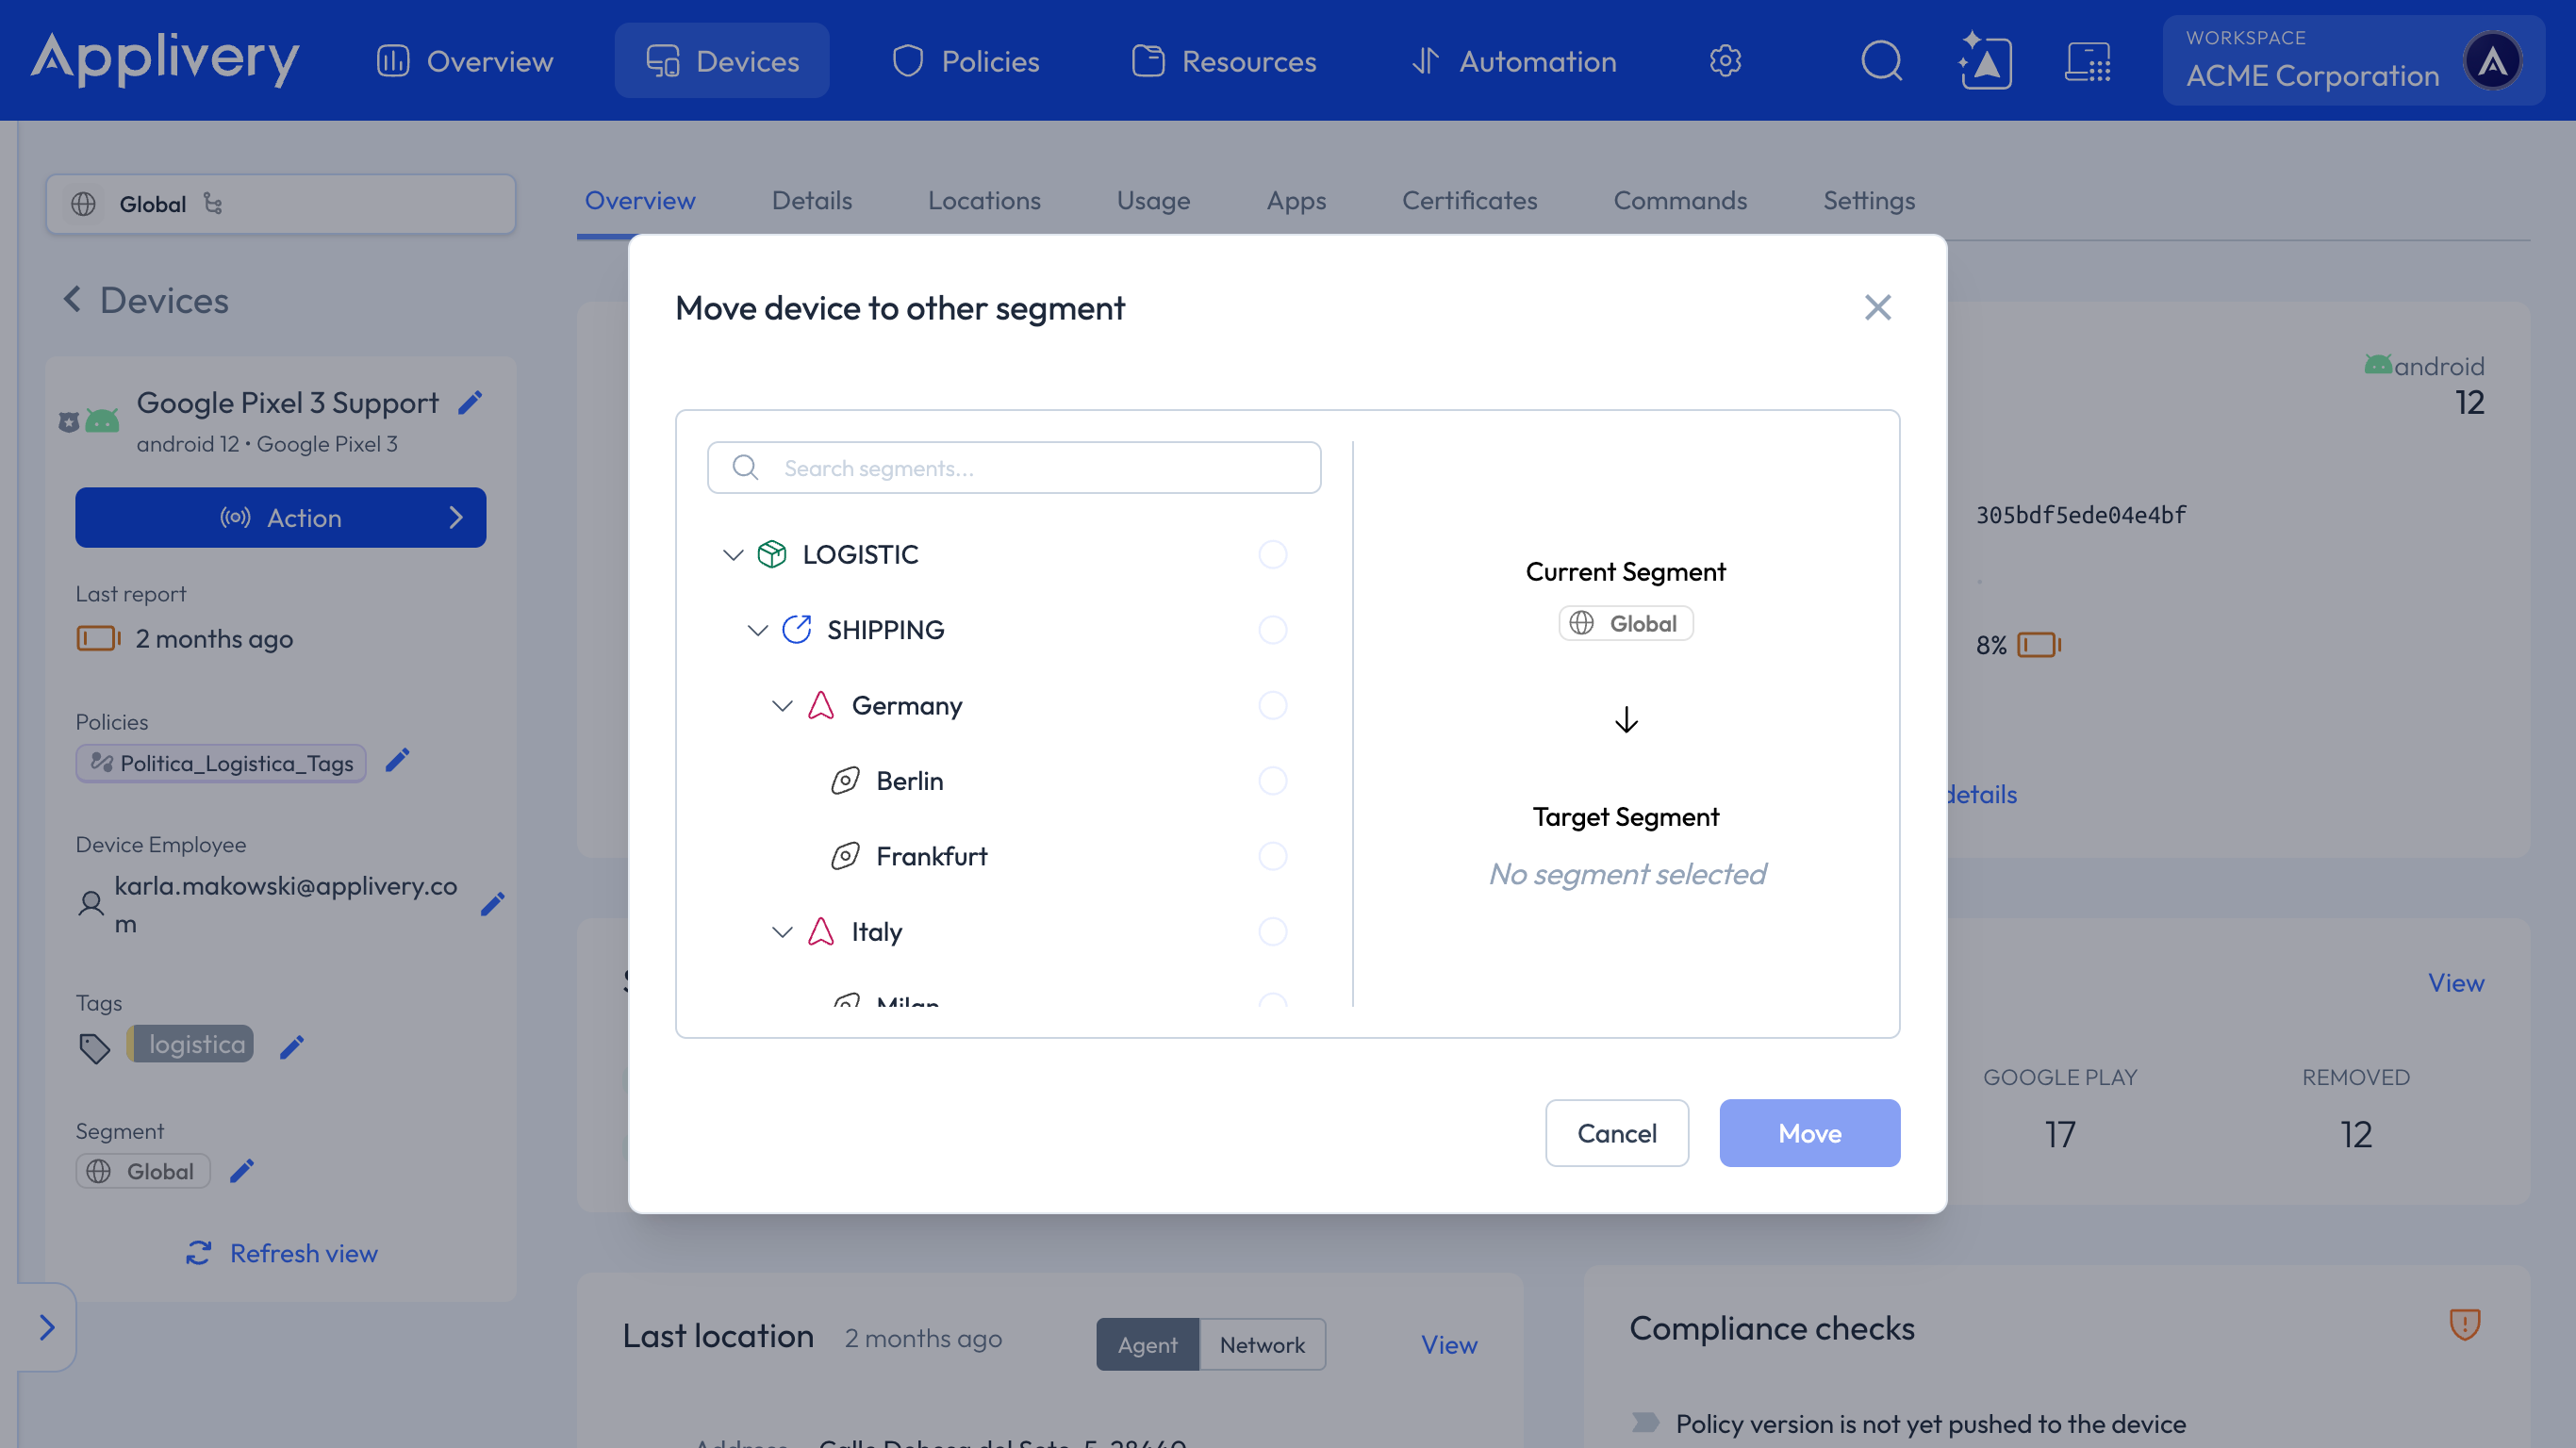
You can learn more about Segments by following this link.
Use the API
You can also update all these fields together in a single call, using the device update endpoint of each platform. To authenticate, you need a Service Account token. You can learn how to create one in Service Accounts by following this link.
Platform | Endpoint | Policies field |
|---|---|---|
Apple |
|
|
Android |
|
|
AOSP |
|
|
Windows |
|
|
For example, this request updates a Windows Device:
curl 'https://api.applivery.io/v1/organizations/ORG_ID/mdm/windows/enterprise/devices/DEVICE_ID' \
  -X PUT \
  -H 'Authorization: Bearer YOUR_SERVICE_ACCOUNT_TOKEN' \
  -H 'Content-Type: application/json' \
  -d '{
    "displayName": "Sales Laptop 01",
    "tags": ["COUNTRY:Spain", "finance"],
    "mdmUserId": "EMPLOYEE_ID",
    "winPolicyAssignments": [
      { "winPolicyId": "POLICY_ID_1", "priority": 100 },
      { "winPolicyId": "POLICY_ID_2", "priority": 200 }
    ],
    "segmentId": SEGMENT_ID
  }'
Each field maps to one of the Dashboard dialogs:
Field | Dashboard dialog | Notes |
|---|---|---|
| Change display name | Up to 128 characters. |
| Change tags | Send the full list of tags you want on the Device. It replaces the current tags instead of adding to them. |
| Change device employee | Send |
| Change policy | Each item includes the Policy ID ( |
| Move device to another segment | The numeric ID of the target Segment. |
Unlike the Dashboard dialogs, which save each field on its own, the API call updates only the fields you include in the request. Leave a field out to keep its current value.