Applivery's Inventory module gives you a centralized place to track every physical and virtual asset in your organization — not just the Devices enrolled in Device Management, but any hardware or software asset you want to keep a record of. Think laptops, monitors, servers, networking equipment, smartphones, software licenses, and more.
This makes it easy to maintain accurate records of what you have, where it is, who's using it, and what condition it's in — all from the same platform you already use to manage Devices.
The Inventory module covers the full asset lifecycle:
Identification: Catalog every asset your organization uses, whether enrolled in Applivery or not.
Tracking: Store detailed information for each item — device name, model, serial number, location, assigned user, purchase details, and more.
Monitoring and updates: Keep records current as Devices are added, moved, upgraded, or retired.
Lifecycle management: Track warranties, expected lifespan, and maintenance contracts from procurement through disposal.
Adding Devices to the Inventory
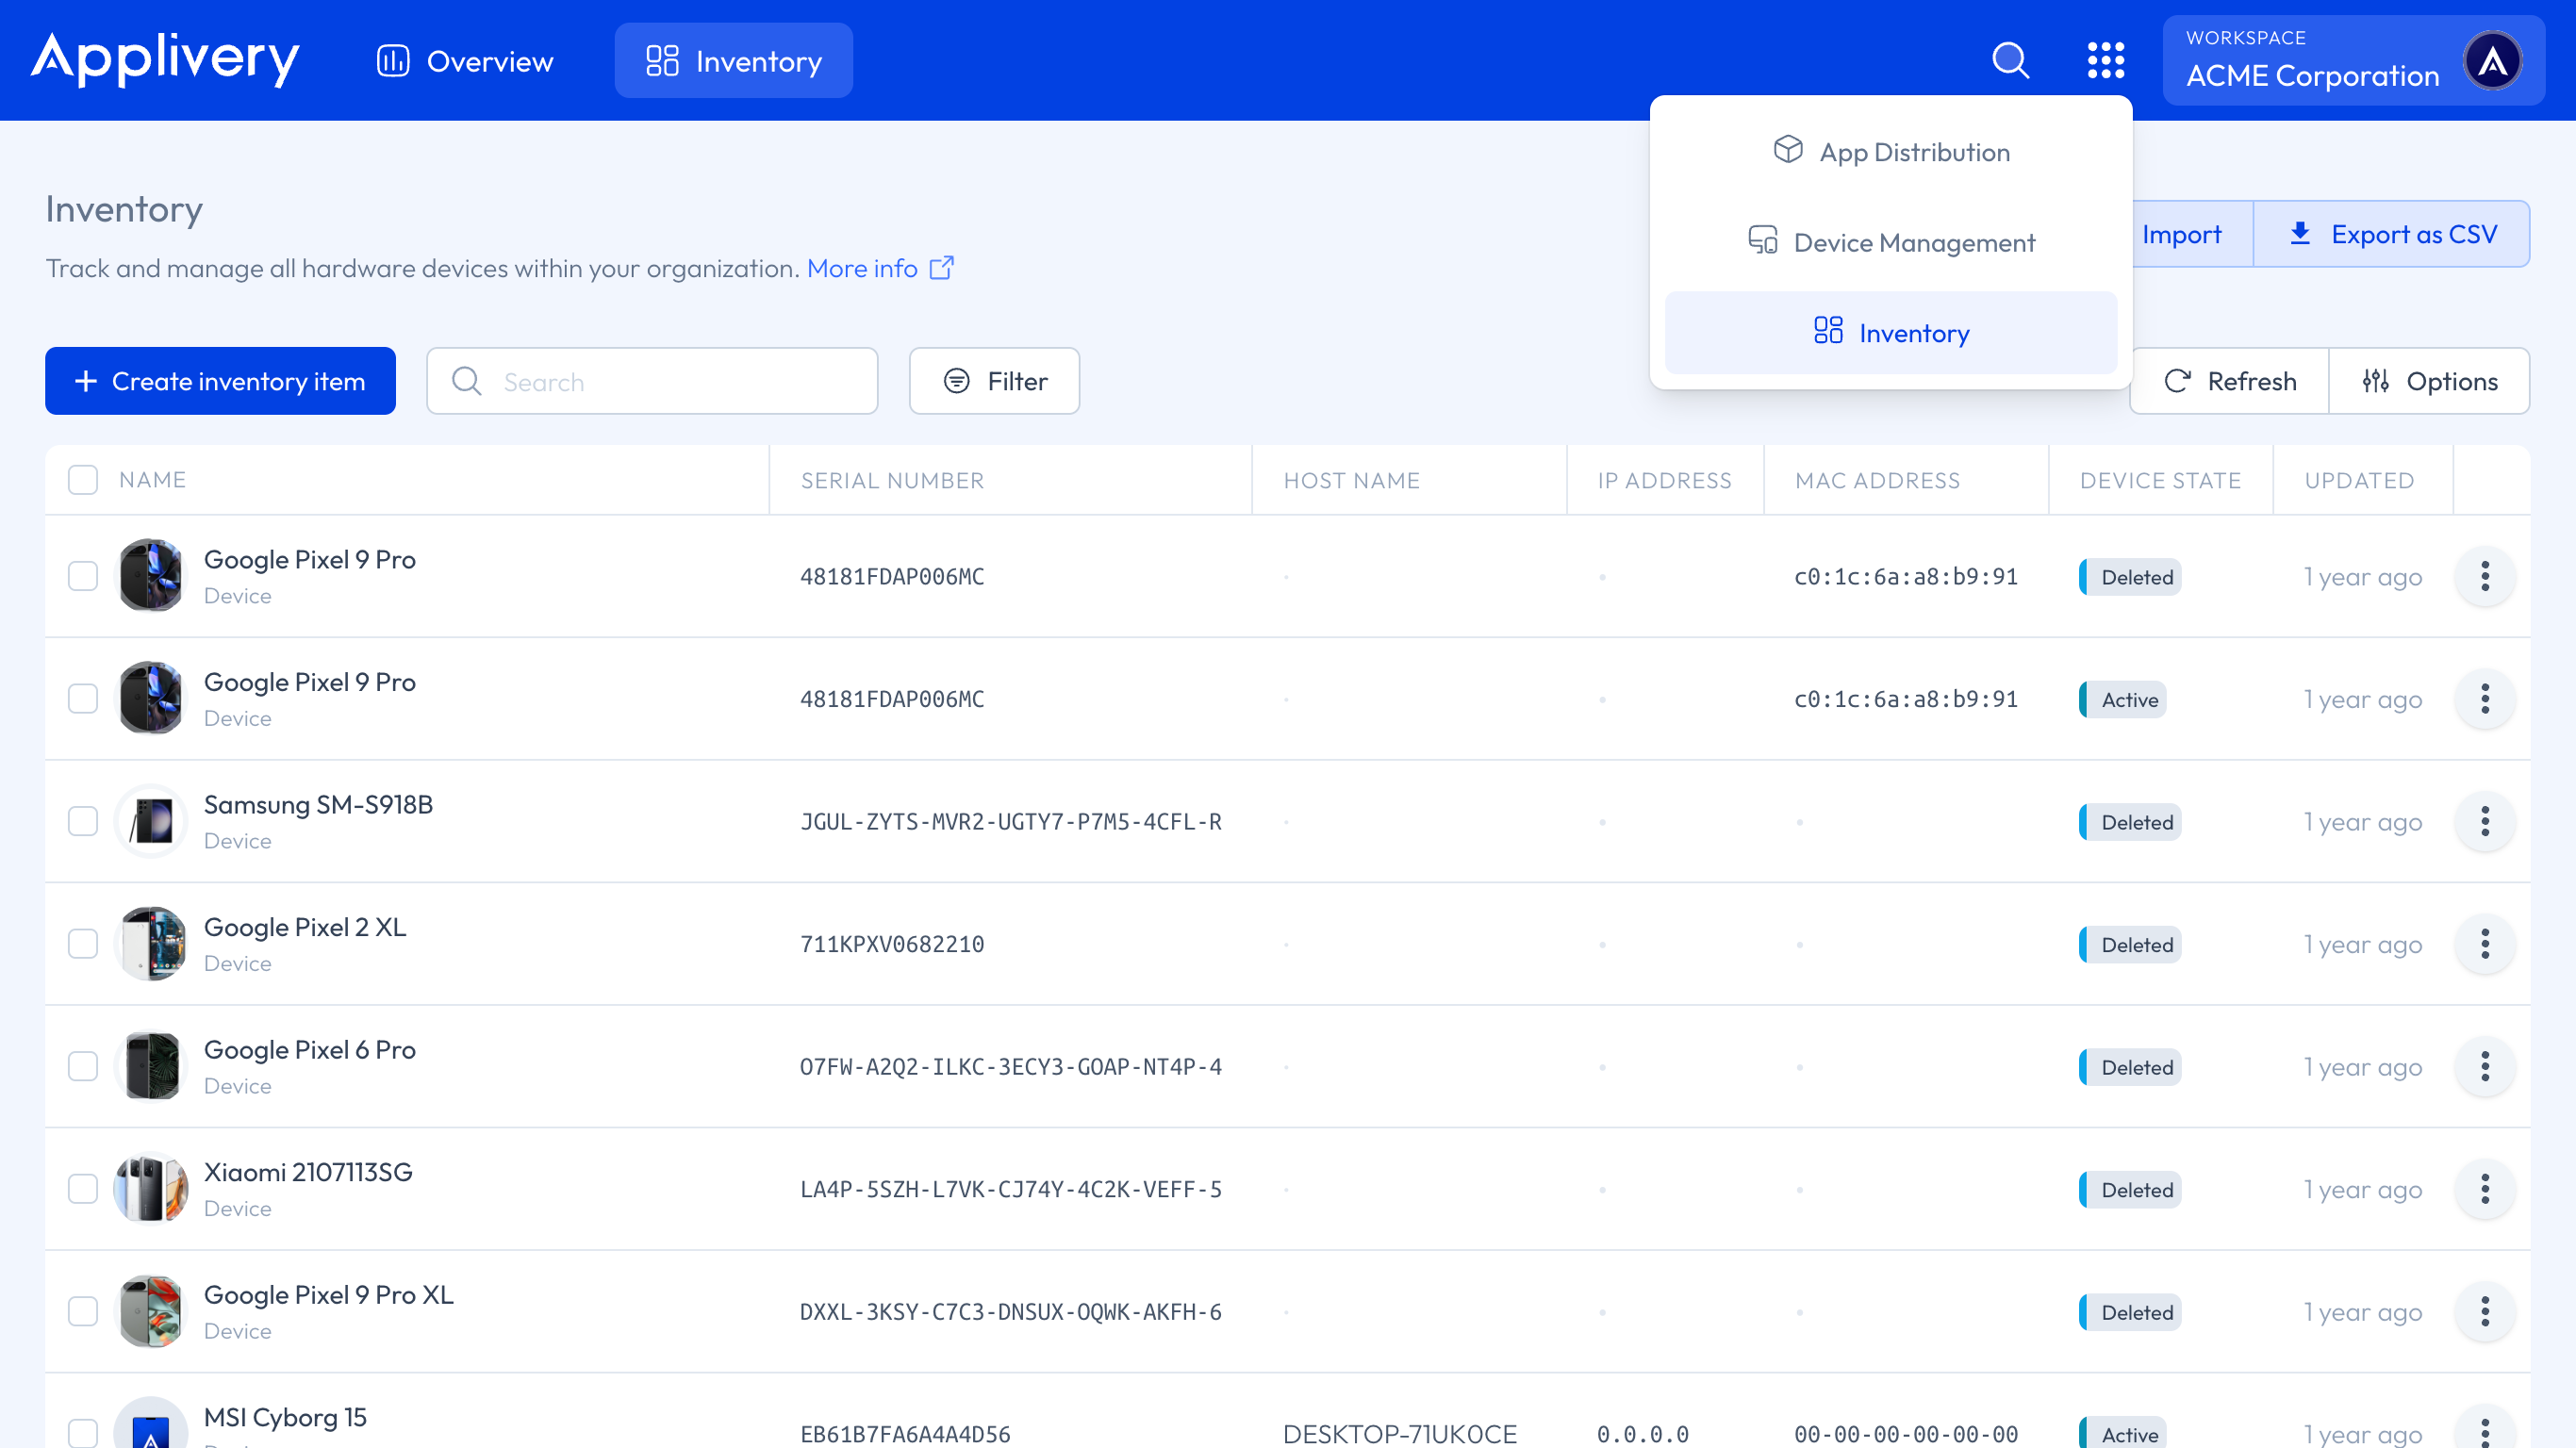
Once in the Applivery Dashboard, click on the top 9-dot menu and select Inventory.
When you enroll a Device in Applivery, it is automatically added to your Inventory. For assets that cannot be enrolled through the platform — such as legacy hardware, third-party equipment, or software licenses — you can add them manually using the Create inventory item 1 button, or import multiple entries at once via a CSV file using the Import 2 button.
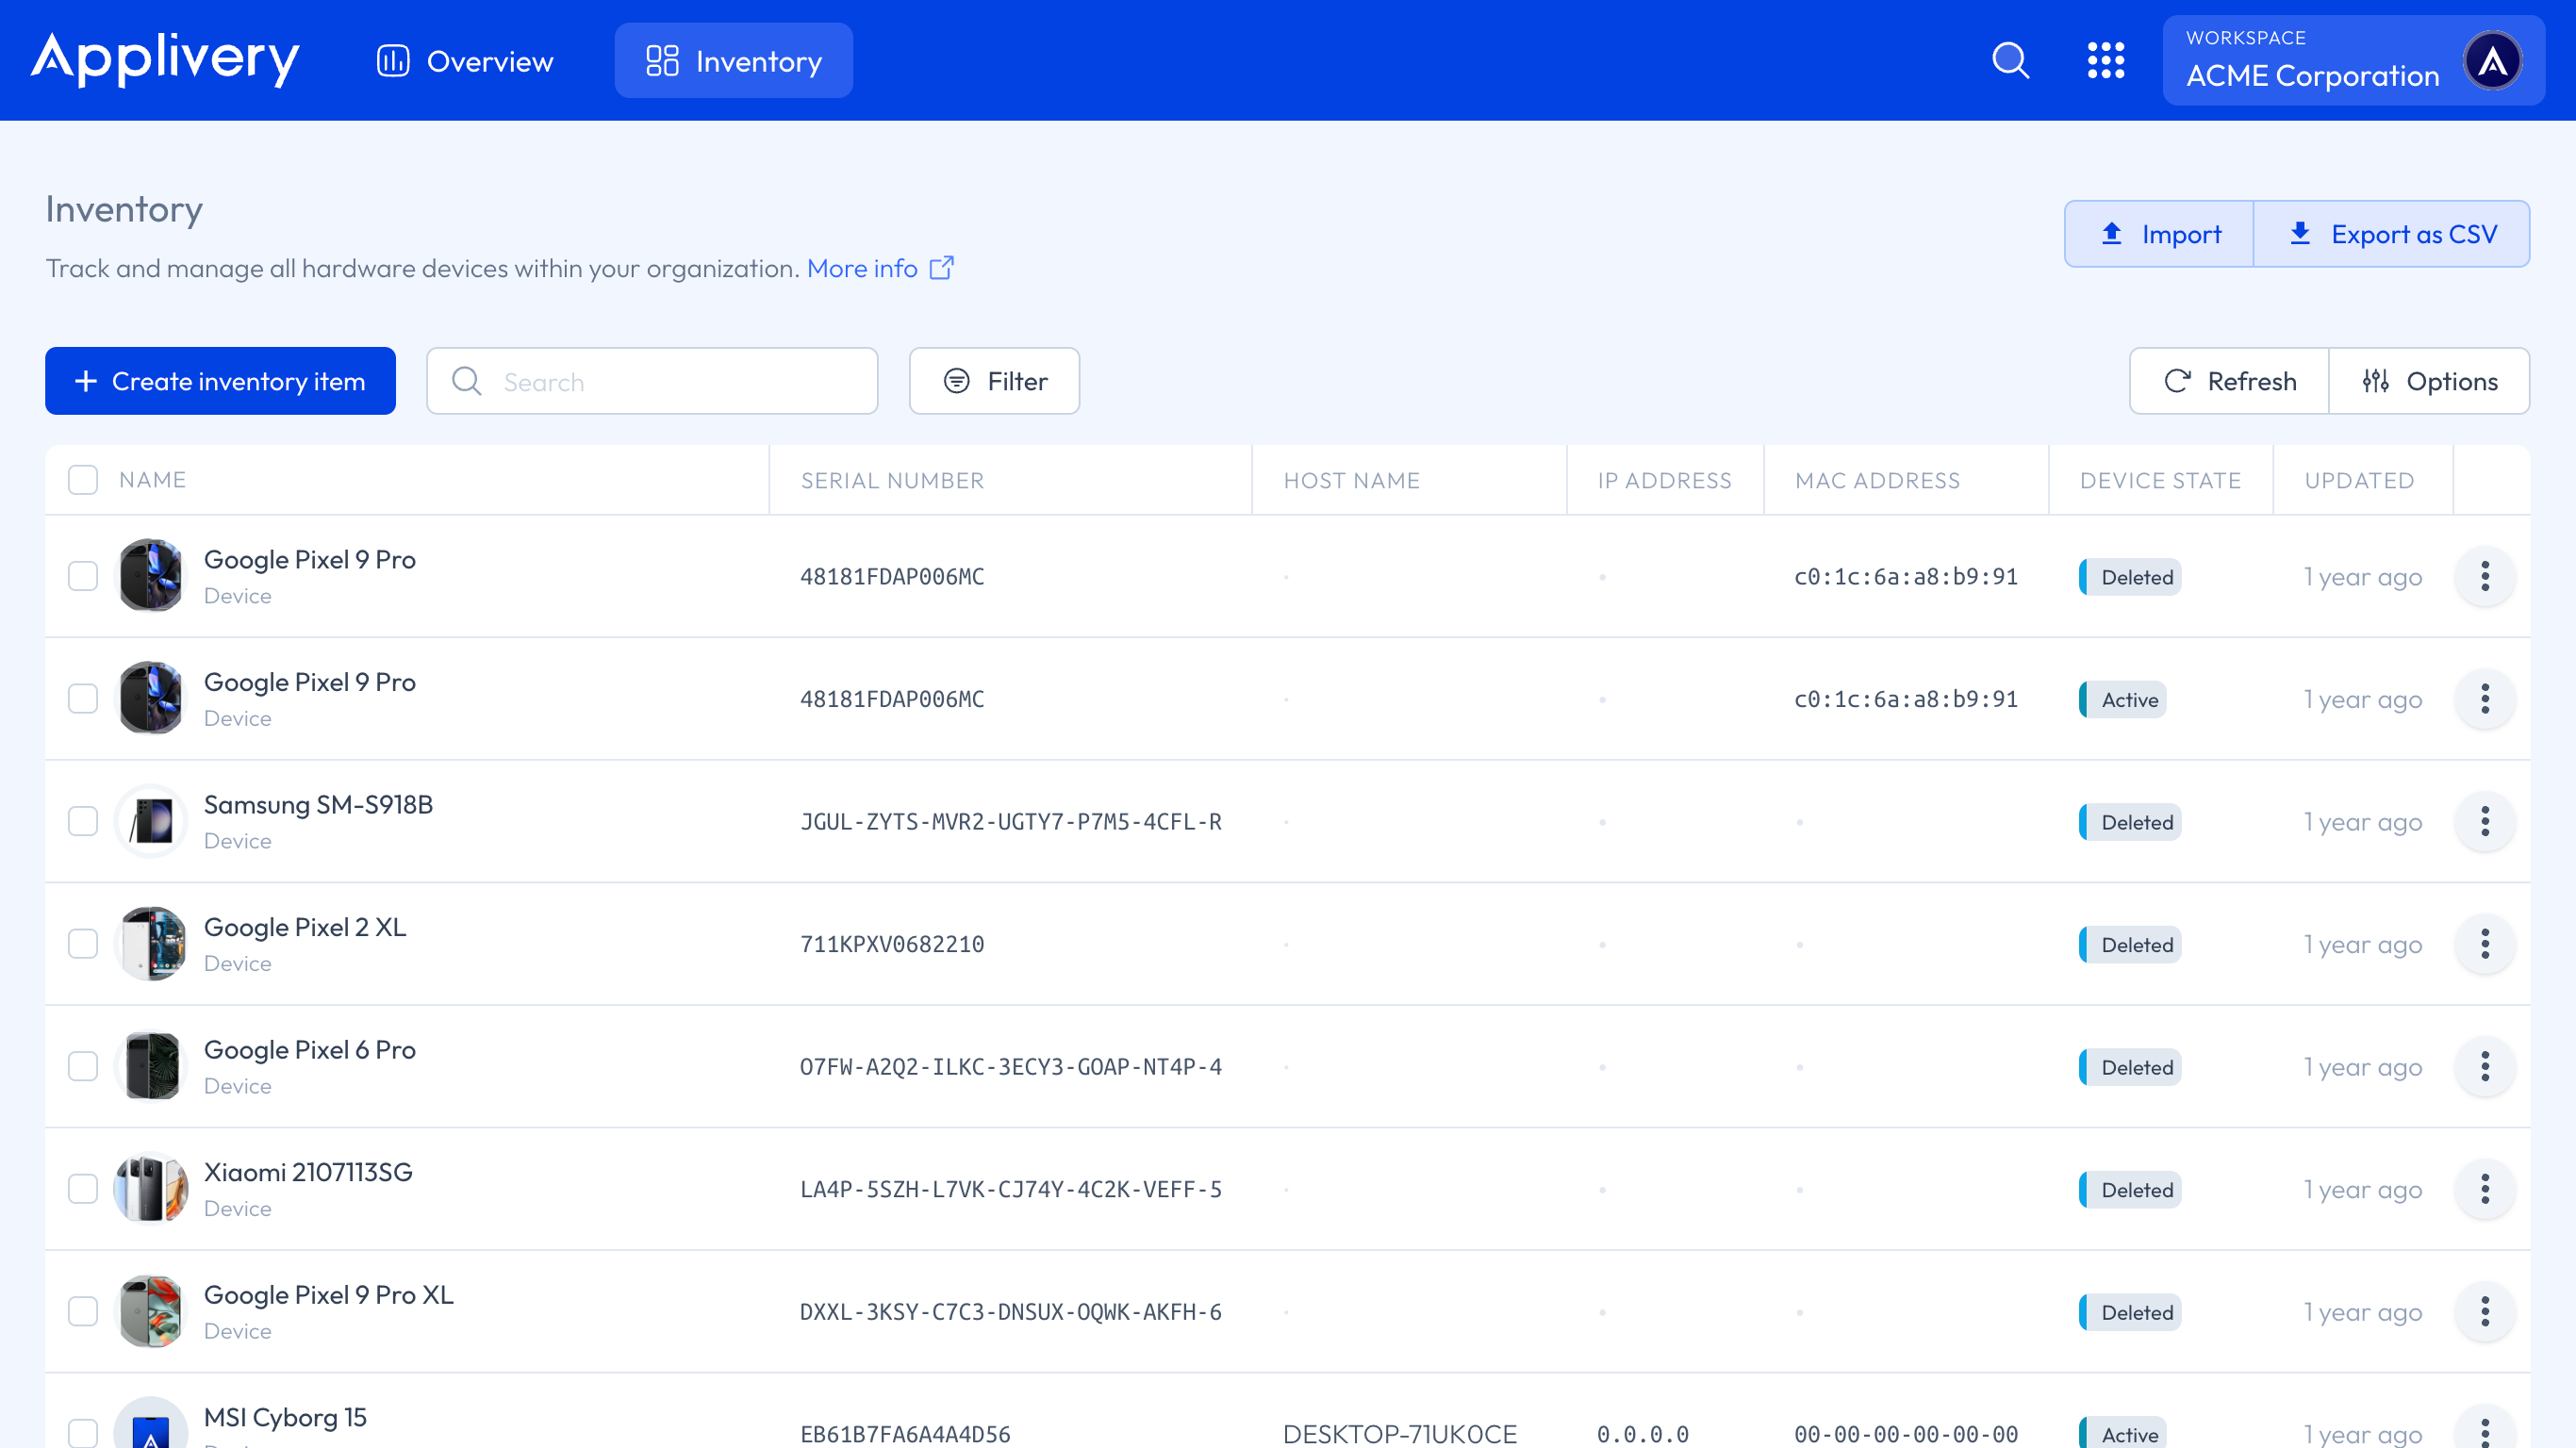
All Inventory entries are fully editable and are organized into the following sections.
Basic
General identification details for the asset:
Device type: The category of the item. When importing via CSV, use one of the following values:
accessControl,accessPoint,barcodeScanner,cardReader,cameraCctv,cameraIp,desktopComputer,device,dockStation,externalDevice,externalHardDrive,firewall,hdmiAdapter,headphones,keyboard,laptop,microphone,monitor,mouse,posTerminal,printer,router,scanner,server,smartphone,smartwatch,softwareLicense,speaker,switch,tablet,ups,usbFlashDrive,videoConference,virtualMachine,webcam.Display name: The visible name of the asset.
Owner: The person or team responsible for the asset.
Location: Physical location of the asset (e.g. Barcelona, Madrid).
Status: Reflects the current phase or condition of the asset within its lifecycle. This is independent from the enrollment status shown in the Hardware section, which is pulled from the MDM system. You can update this field manually at any time. Accepted values:
active,inactive,provisioning,deleted,delete_requested,retired,lost,stolen,destroyed,sold,inStock,toBeReturned,expired,inRepair,assigned,external,available,damaged,emergency,unknown,disabled,returnedToProvider,laptopNotRequired,personalLaptop,clientLaptop.Classification: Criticality level —
low,medium, orhigh.Description: A free-text field for any additional context or notes about the asset.
Associated members: The user or users assigned to this asset — typically someone within your organization. You can assign one or multiple Device Employees. Users can be selected from existing records in Applivery or created on the fly.
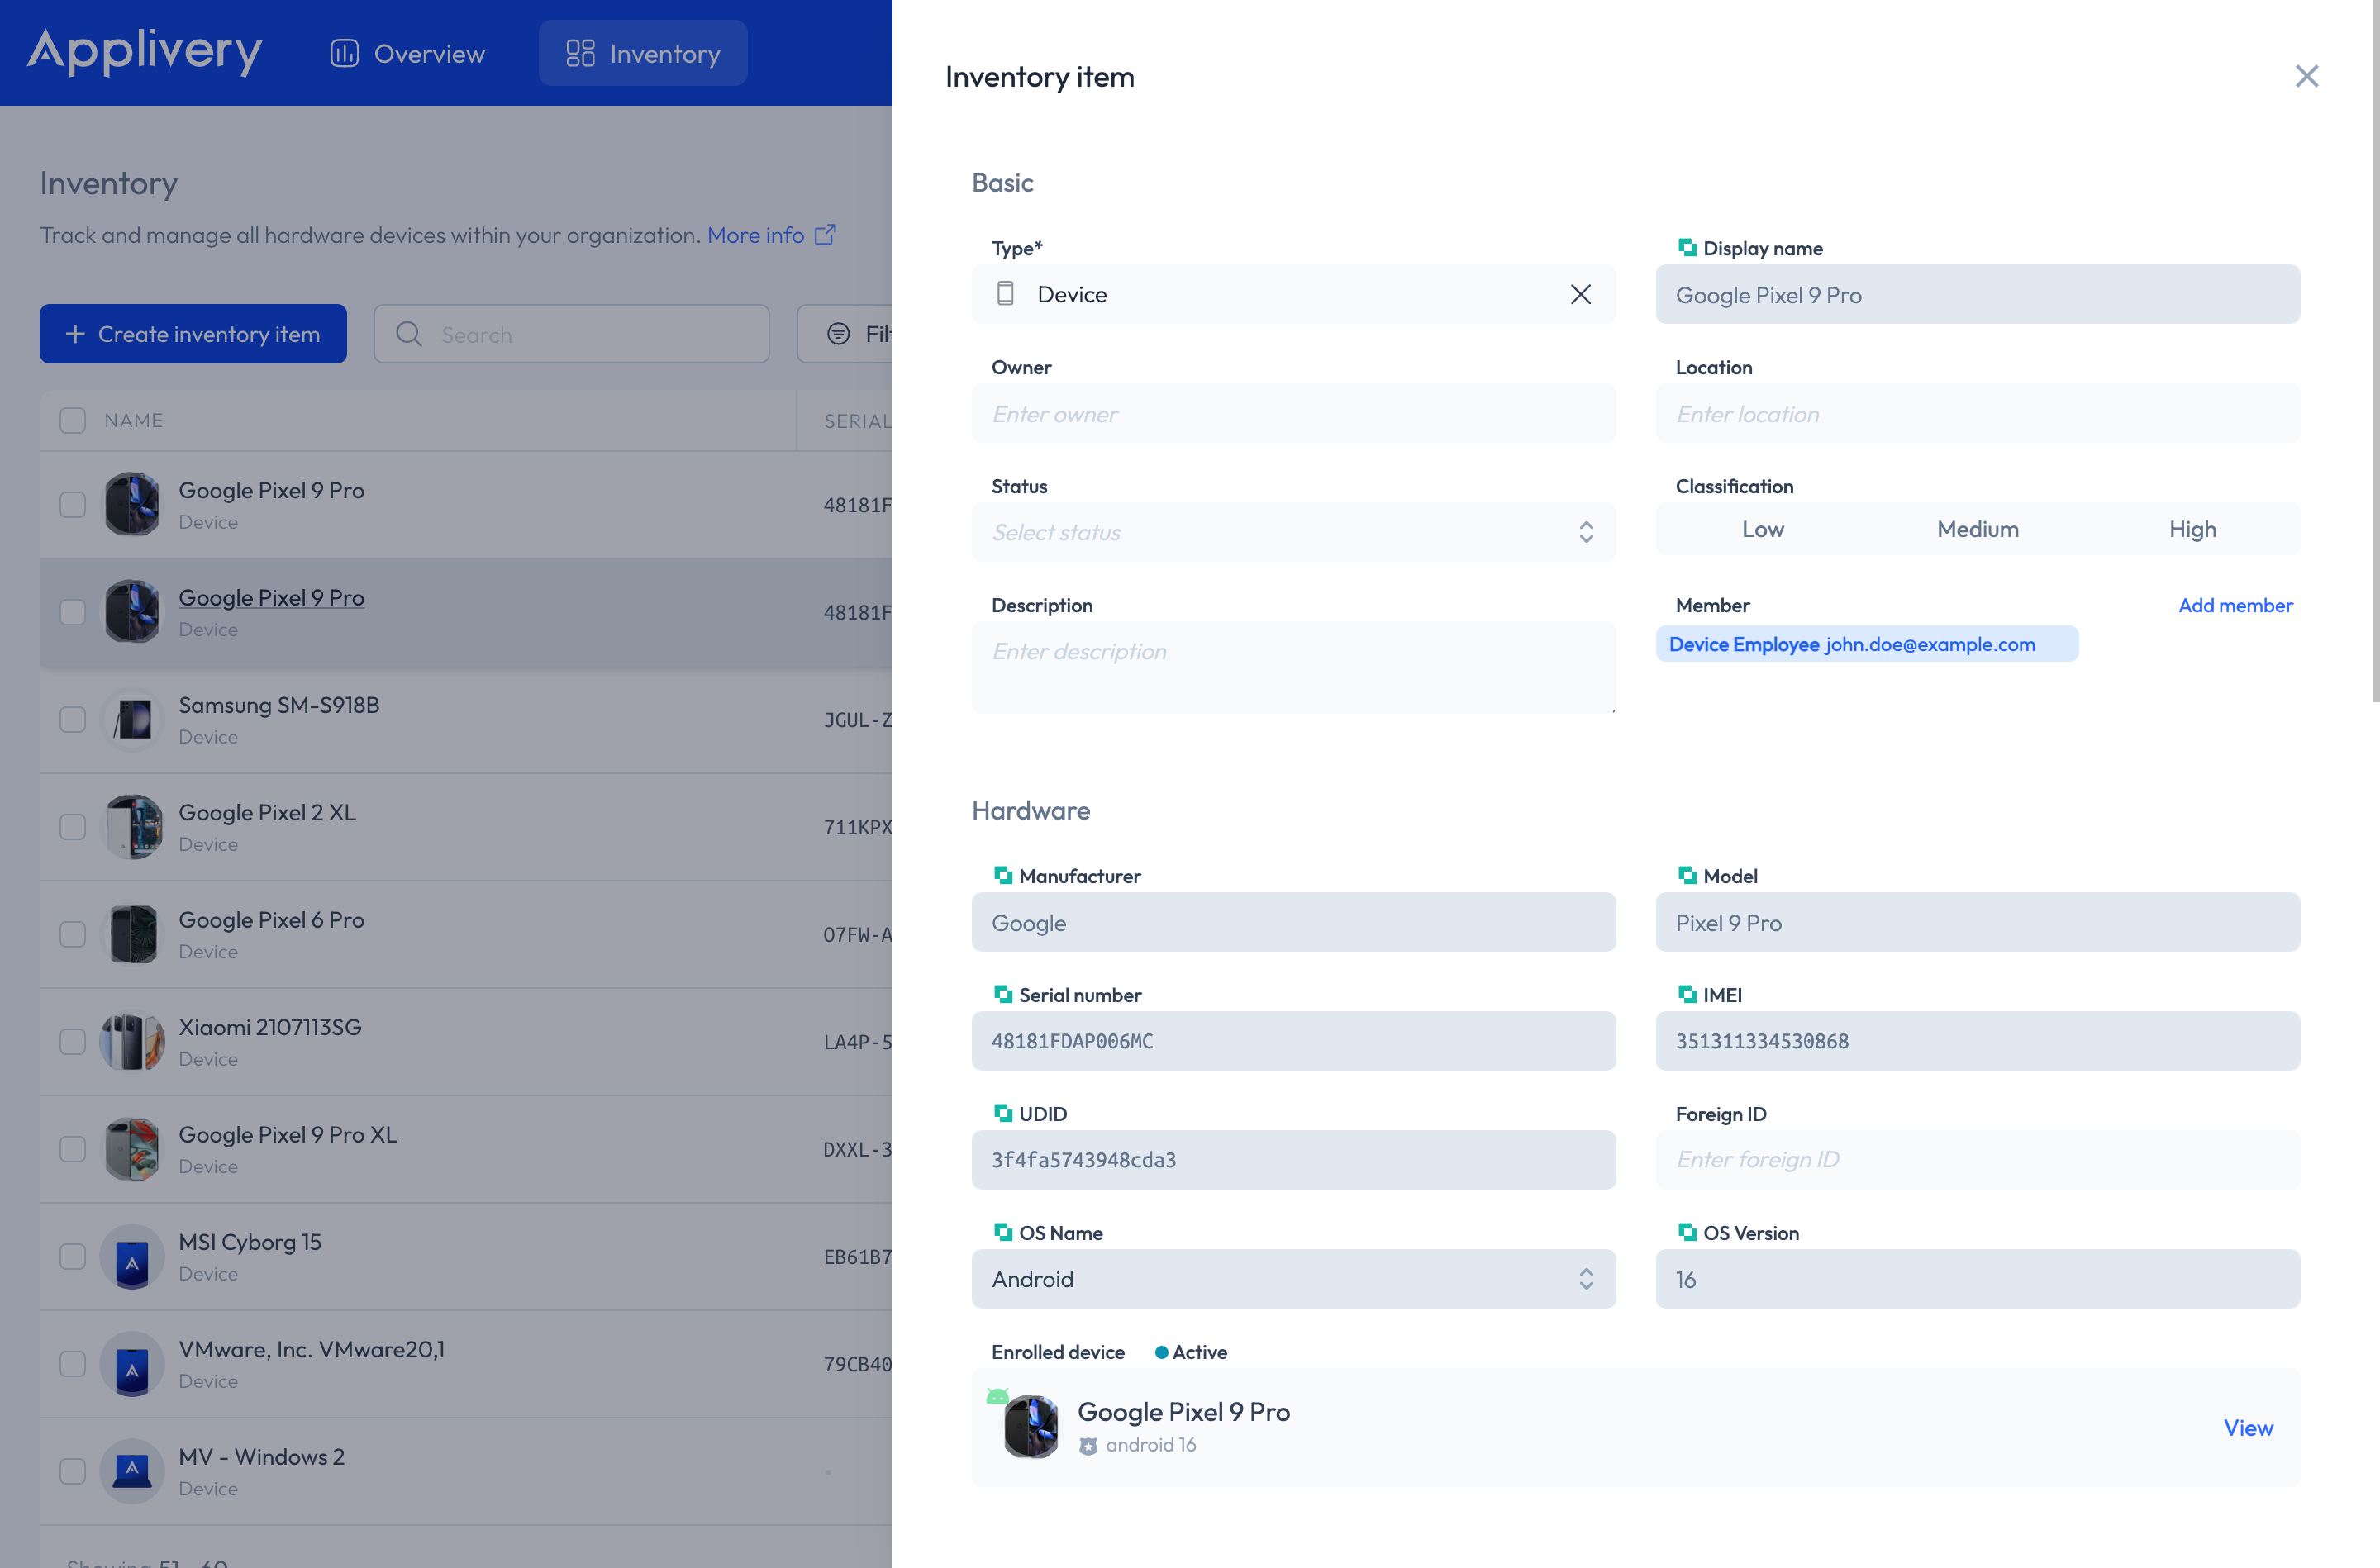
Hardware
Technical specifications and enrollment details:
Manufacturer: The brand of the Device.
Model: The specific model name or number.
Serial number: The Device's unique serial number.
IMEI: Unique identifier for mobile Devices.
UDID: Unique Device Identifier — particularly useful for Apple Devices.
Foreign ID: An optional field for any external or third-party identifier.
OS Name / OS Version: The name and version of the operating system installed on the Device.
Enrolled Device: Shows whether the Device is currently managed by Applivery and its enrollment or provisioning status. Possible values:
active,deleted,delete_requested,provisioning,unknown. This field is retrieved in real time from Applivery Device Management and cannot be edited manually. It also includes a direct link to the Device's record and a thumbnail image.
Network
Network connectivity details:
Host name: The network-assigned name of the Device.
IP address: The Device's IP address, whether static or dynamic.
MAC address: The Device's unique MAC (Media Access Control) address.
Purchase
Purchase and billing information:
Provider: The supplier from whom the Device was purchased.
Order number: The reference number for the purchase order.
Part number: The Device's part or catalog number.
Price: Cost of the Device, including currency.
Order date: The date of purchase.
Frequency: Whether this is a one-time purchase or a recurring cost (monthly, yearly, etc.).
Lifecycle
Asset lifecycle tracking:
Warranty: The end date of the asset's warranty.
Expected useful life: The estimated lifespan of the asset, expressed in months or years.
Seats
Useful when an asset is shared across multiple licenses:
Available seats: The number of seats currently available.
Total seats: The total number of seats assigned to this asset.
Metadata
Add custom properties to any Inventory item using key/value pairs or directly in JSON format. This is useful for capturing organization-specific fields that don't fit into the standard sections above.
Notes
A free-text field for observations, known issues, escalation history, or any other additional context.
Adding Inventory Items in Bulk
The bulk import feature lets you add or update multiple assets at once using a CSV file, without having to enter them one by one. This is especially useful when setting up your Inventory for the first time or synchronizing large volumes of devices after a hardware refresh.
The key benefits are:
Saves time on large-scale data entry.
Minimizes the risk of manual errors.
Supports both initial uploads and ongoing updates.
Click the Import button and download the CSV template provided. It includes all required fields and the correct format for a successful import.
Open the template in a spreadsheet editor such as Microsoft Excel or Google Sheets and fill in the details for each asset you want to add.
Do not change the column headers or leave empty rows between entries. When you're done, save the file in CSV format to ensure compatibility.
Return to the Inventory Import panel in Applivery. Click Select CSV file, choose the file you prepared, and upload it.
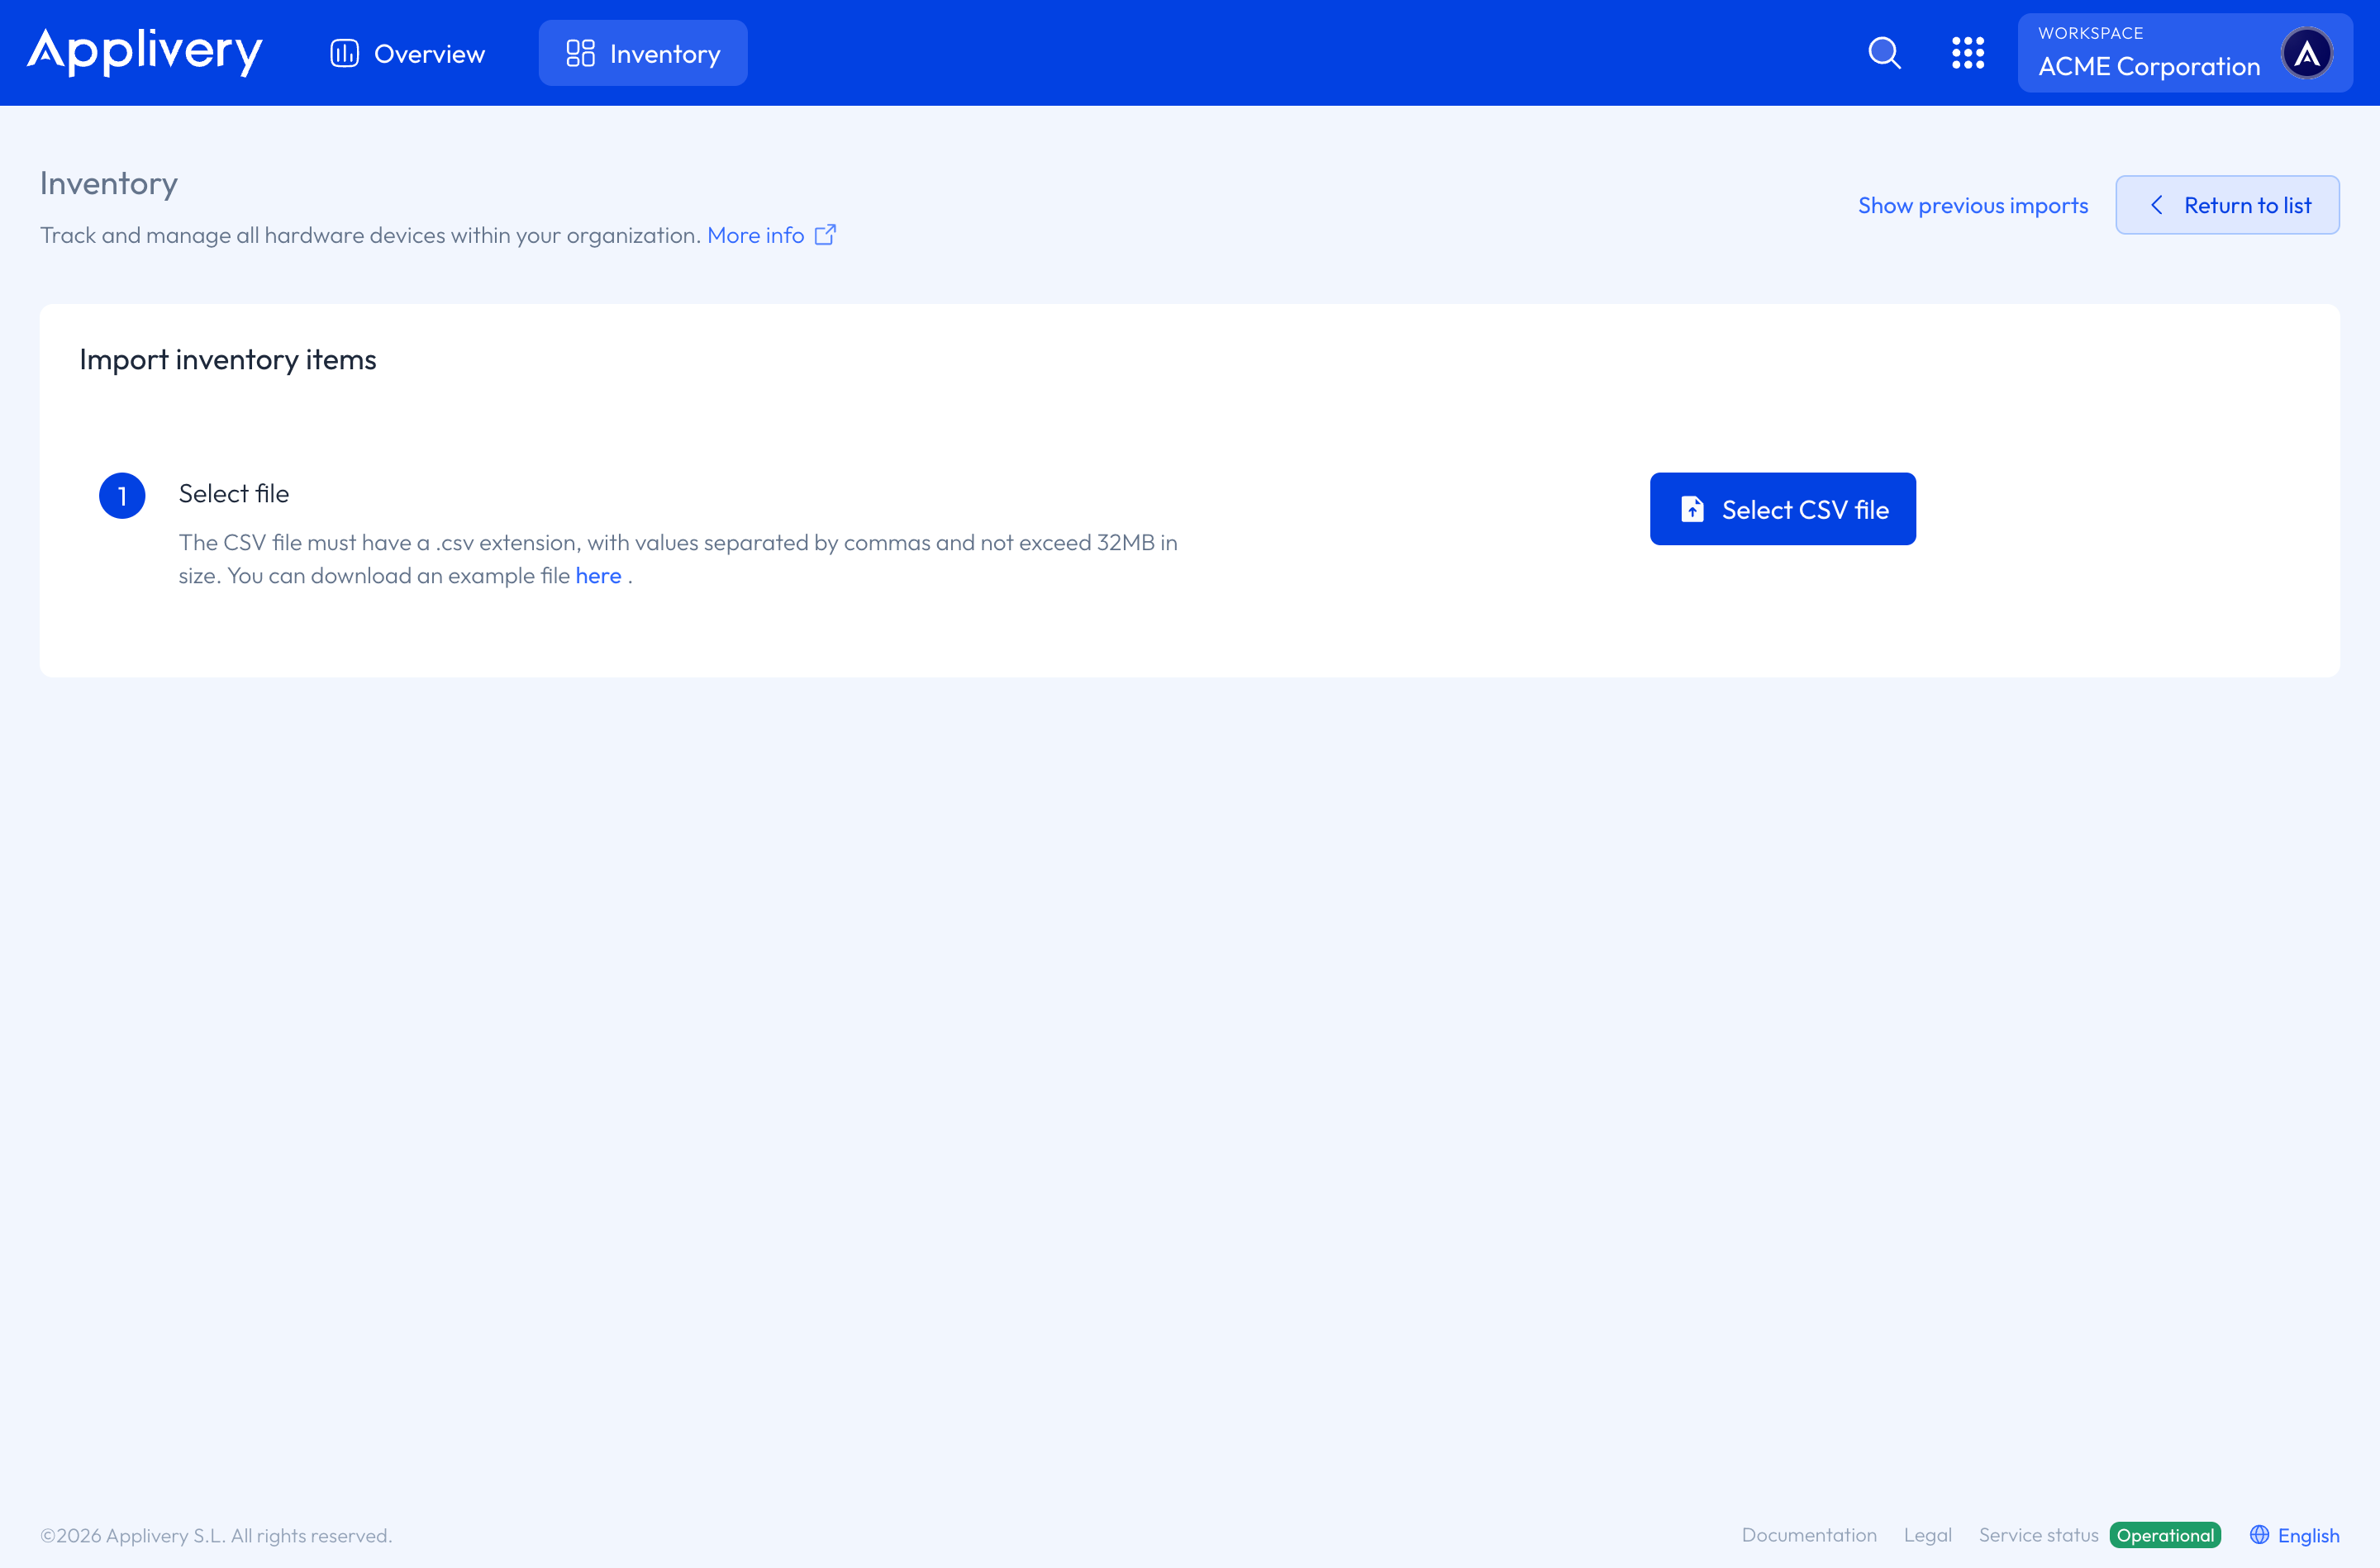
Once the file is uploaded, Applivery will display a preview of the data. Review the information carefully to confirm everything looks correct, then confirm the import. Applivery will process the file and add or update items accordingly.
After the import completes, go to the Inventory section and confirm that all items were added or updated correctly. If any entries were skipped or flagged with errors, correct the CSV file and repeat the process for those items.
Before a bulk import, export your current Inventory as a backup. If you're working with a very large dataset, consider splitting it into multiple CSV files to avoid row limits or timeout issues. Always use the official Applivery template exactly — changing column names or adding extra columns can cause validation errors during import.
If you disenroll a Device from Applivery, it will not be automatically removed from the Inventory. Only manually created or CSV-imported items can be deleted. Enrolled Devices remain in the Inventory list even after disenrollment.