

Windows Autopilot is Microsoft's zero-touch provisioning technology: it lets a brand-new Windows Device configure itself the first time it's turned on, with no manual imaging or setup. When you combine Autopilot with Applivery, the device is redirected to Applivery during the out-of-box experience (OOBE) — so the Applivery Agent, your Policies, and your Apps are installed automatically the moment the user signs in.
Before starting this configuration, make sure you have completed the Microsoft Entra ID setup. Autopilot requires an active Entra ID integration to redirect devices to Applivery during enrollment.
1. Configure the MDM Handover
This is the most critical step. It tells Microsoft Entra: "Do not manage this device yourself; send it to Applivery."
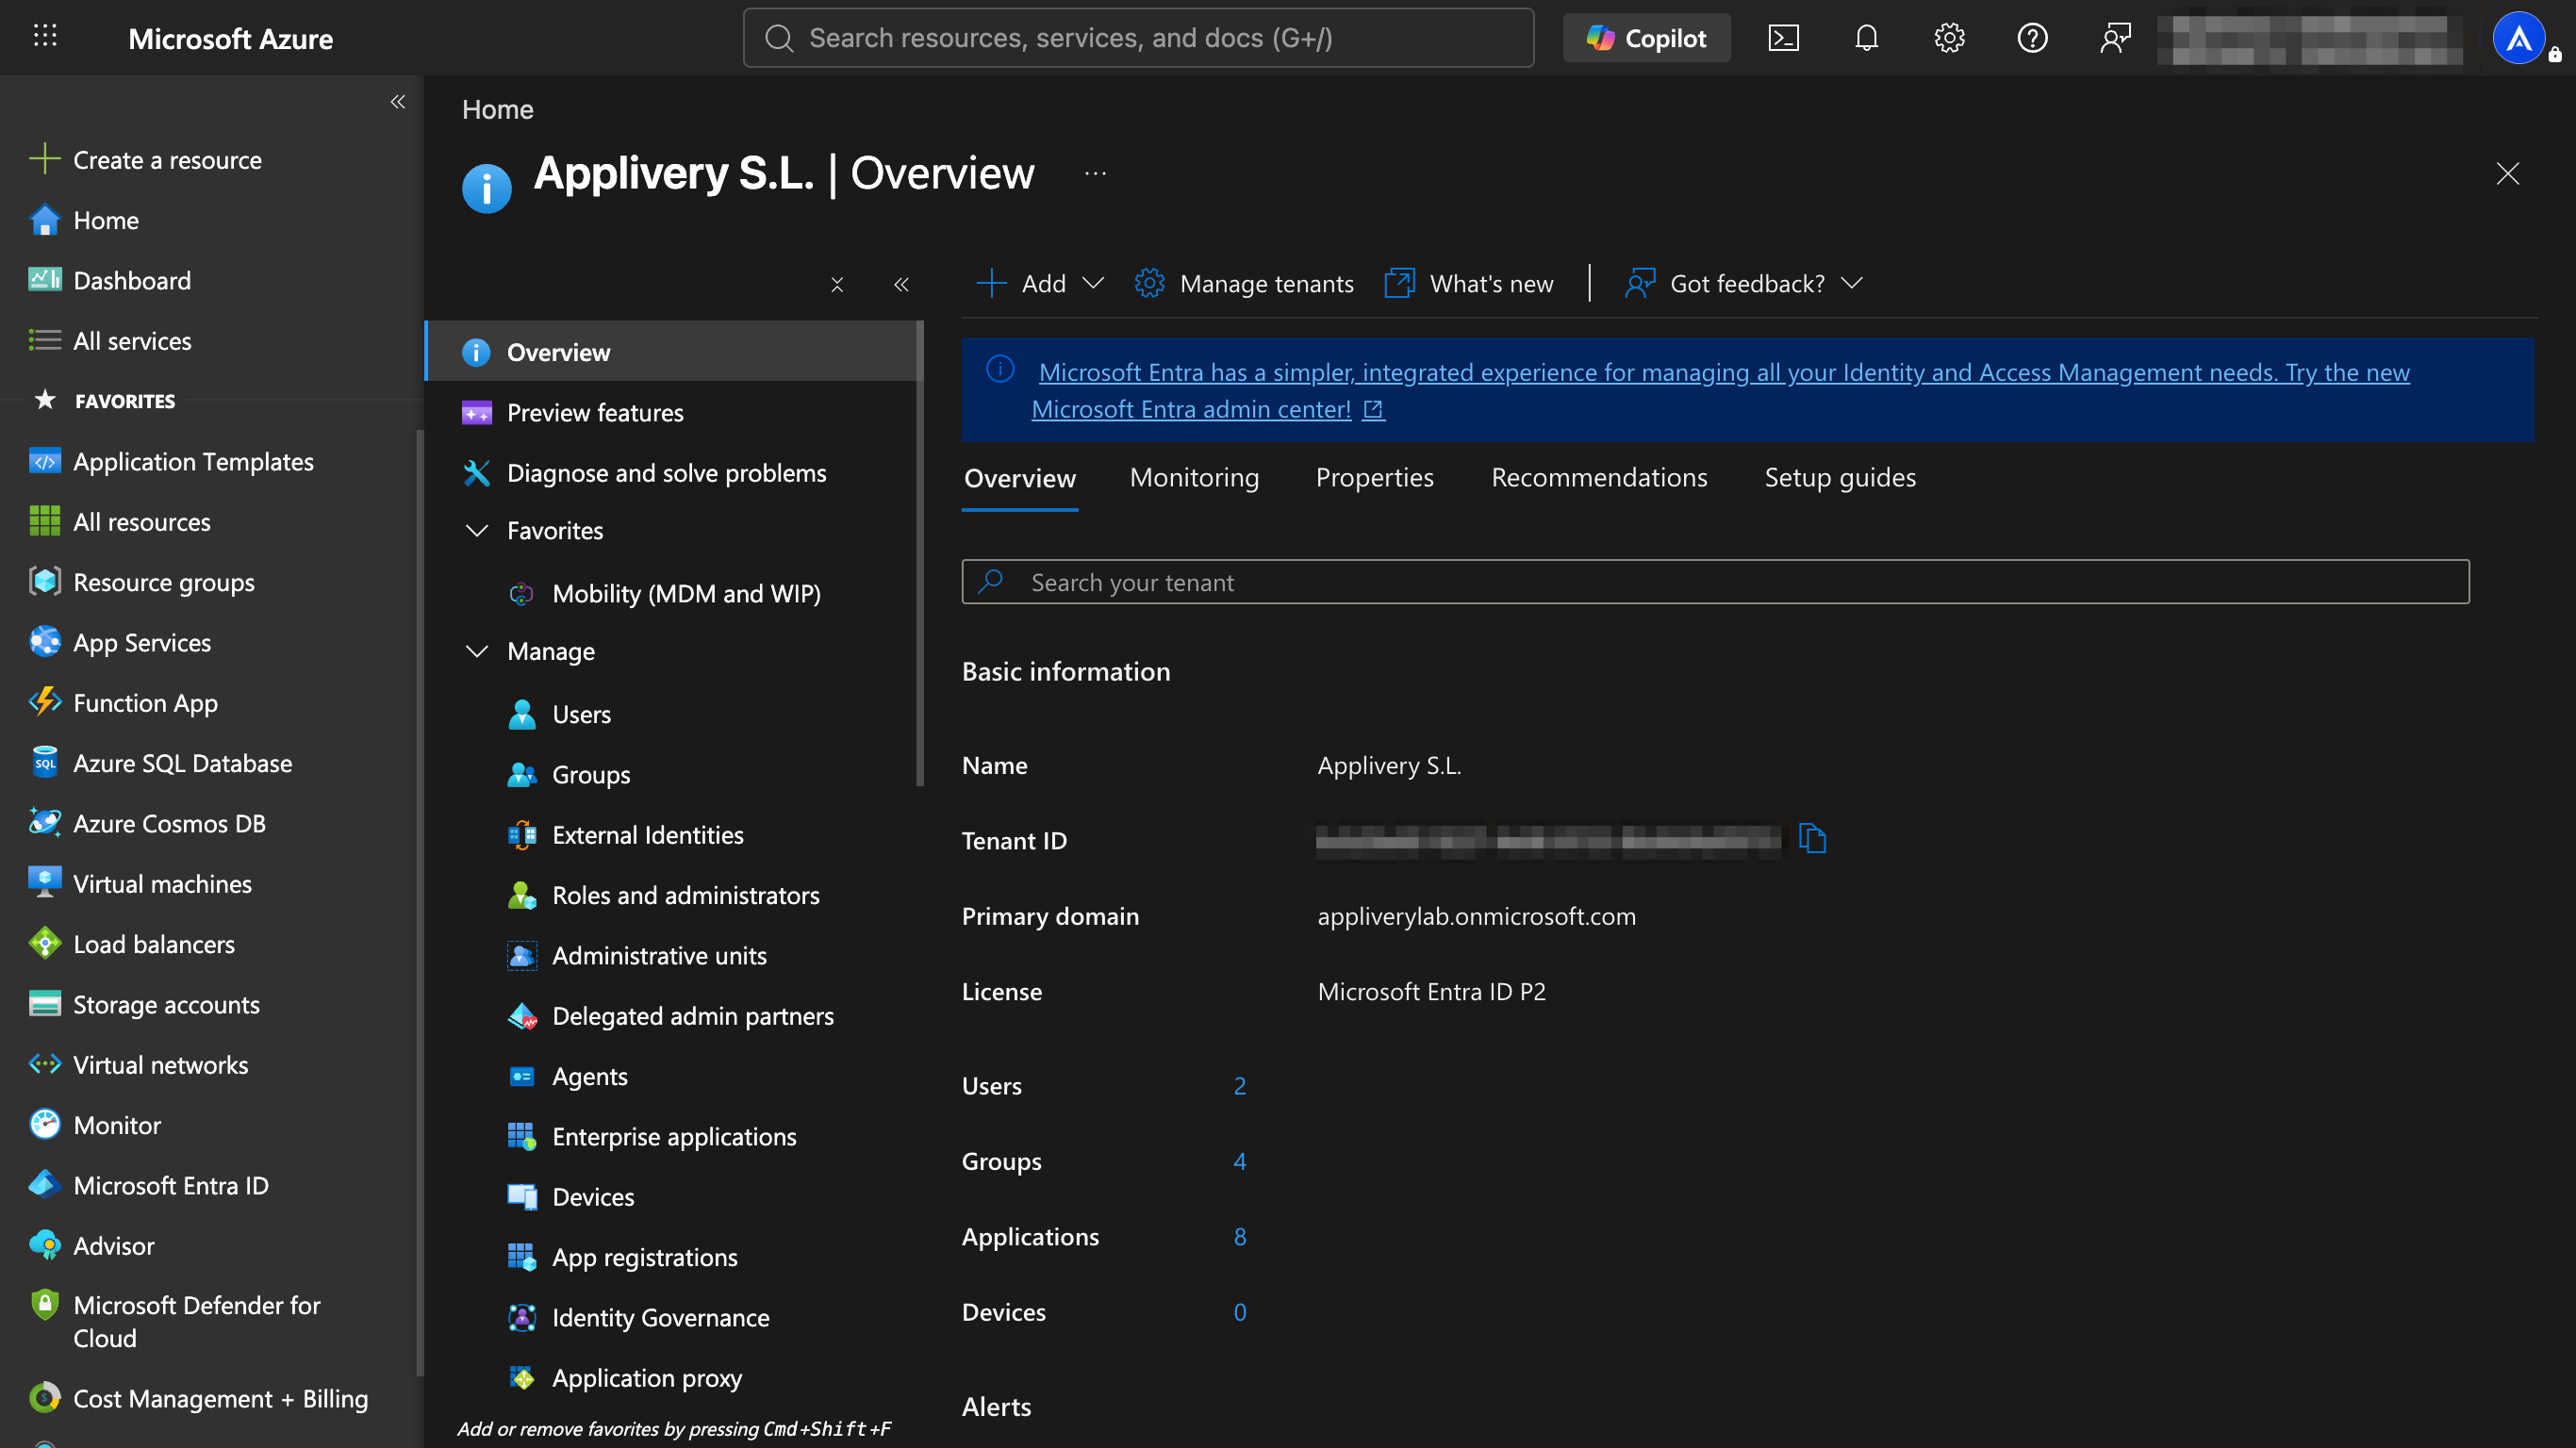
Sign in to the Azure Portal with an account that has permission to manage Mobility settings.
Navigate to Manage > Mobility (MDM and WIP).
Click on your Applivery application. It should already appear listed in the mobility applications panel — if it isn't there, add it first.
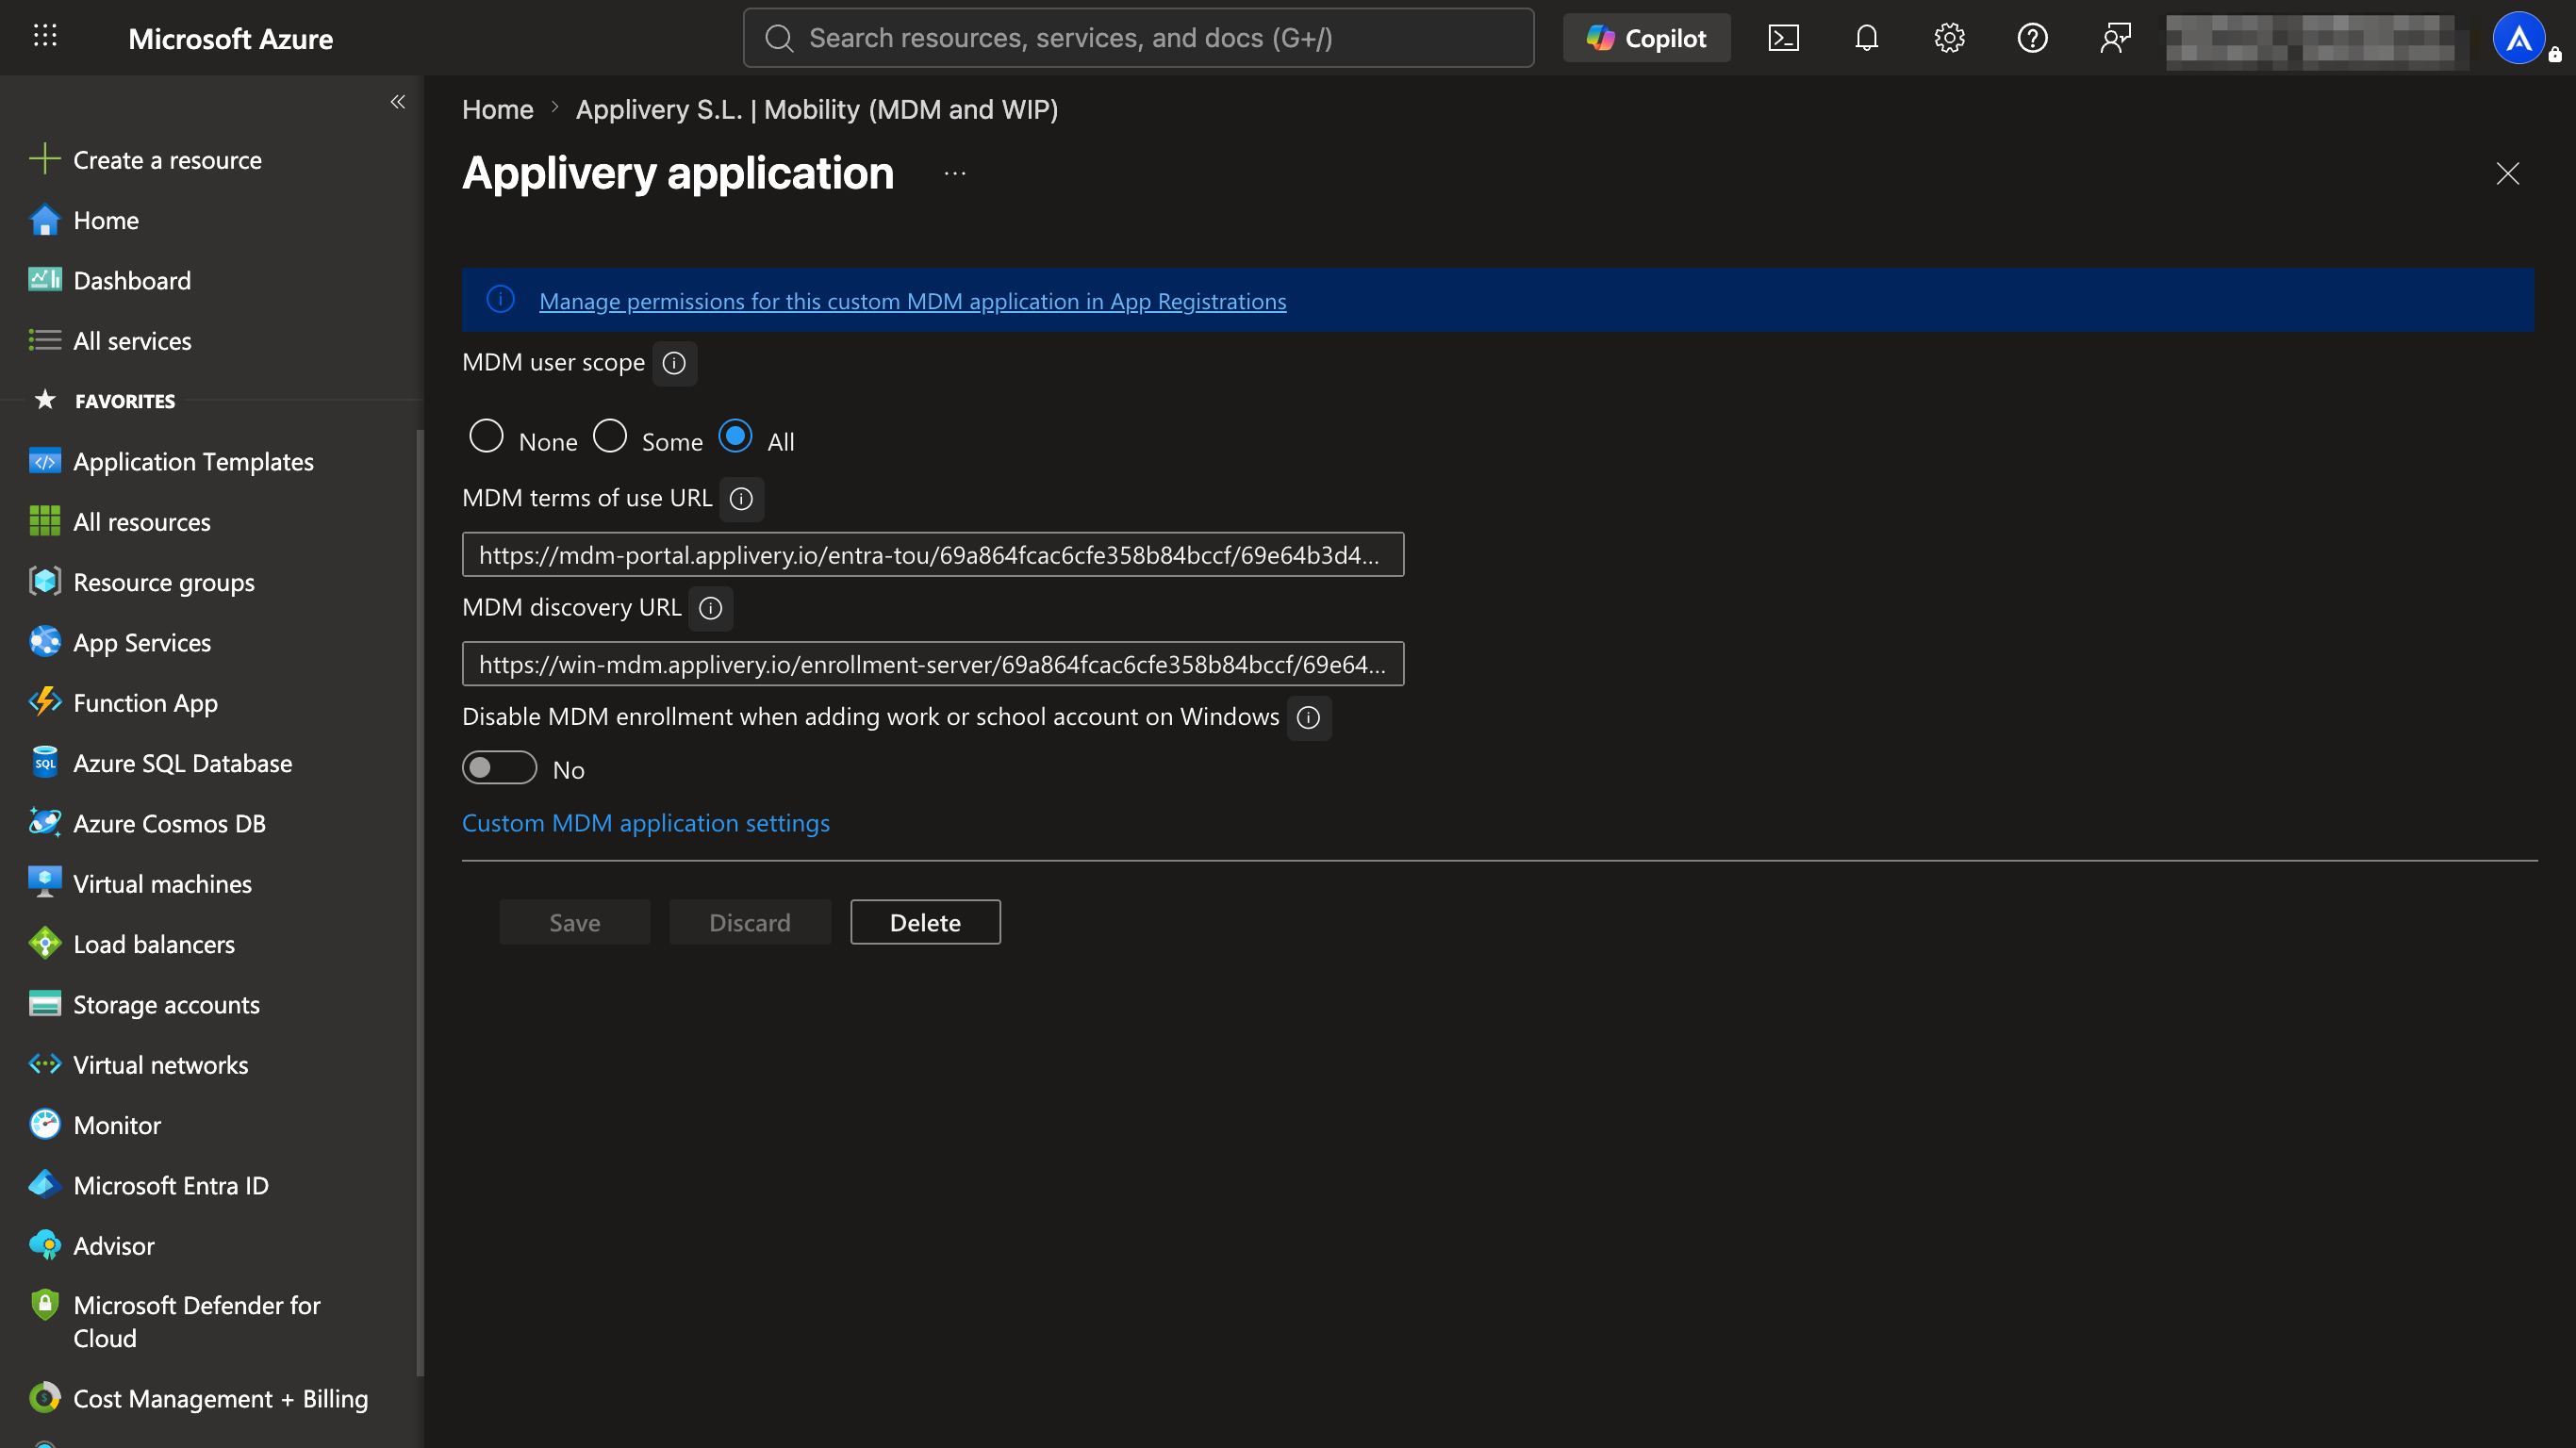
Set the MDM User Scope to All, or target a specific security group by choosing Some.
Then verify that the MDM Discovery URL points to the Applivery Enrollment Endpoint. This URL is what redirects the device away from Intune and toward Applivery — it should have been configured during the Entra ID setup.
2. Create the Deployment Profile
The deployment profile controls the Out-of-Box Experience (OOBE) — what the user sees when they turn on the computer.
In the Microsoft Intune Admin Center, go to Devices > Windows, then to Enrollment > Deployment Profiles.
Creating a deployment profile requires one of these licenses: Microsoft 365 E3, Microsoft 365 E5, Microsoft 365 F1, Microsoft 365 F3, or Microsoft 365 Business Premium.
Click + Create profile > Windows PC.
Use a descriptive name that identifies its purpose, for example: Applivery-Standard-Setup.
Configure the out-of-box experience with the following settings:
Deployment mode: select
User-driven.Join to Microsoft Entra ID as: select
Microsoft Entra ID joined.Hide privacy settings: set to
Hidefor a smoother experience.User account type: select
Standard user(recommended for security).
Save the profile and assign it to an Entra ID group containing your target devices. The profile will be applied automatically to all devices registered in that group.
3. Hardware Registration
The device needs to be "known" by Microsoft before it can be managed by Autopilot.
The hardware hash is a unique identifier used to register the device in Autopilot. You can obtain it by either:
Requesting the
.csvfile directly from your hardware vendor.Running the
Get-WindowsAutopilotInfo.ps1PowerShell script on the devices.
In the Microsoft Intune Admin Center, go to Devices > Windows, then to Enrollment > Devices.
Click Import and upload your .csv file.
The status will change from Pending to Assigned once the deployment profile from Phase 2 is applied. This may take a few minutes.
4. Verification & Handover
Once a registered device is turned on, the automatic provisioning flow begins.
As soon as the device connects to the internet, it recognizes its Autopilot profile automatically.
The user is prompted to enter their corporate Microsoft account credentials during the OOBE setup.
After authentication, Entra ID verifies the user and uses the MDM Discovery URL configured in Phase 1 to redirect enrollment to Applivery instead of Intune.
The Applivery Agent is installed automatically, and the device starts downloading your configured Policies and Apps.
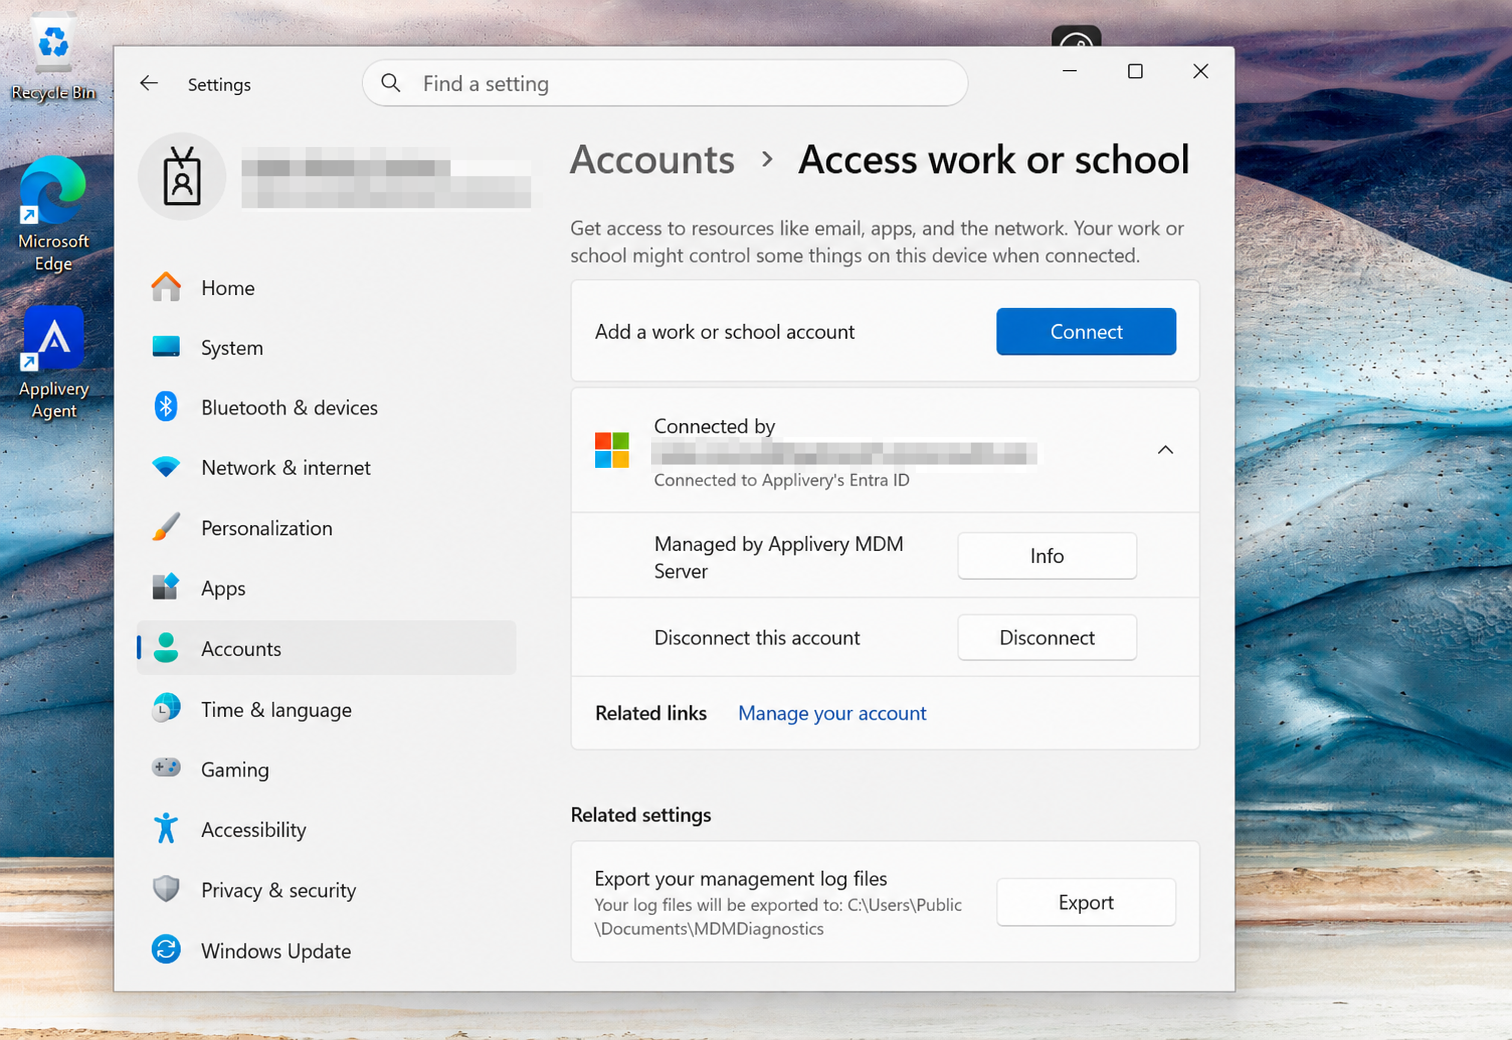
With Autopilot configured, every new device your organization powers on enrolls into Applivery on its own — no manual imaging, no technician touch, and your Policies and Apps applied from the very first boot.