
A Workspace is the top-level organizational unit in Applivery. It groups all your Apps, Devices, team members, Billing, and Settings under a single umbrella. You can have multiple workspaces — for example, one per business unit, client, or environment — and switch between them at any time from the top navigation bar.
Switching between workspaces
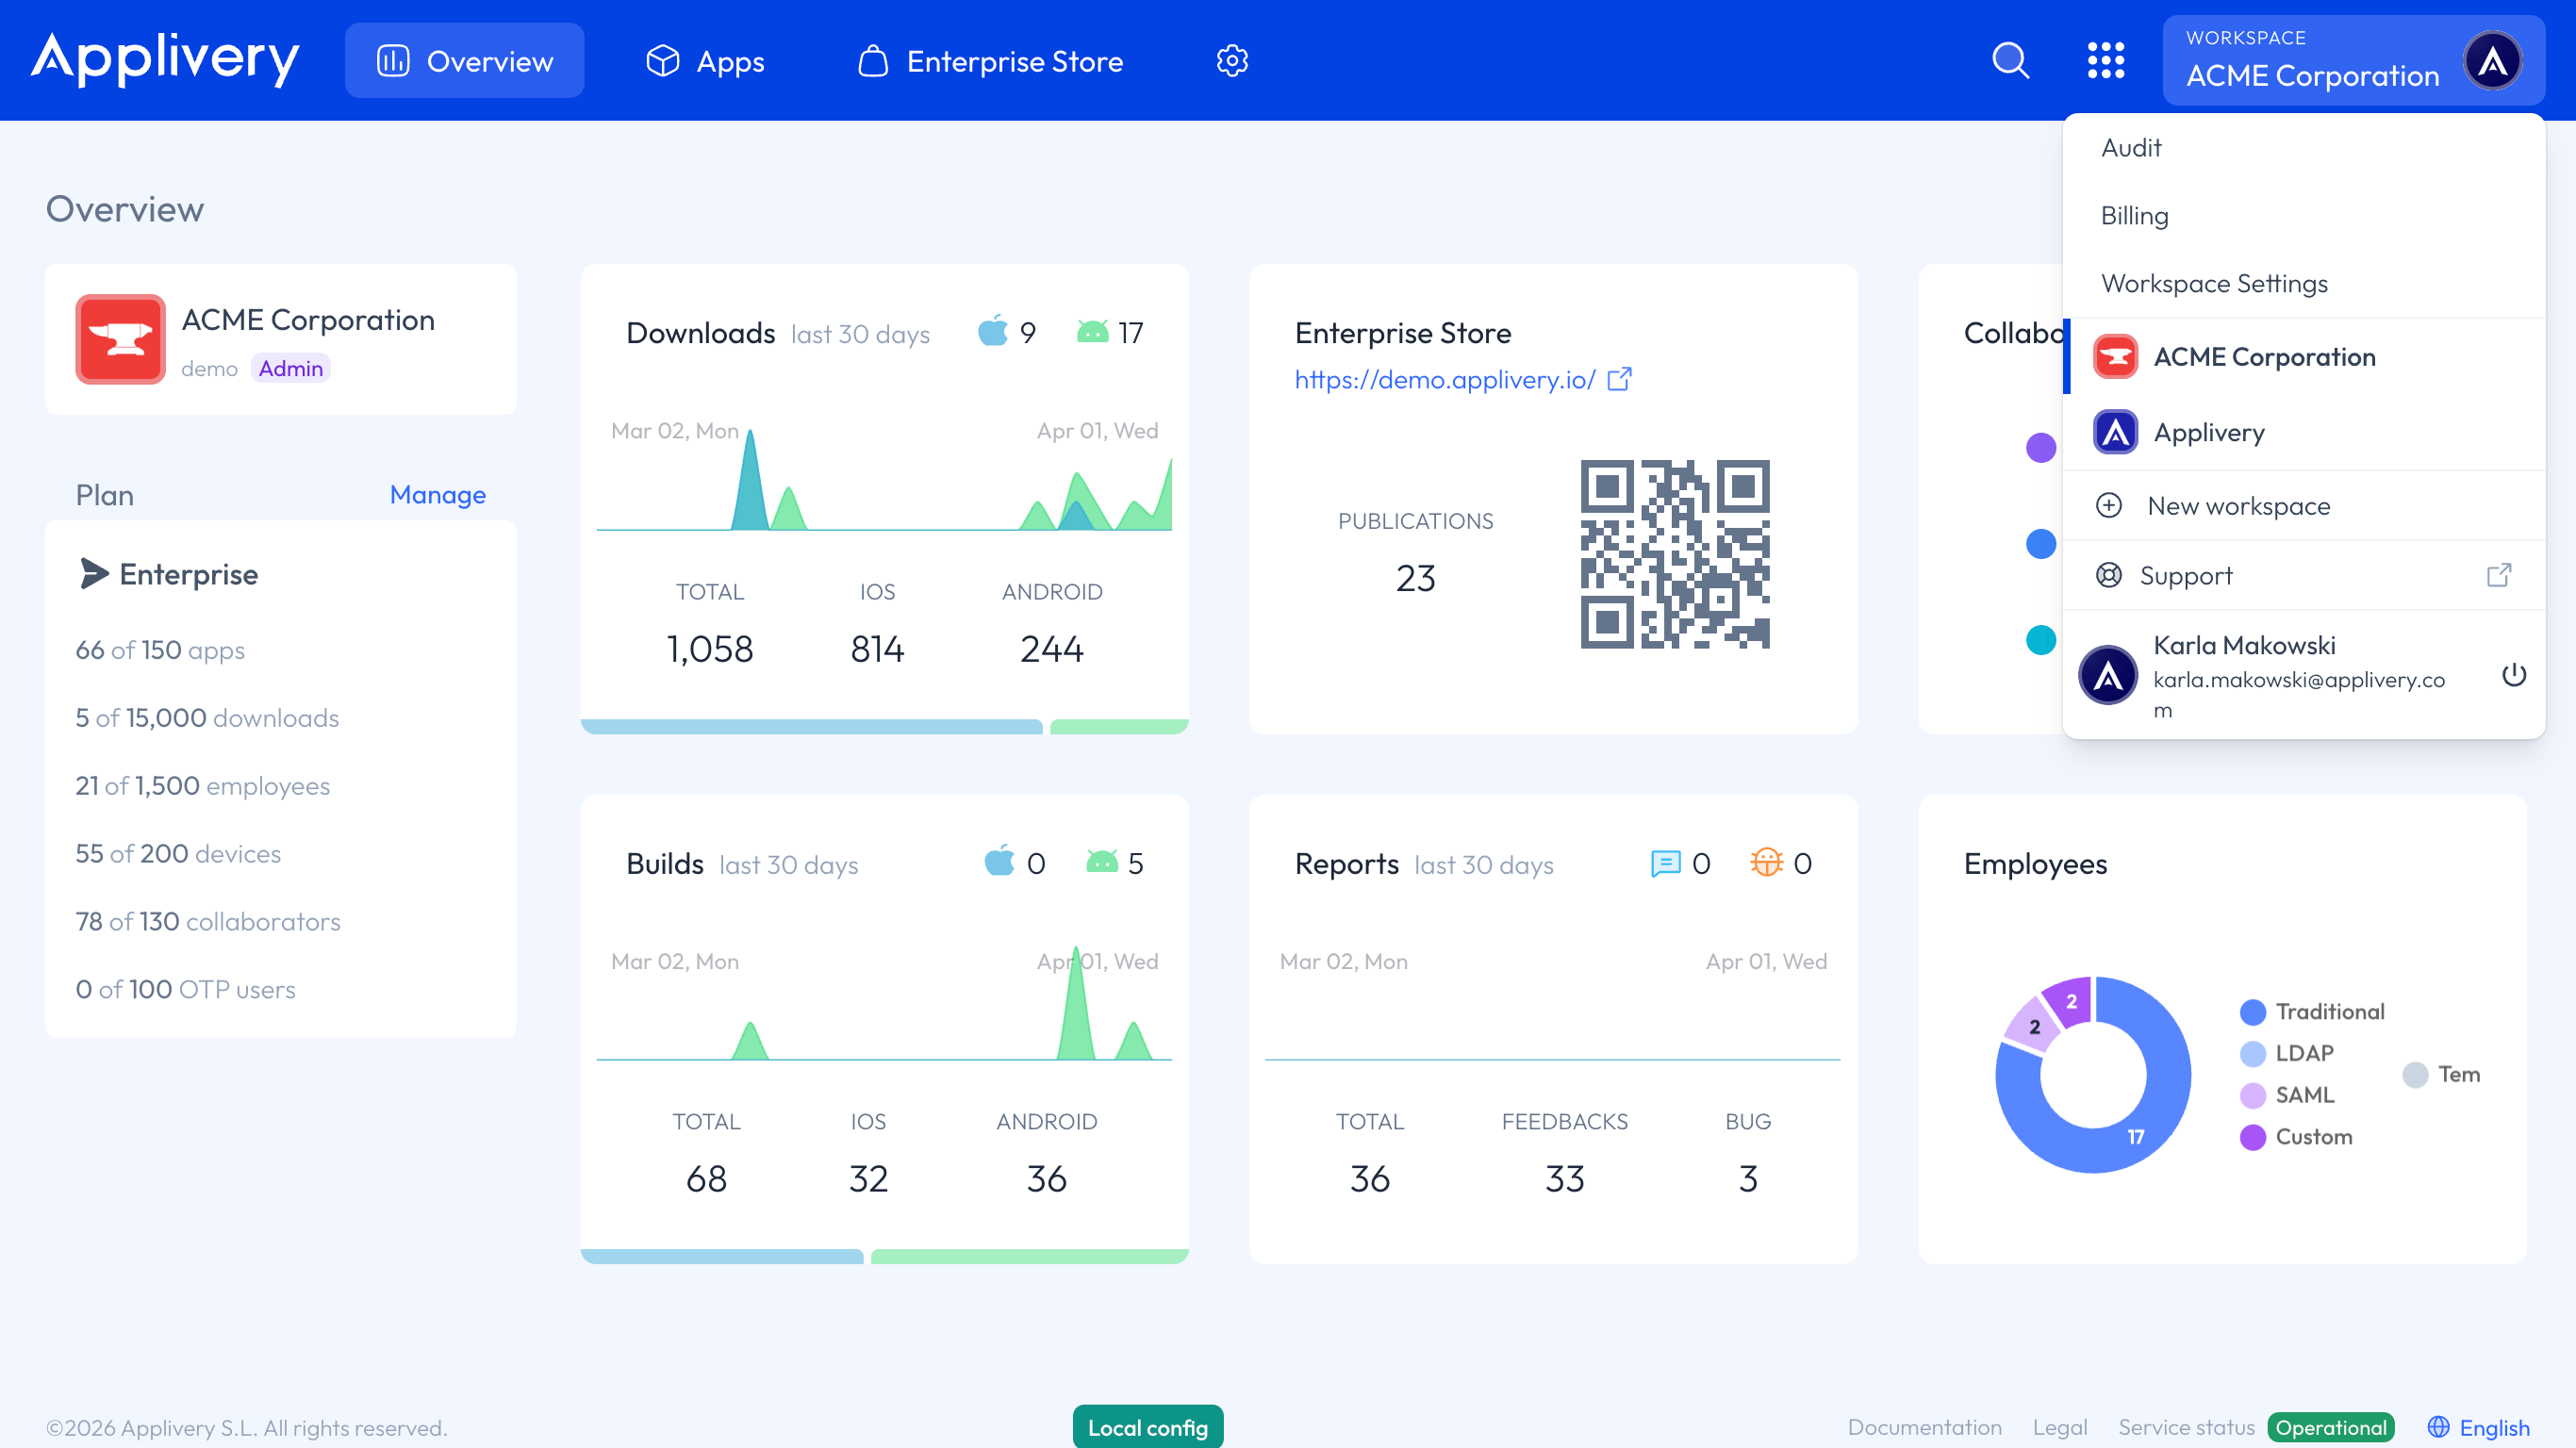
The Workspace dropdown in the top navigation bar always shows your currently active Workspace. Click it to see all workspaces you have access to and select any of them to switch. From the same dropdown, you can also access Audit, Billing, and Settings for the active Workspace.
Creating a Workspace
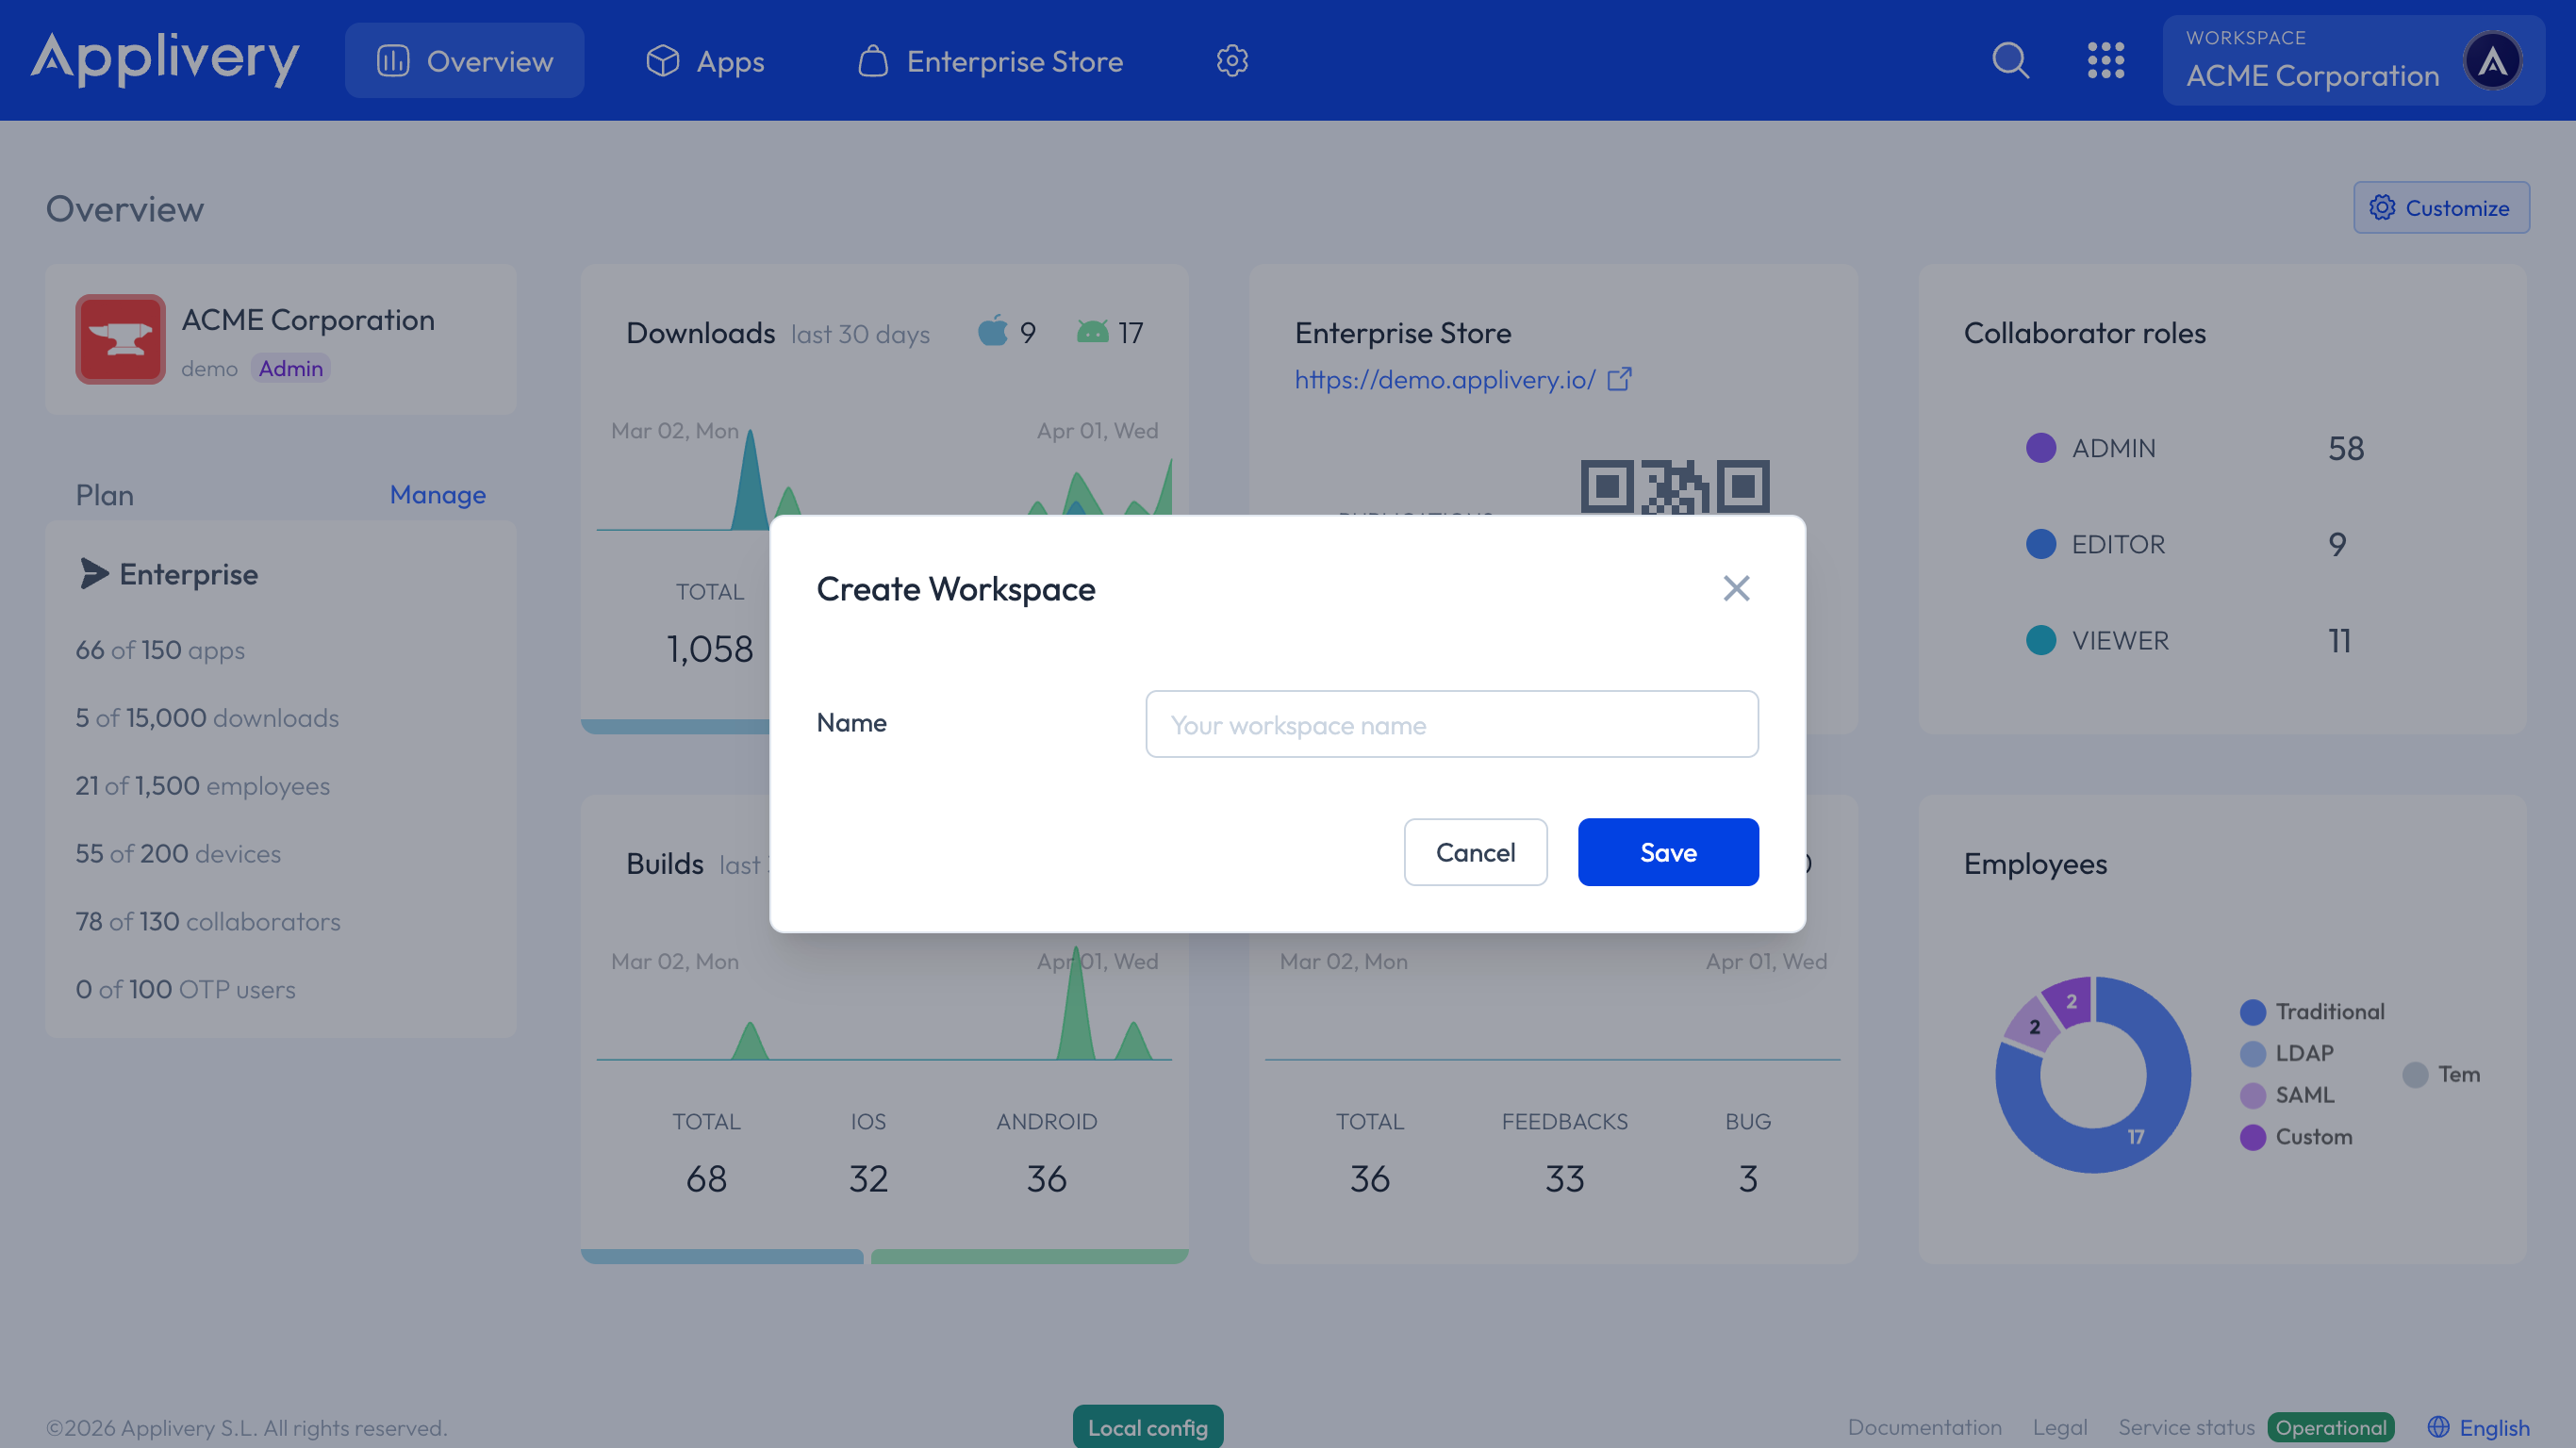
To create a new Workspace, open the Workspace dropdown in the top navigation bar and click + New Workspace. Type a name and confirm. The new Workspace starts empty — no Apps, Devices, or team members — and has its own independent Billing.
Billing and subscription
Billing is managed per Workspace. Each Workspace has its own plan, payment method, and invoice history, all accessible from Workspace → Billing.
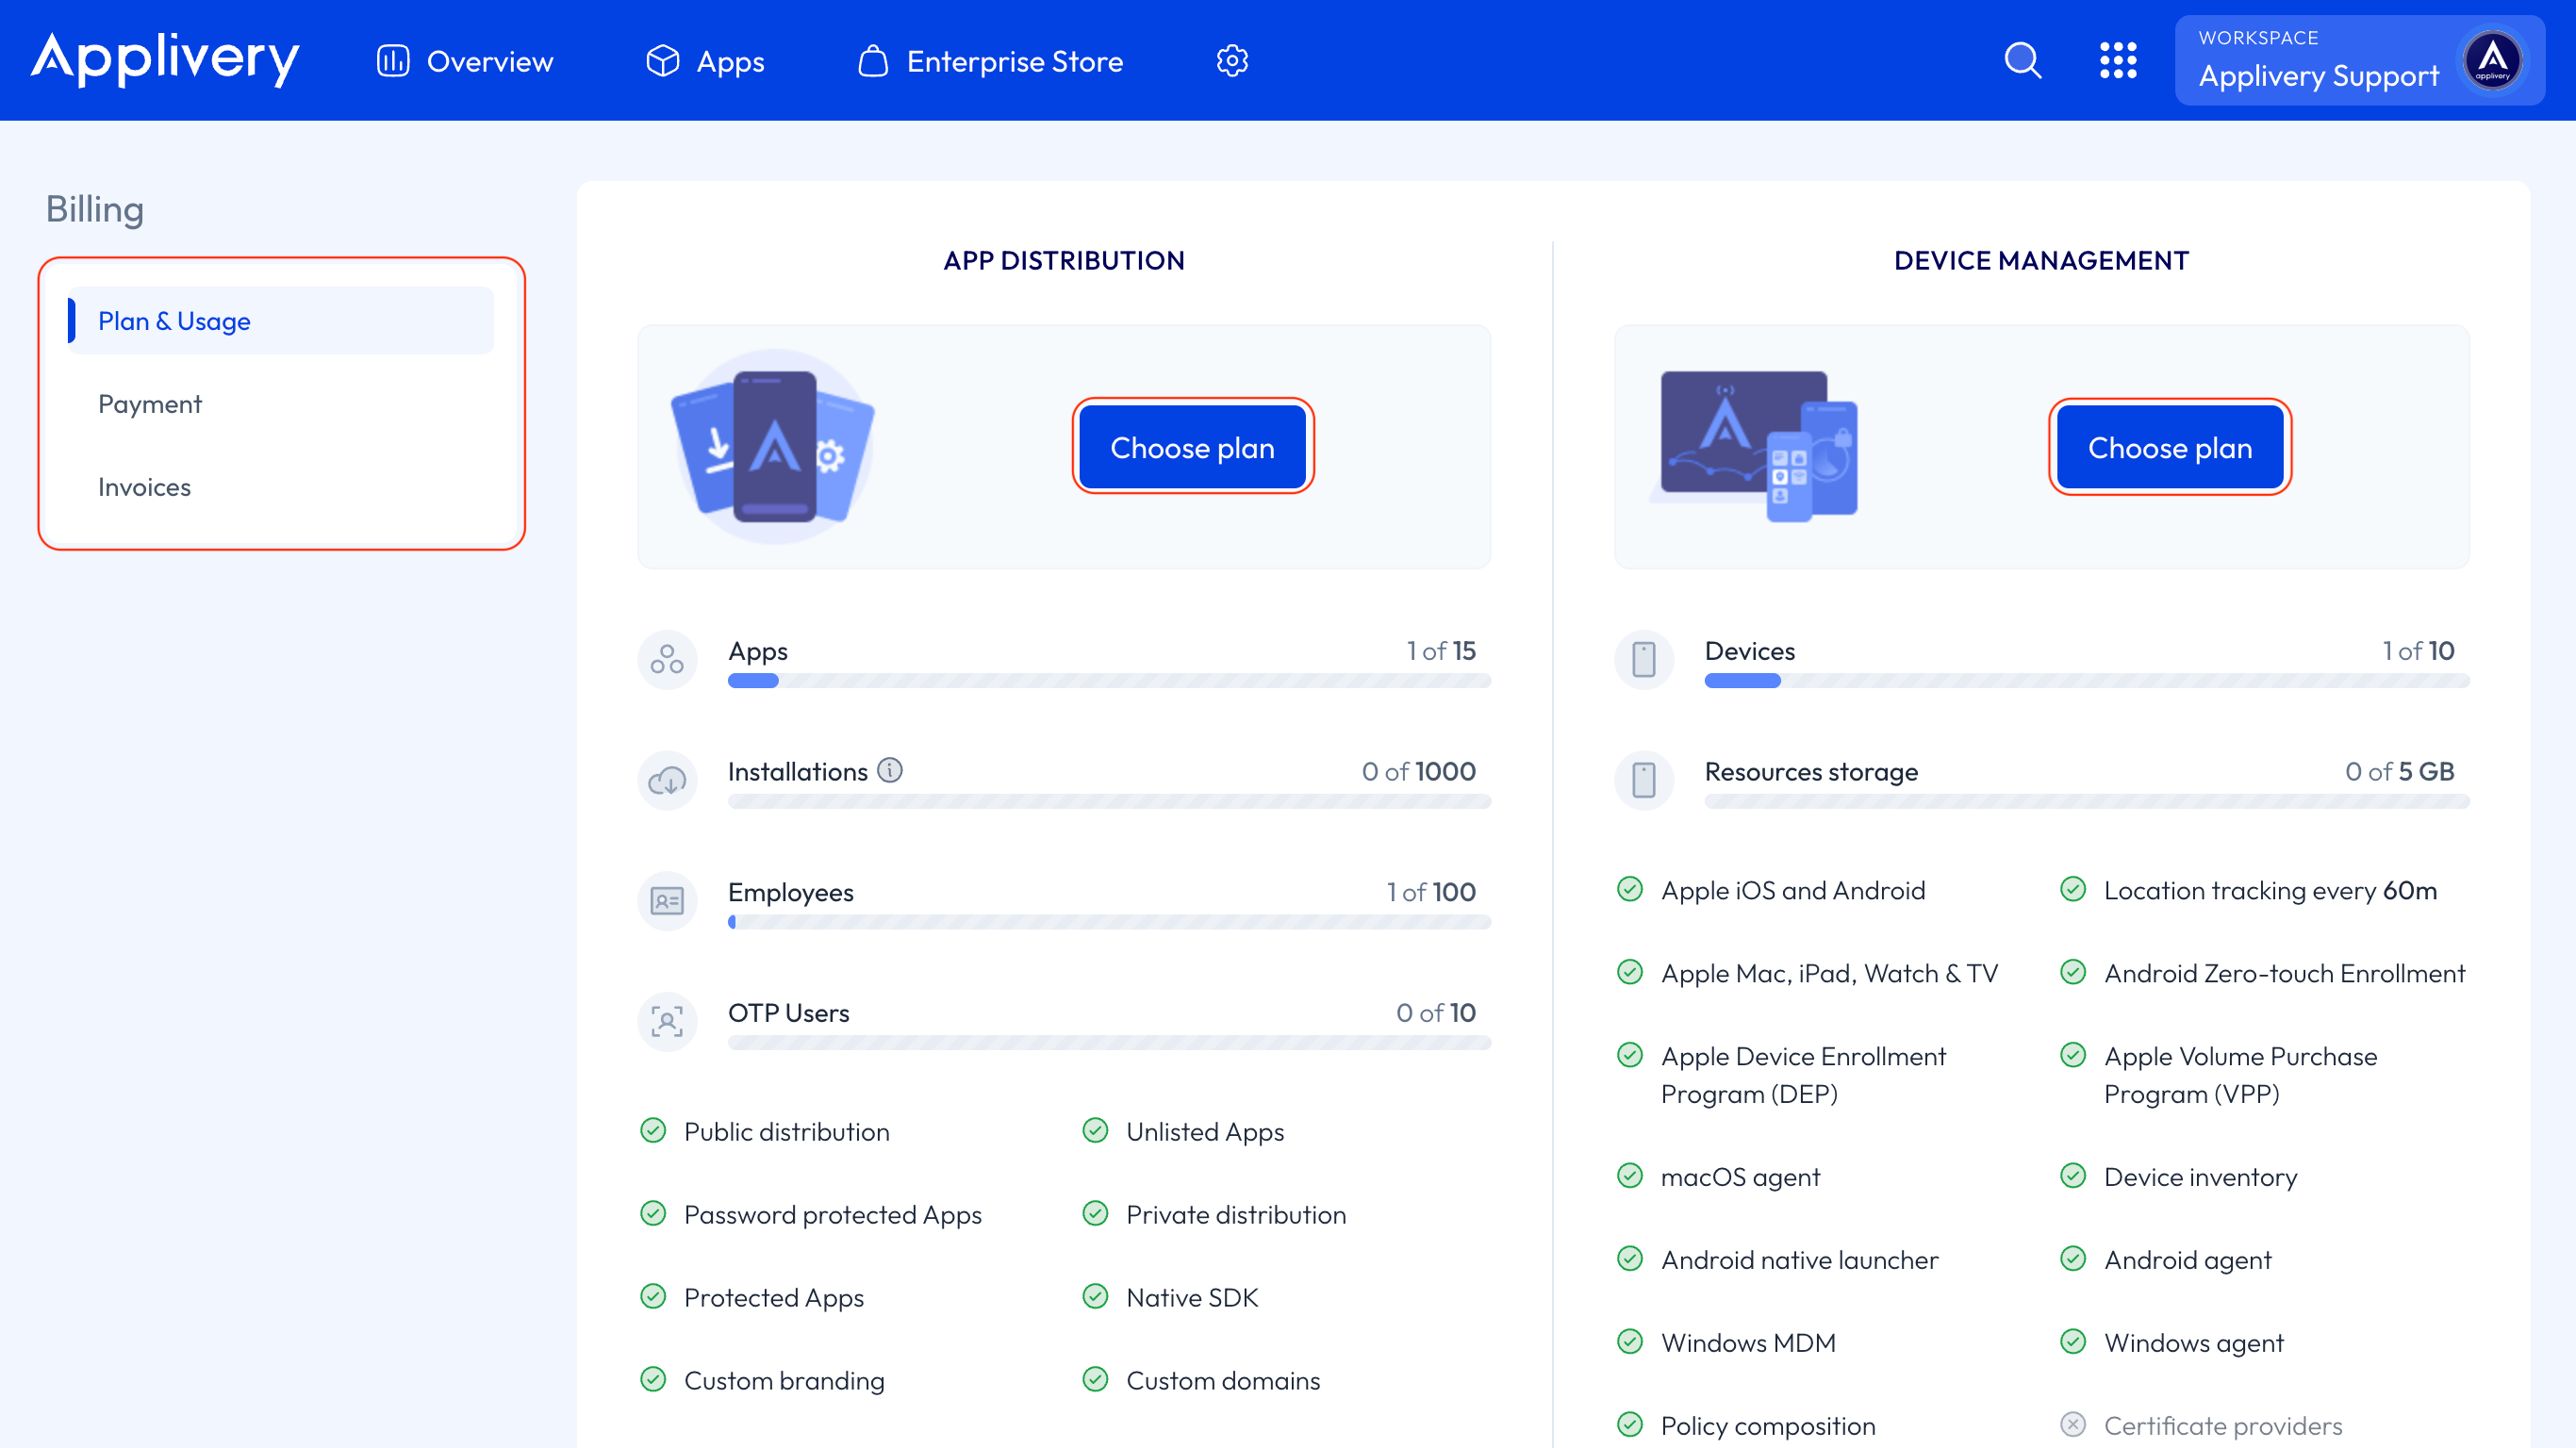
The Billing section is organized into three areas:
Plan & Usage — view your current plan, upgrade, downgrade, or cancel your subscription, and monitor usage against your plan limits.
Payment — manage your billing details and payment methods.
Invoices — access the full history of invoices associated with the Workspace.
Updating payment information
Go to Workspace → Billing → Payment to update billing details or add a new payment method.
Upgrading or changing your plan
Once in the Applivery Dashboard, go to your Workspace, select Billing, and then click the Plan & Usage button. Then just click Manage next to your current plan. A modal will appear showing your current plan alongside the available alternatives. Select a new plan from the tabs at the top and click Continue to apply the change.
You can upgrade or cancel your plan at any time without contacting support — changes take effect immediately.
Transferring Workspace ownership
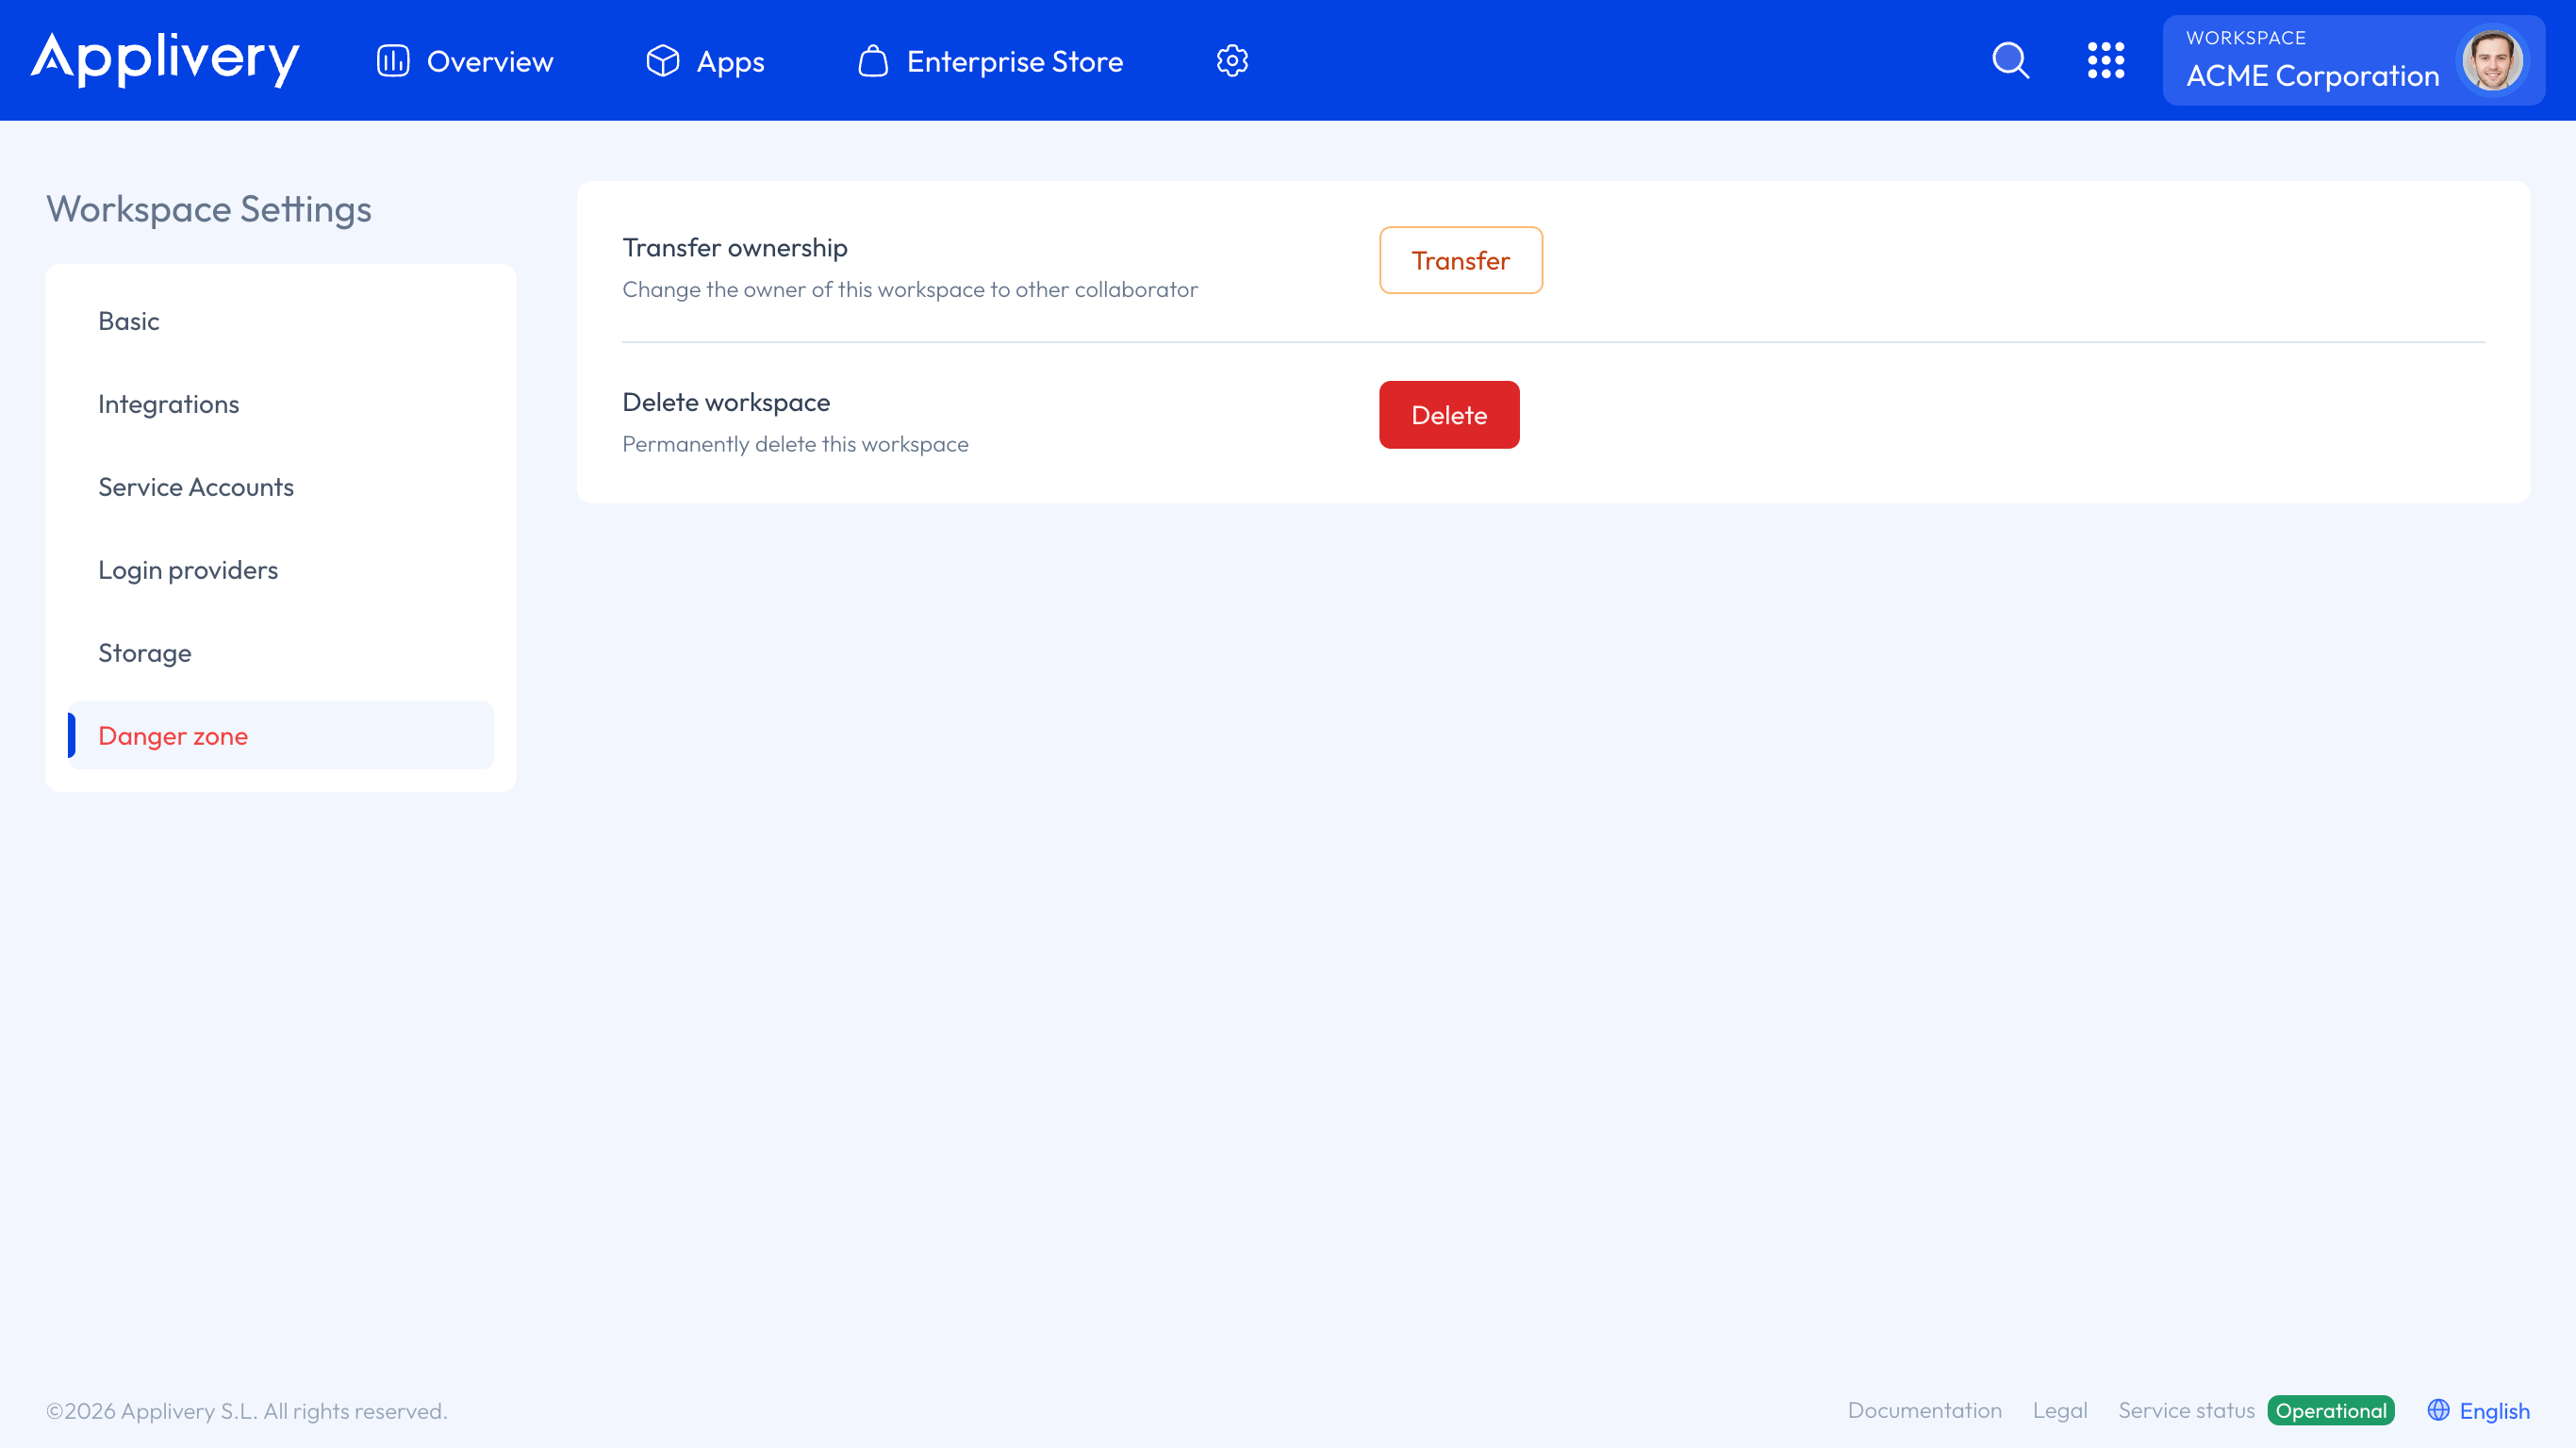
Ownership of a Workspace can be transferred to any existing member of the organization. To do so, go to Workspace Settings, and from the left-hand menu navigate to the Danger Zone.
Click the Transfer button next to the Transfer Ownership option. Then, select the new owner from the list of organization members and confirm the action.
The transfer happens immediately. The previous owner is automatically reassigned to the Admin role and retains access to the Workspace.
Ownership transfer is immediate and cannot be undone from the dashboard. If you need to reverse a transfer, the new owner must initiate another transfer back.