If you have already created your first app, now it’s time to upload your first Build. There are several ways to do it, including automatic ones using our API or 3rd party platforms such as Bitrise.io or Fastlane that allows to automatically deploy your Apps into Applivery in a seamless and effortless way.
Since it’s your first time, let’s keep it simple!
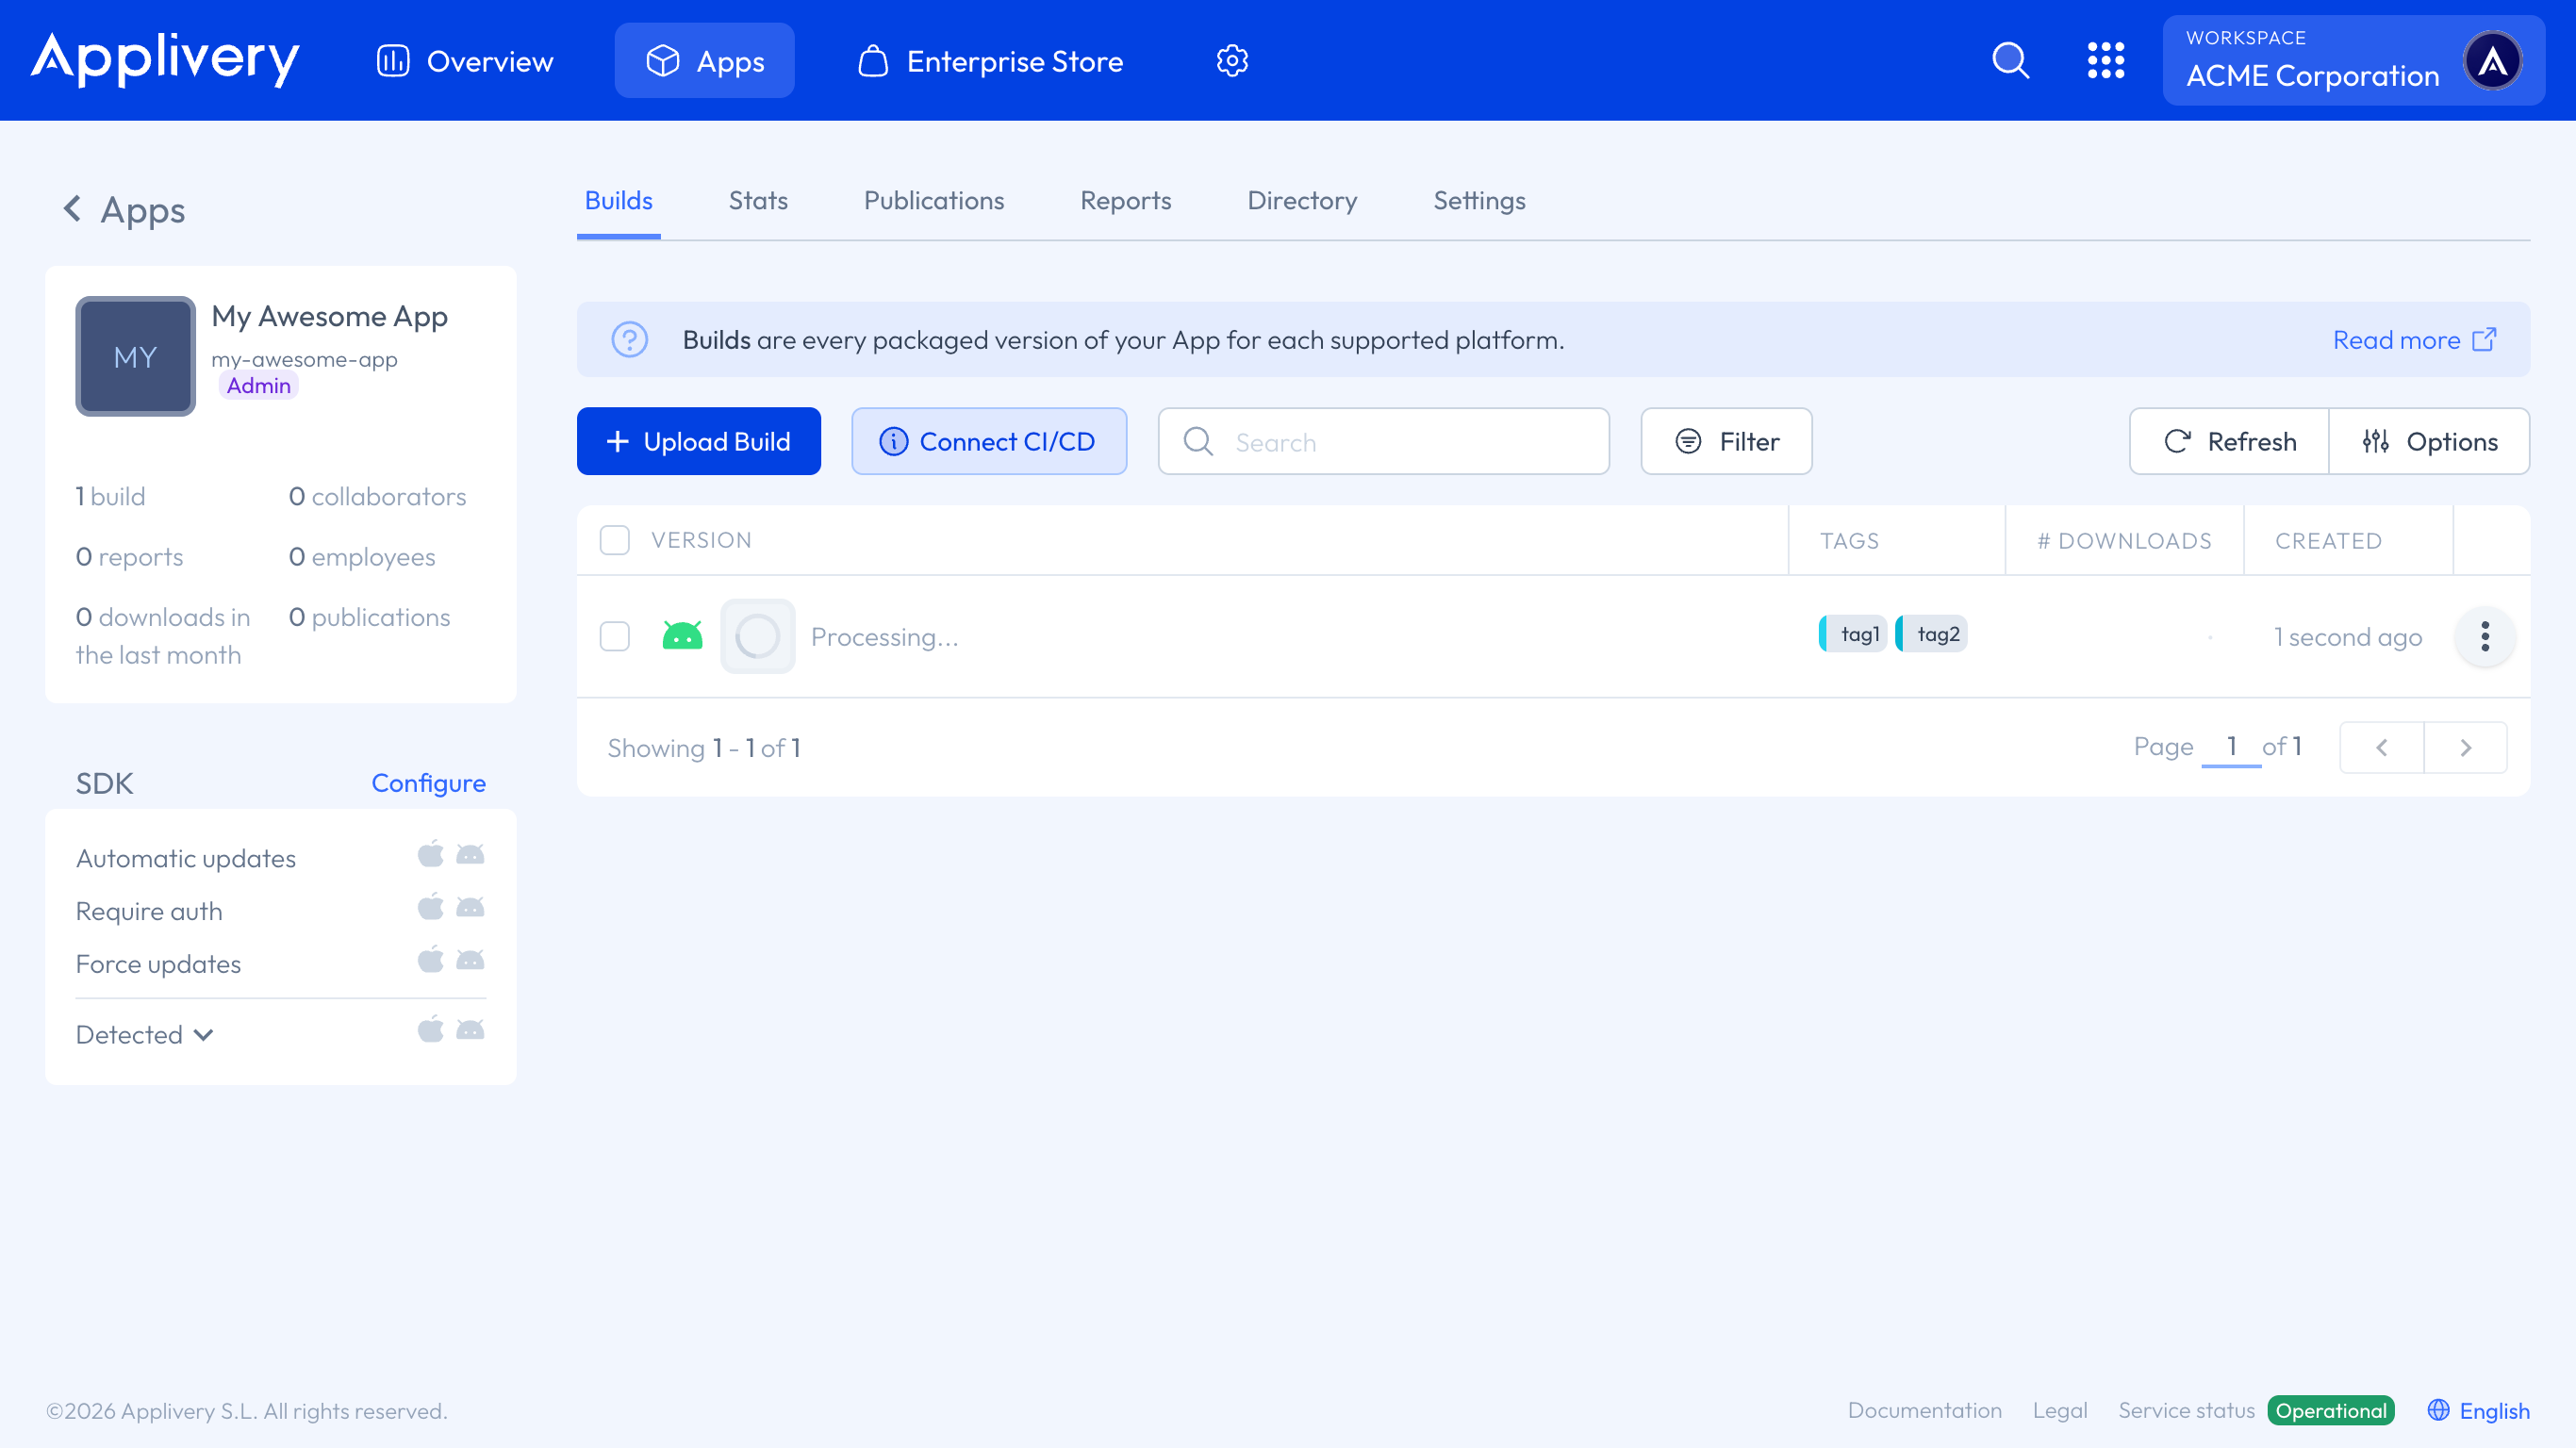
From the Apps section, click the App where you want to upload a Build to.

You will be redirected to the list of Builds (probably empty right now). Now, click the + Upload Build button.

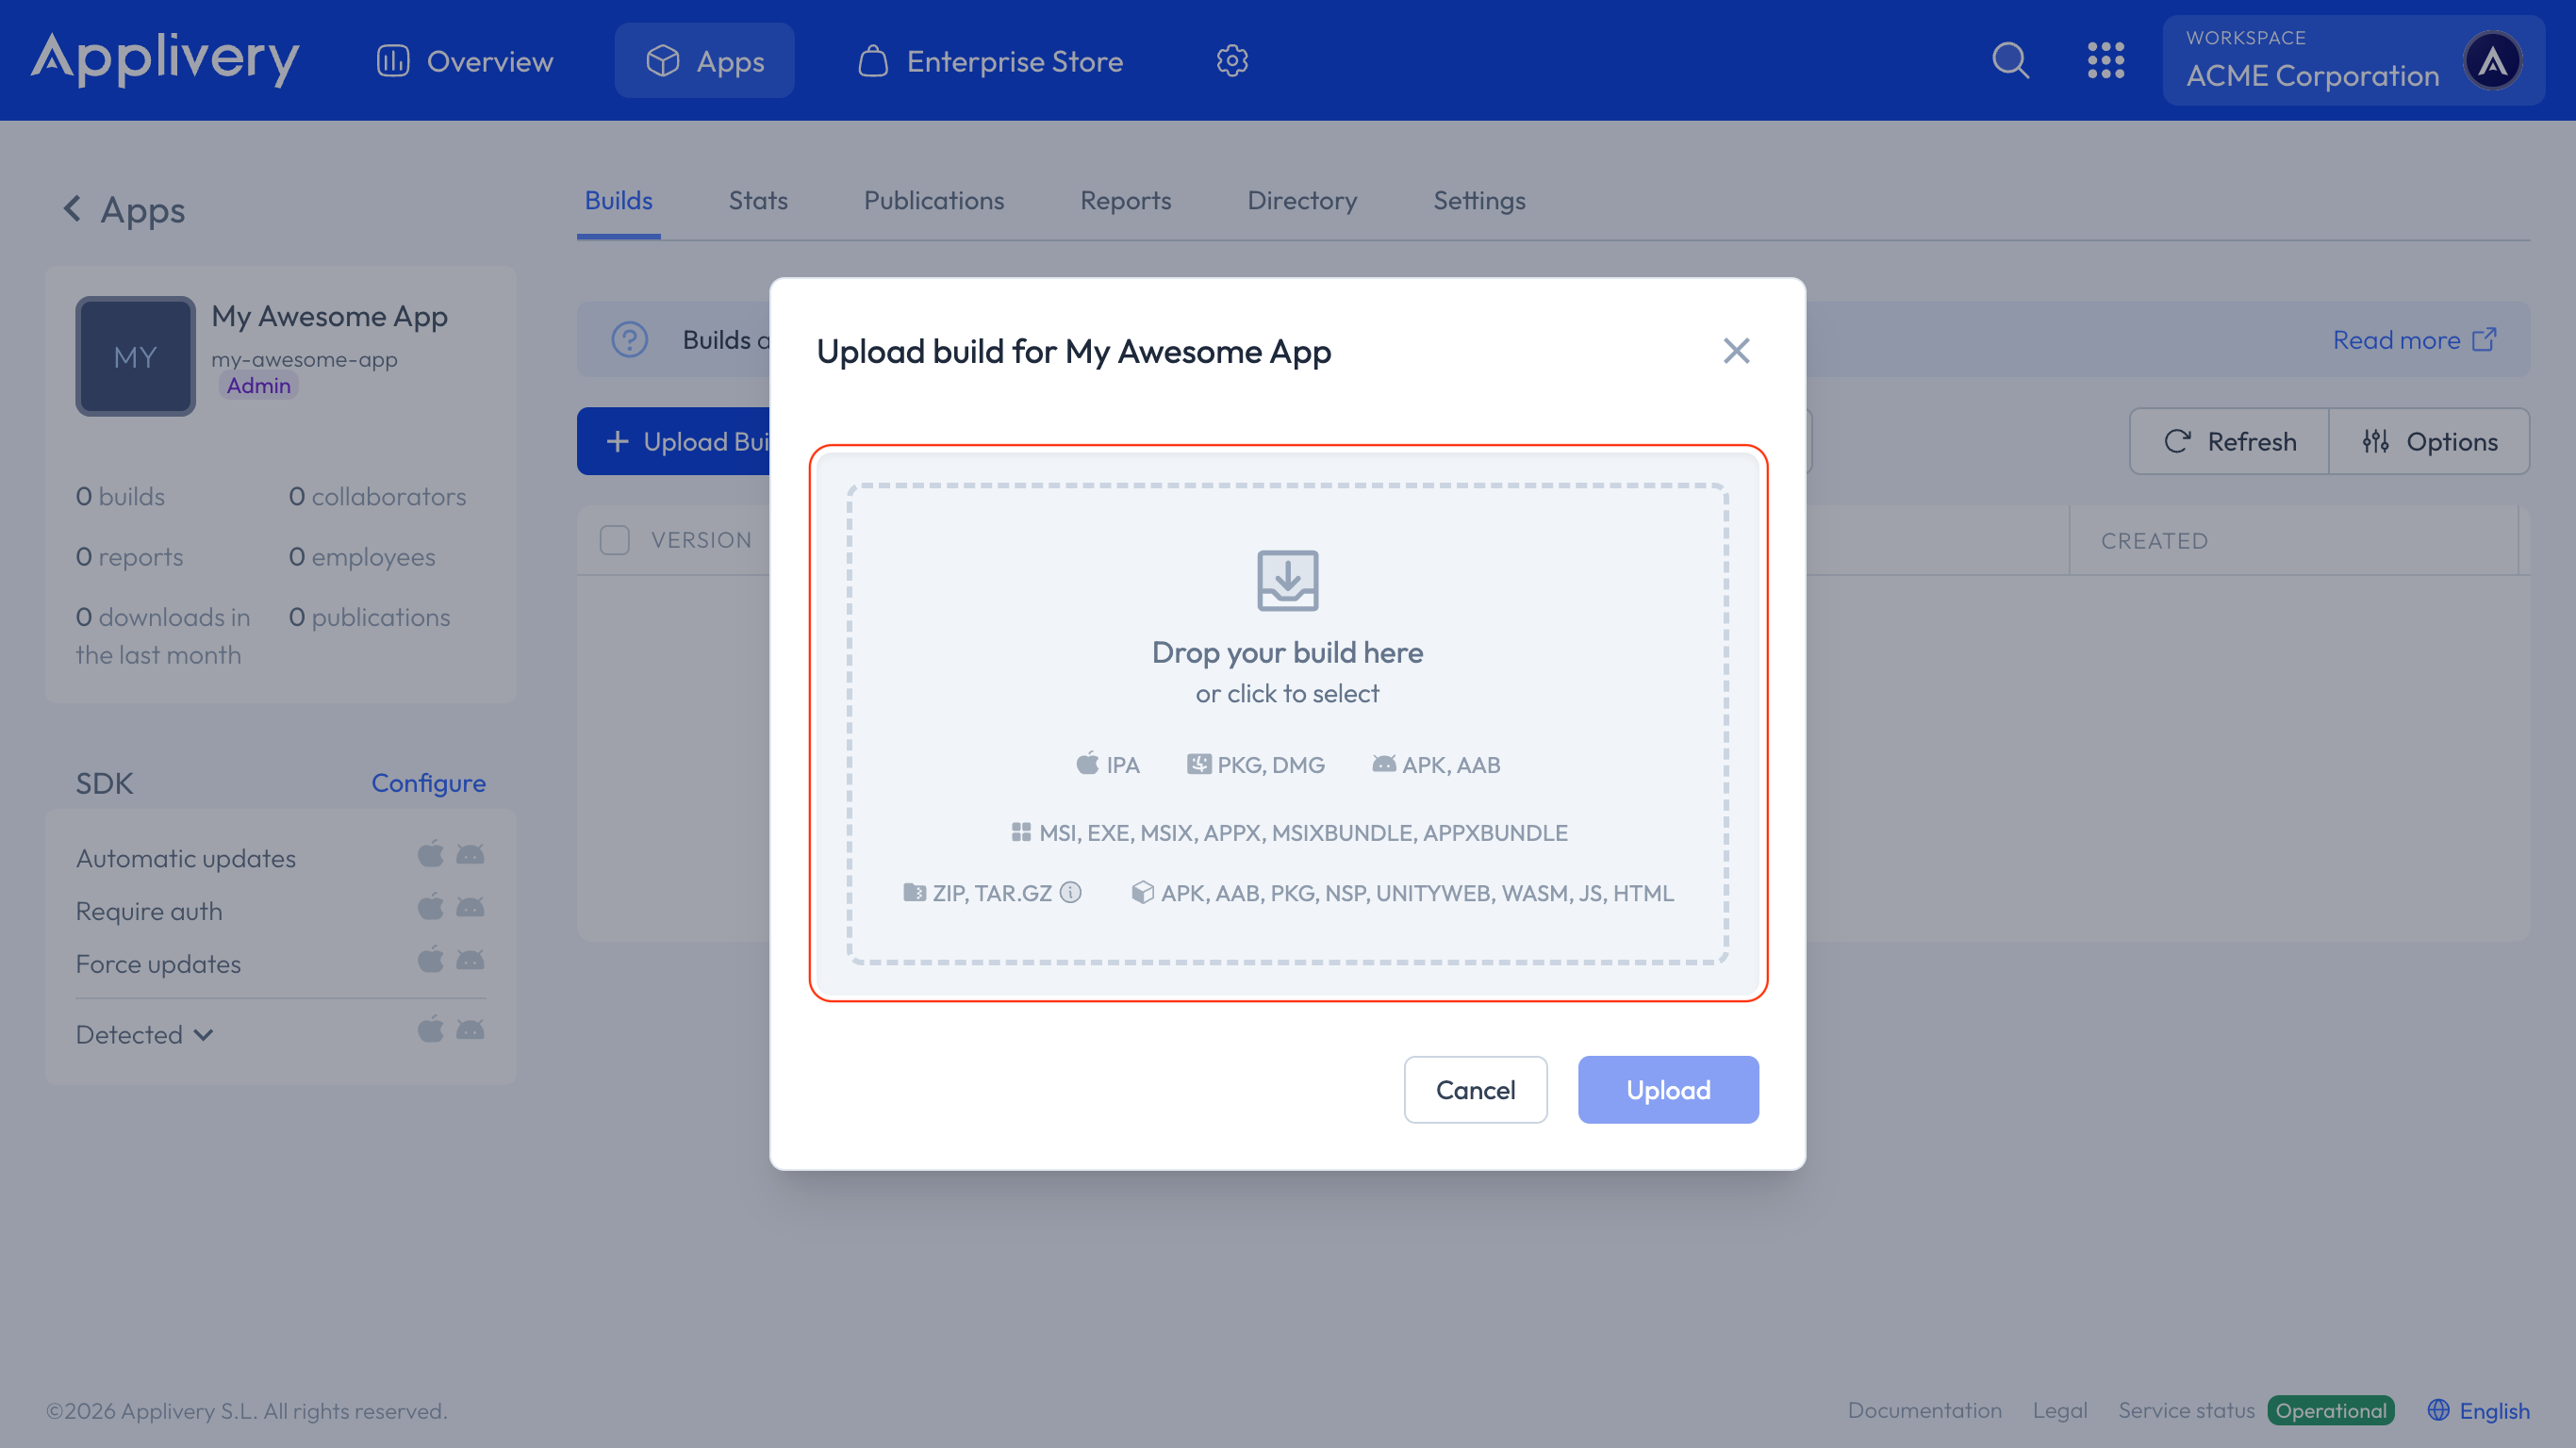
Click in the greyed area to browse your hard disk and find the package you want to upload that must have one of the following file extensions:
.ipafor iOS and iPadOS..pkgor.dmgfor macOS..apkor.aabfor Android..msi,.exe,.msix,.appx,.msixbundleor.appxbundlefor Windows..zipor.tar.gzformats are supported across all platforms.
These are the default file extensions you can upload to your Workspace. You can read more about Custom Build Platforms here.
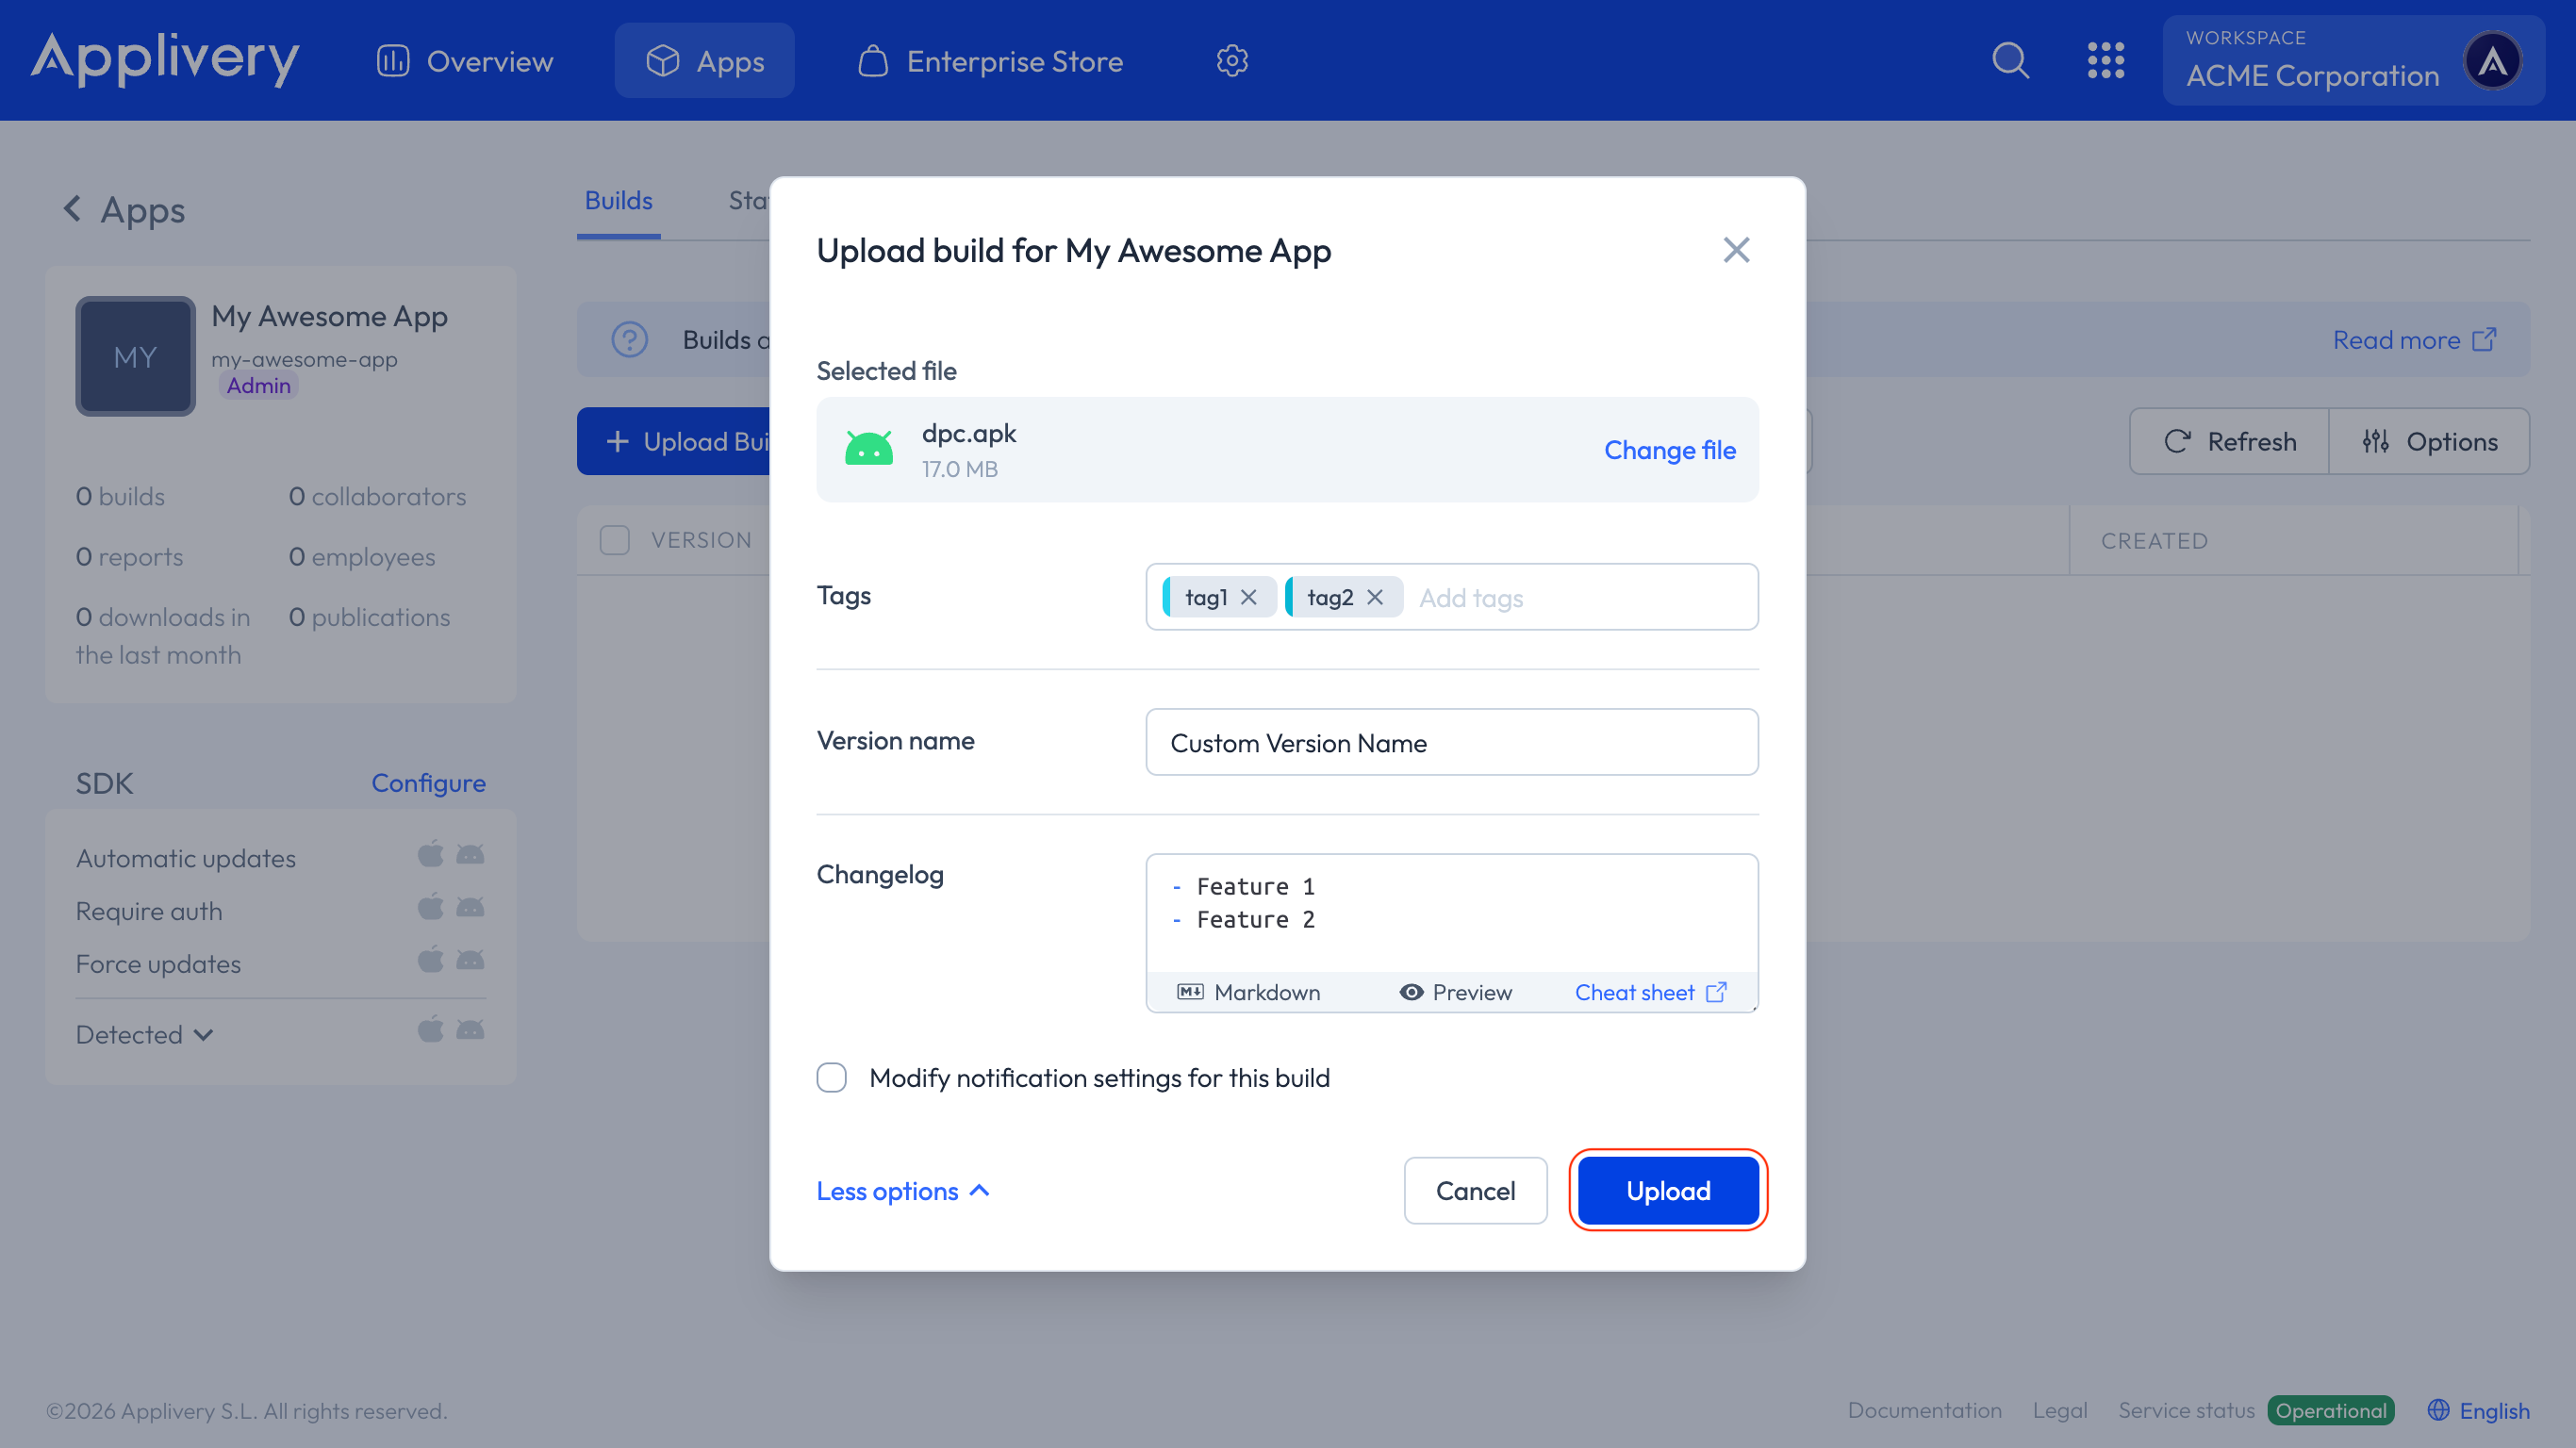
The modal view will automatically change to allow you to select some additional settings, such as the name of the Build, add some tags, add a changelog, or configure the notification settings.
Once you are ready to proceed, click the Upload button to start the upload process.
Once it finishes uploading your Build, you will be back to the list of Builds, and you should find a new row with one of the following states:
Queued: The Build is waiting to be processed by our systems.
Processing: The package is being processed by our systems.
Failed: The package has been analyzed, but we were not able to get any information out of it. You can read more about the Build processing error codes here.
Finished: The Build has been successfully processed. You will see the App icon (if any) and additional information.
Please be patient since it might take a while, depending on the size of your Builds.