
This is a premium feature that might not be available in your current plan. Check the availability on our pricing page.
To configure it, make sure you have admin access to your organization’s Google Workspace. This way, you can either create a new project or get the permissions needed to set up OAuth 2.0 credentials for an existing project.
Please follow the next steps carefully.
Set up your Google Workspace
Log in to the Google Cloud Platform console. This is separate from your Google Workspace console.
A Google Cloud project is required to enable Google Workspace APIs. Navigate to IAM & Admin > Create Project. Name the project and select Create.
Then, navigate to APIs & Services and click on + Enable APIs and Services. This action will load the API Library. Once in the library, search for admin, choose the Admin SDK API and proceed to enable it.
Return to the APIs & Services page and go to Credentials. You will see a warning that you need to configure a consent screen. Select Configure Consent Screen.
Verify the project name listed in the upper left corner near the logo to make sure that you are using the correct project.

Select Internal as the User Type. This choice restricts authorization requests to users within your Google Workspace, preventing access for individuals with standard Gmail addresses.
Provide a name for the application, include a support email, and fill in the contact fields. Keep in mind that the Google Cloud Platform requires an email in your account.
You can leave the Scopes page empty.
Once the summary page loads, save your settings and exit.
Return to the Credentials page and select + Create Credentials > OAuth client ID.

Choose Web application as the Application type.
For the Authorized redirect URIs box, input:
https://mdm-portal.applivery.io/login/<workspace_id>.
Google will provide the OAuth Client ID and Secret values. Remember that the secret field functions as a password and should be kept confidential. Copy both values.
On your Google Admin console, go to Security > Access and data control > API controls, open the Settings menu, and enable the Trust internal, domain-owned Apps option.

Get the Service Provider information from Applivery
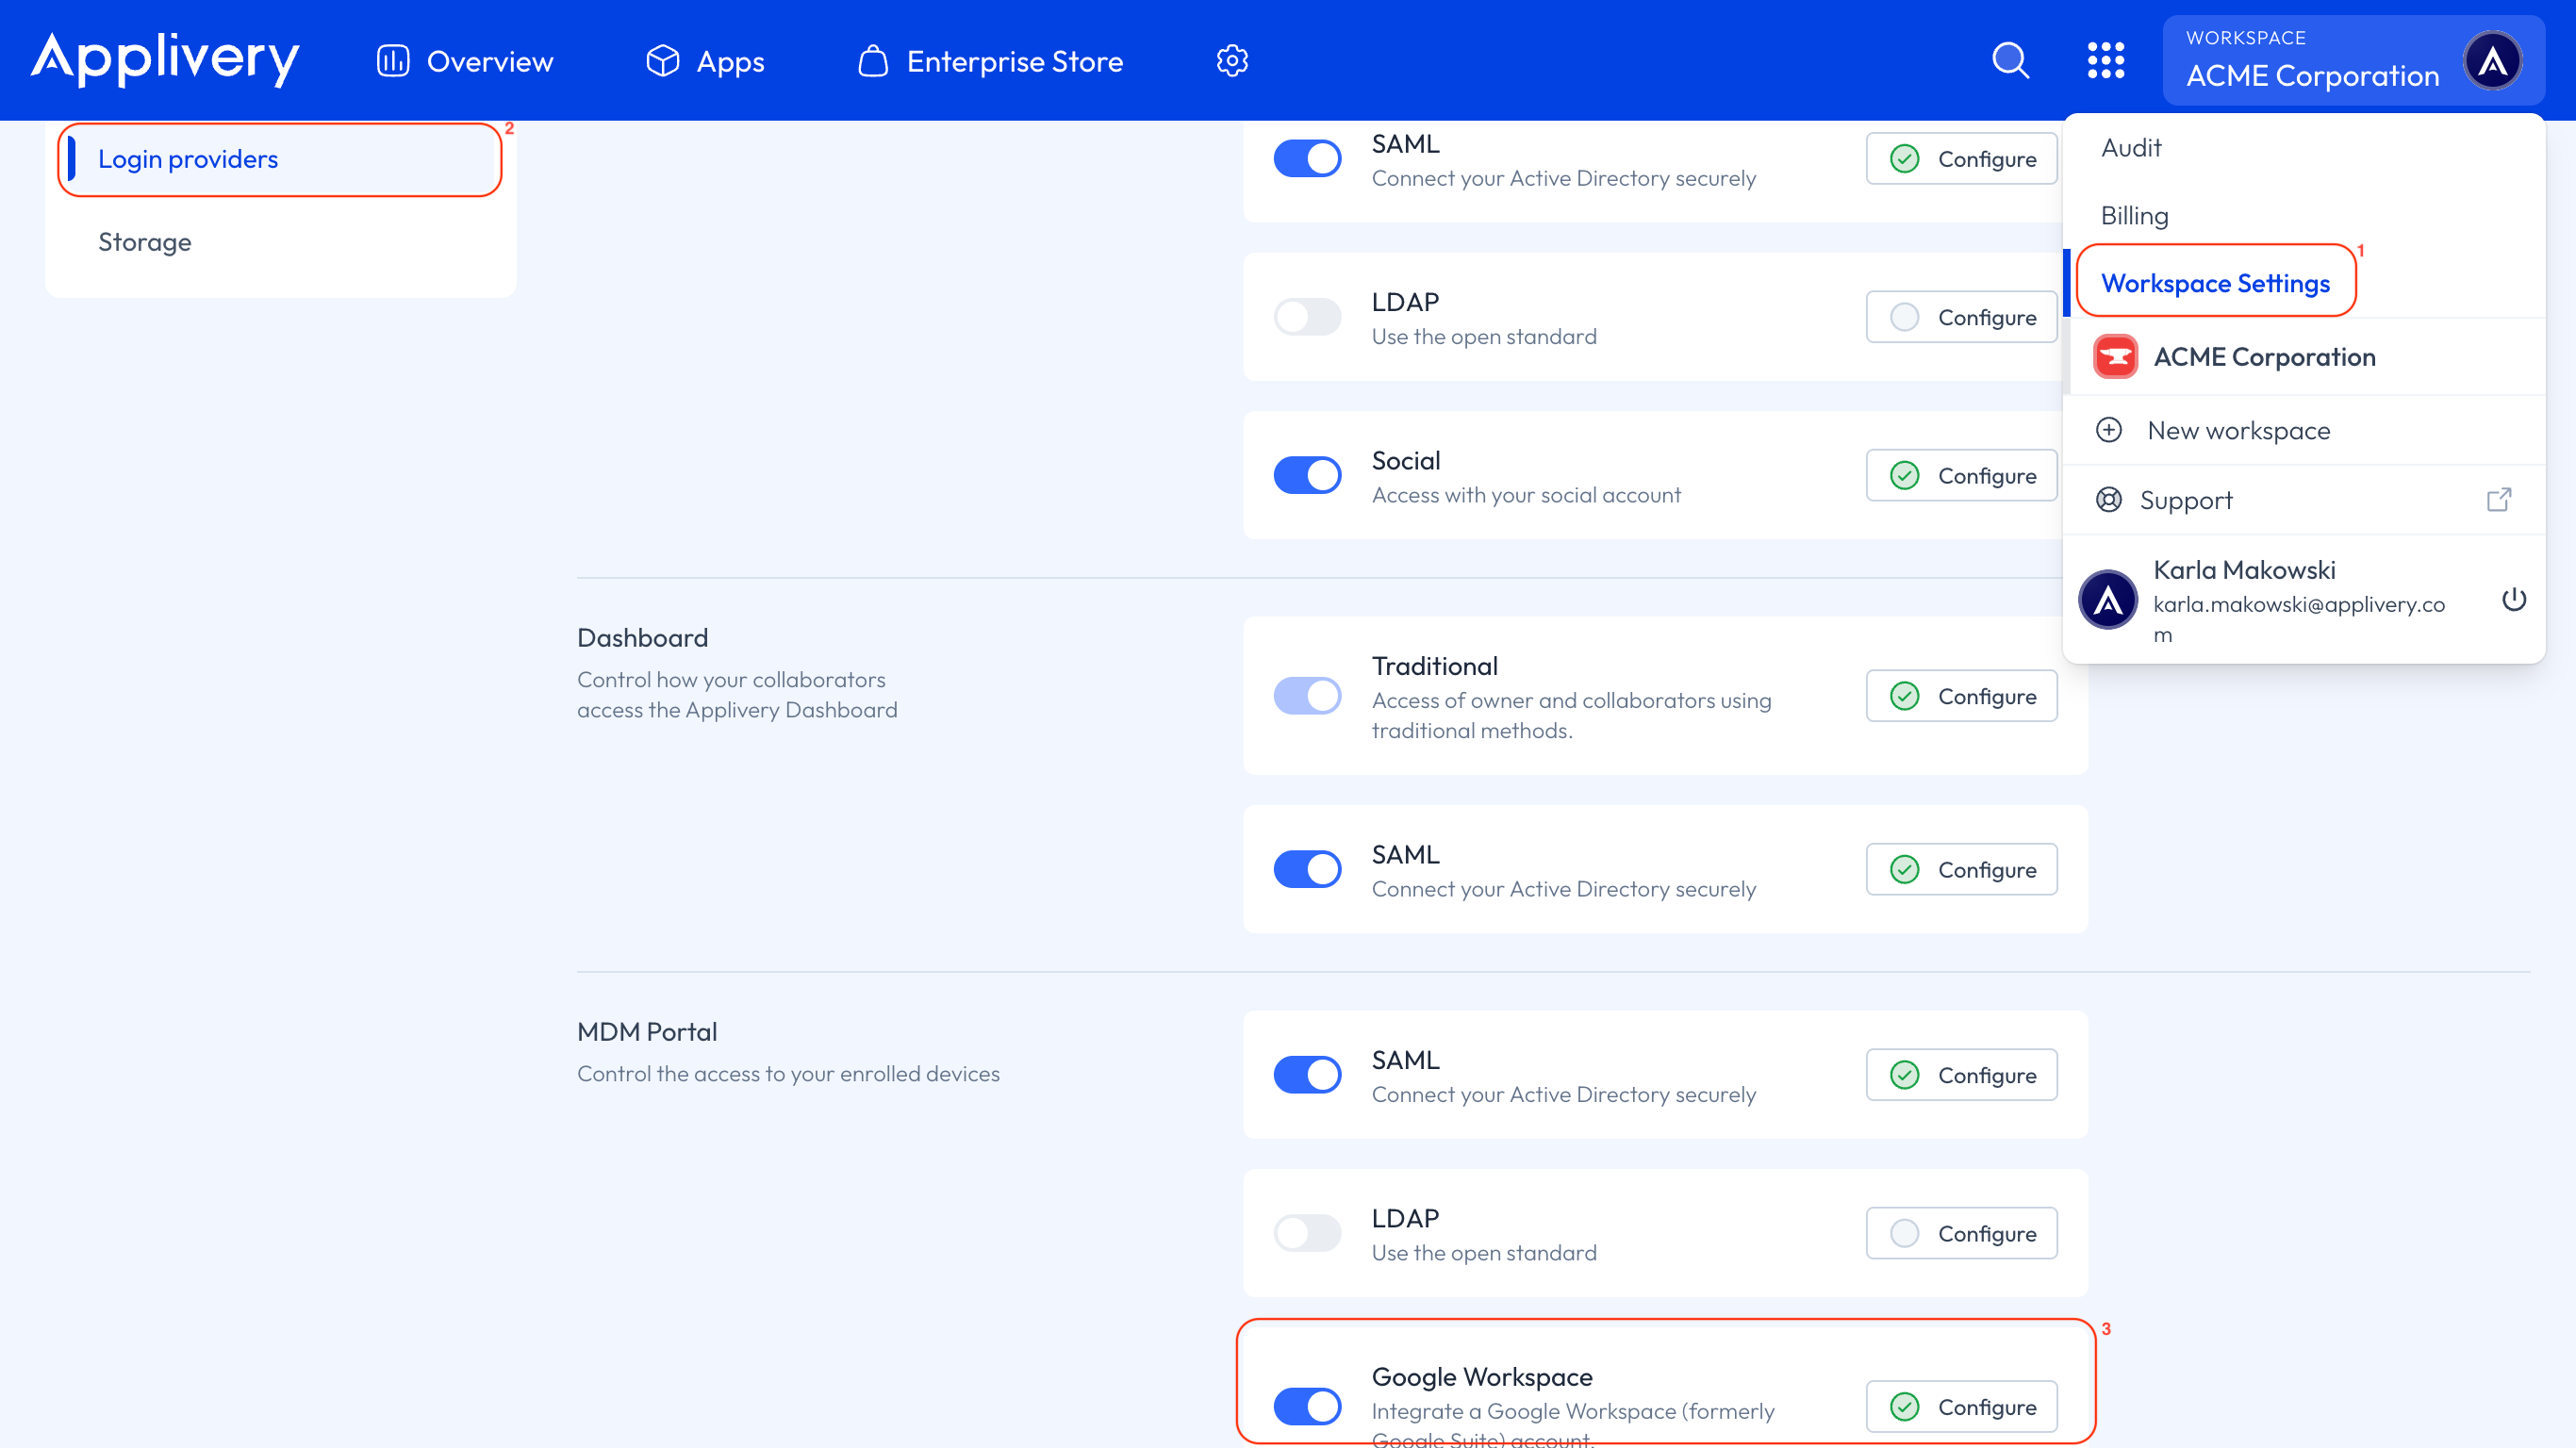
Once in the Applivery Dashboard, go to your Workspace Settings (1) from the top dropdown menu, then open Login providers (2) in the left-hand menu and click the Google Workspace option under the MDM Portal section (3).
You will see your Google Workspace configuration, where you will need to input the Client ID and Client Secret fields.
