
App Live is BrowserStack's real-device cloud testing platform. It lets developers and QA teams run mobile Apps on real iOS and Android Devices hosted in the cloud — without a physical device lab. You can interact with Apps as end users would, test across hundreds of device and OS combinations, and debug issues in real time.
The Applivery integration with App Live allows you to connect your Applivery Workspace directly to the App Live dashboard. Once connected, all your Apps and Builds are available for testing in BrowserStack without any manual file uploads — you select an App, pick a Device, and start a live session.
Prerequisites
Before setting up the integration, make sure you have:
A BrowserStack account with App Live access. A free trial is available if you don't have one yet.
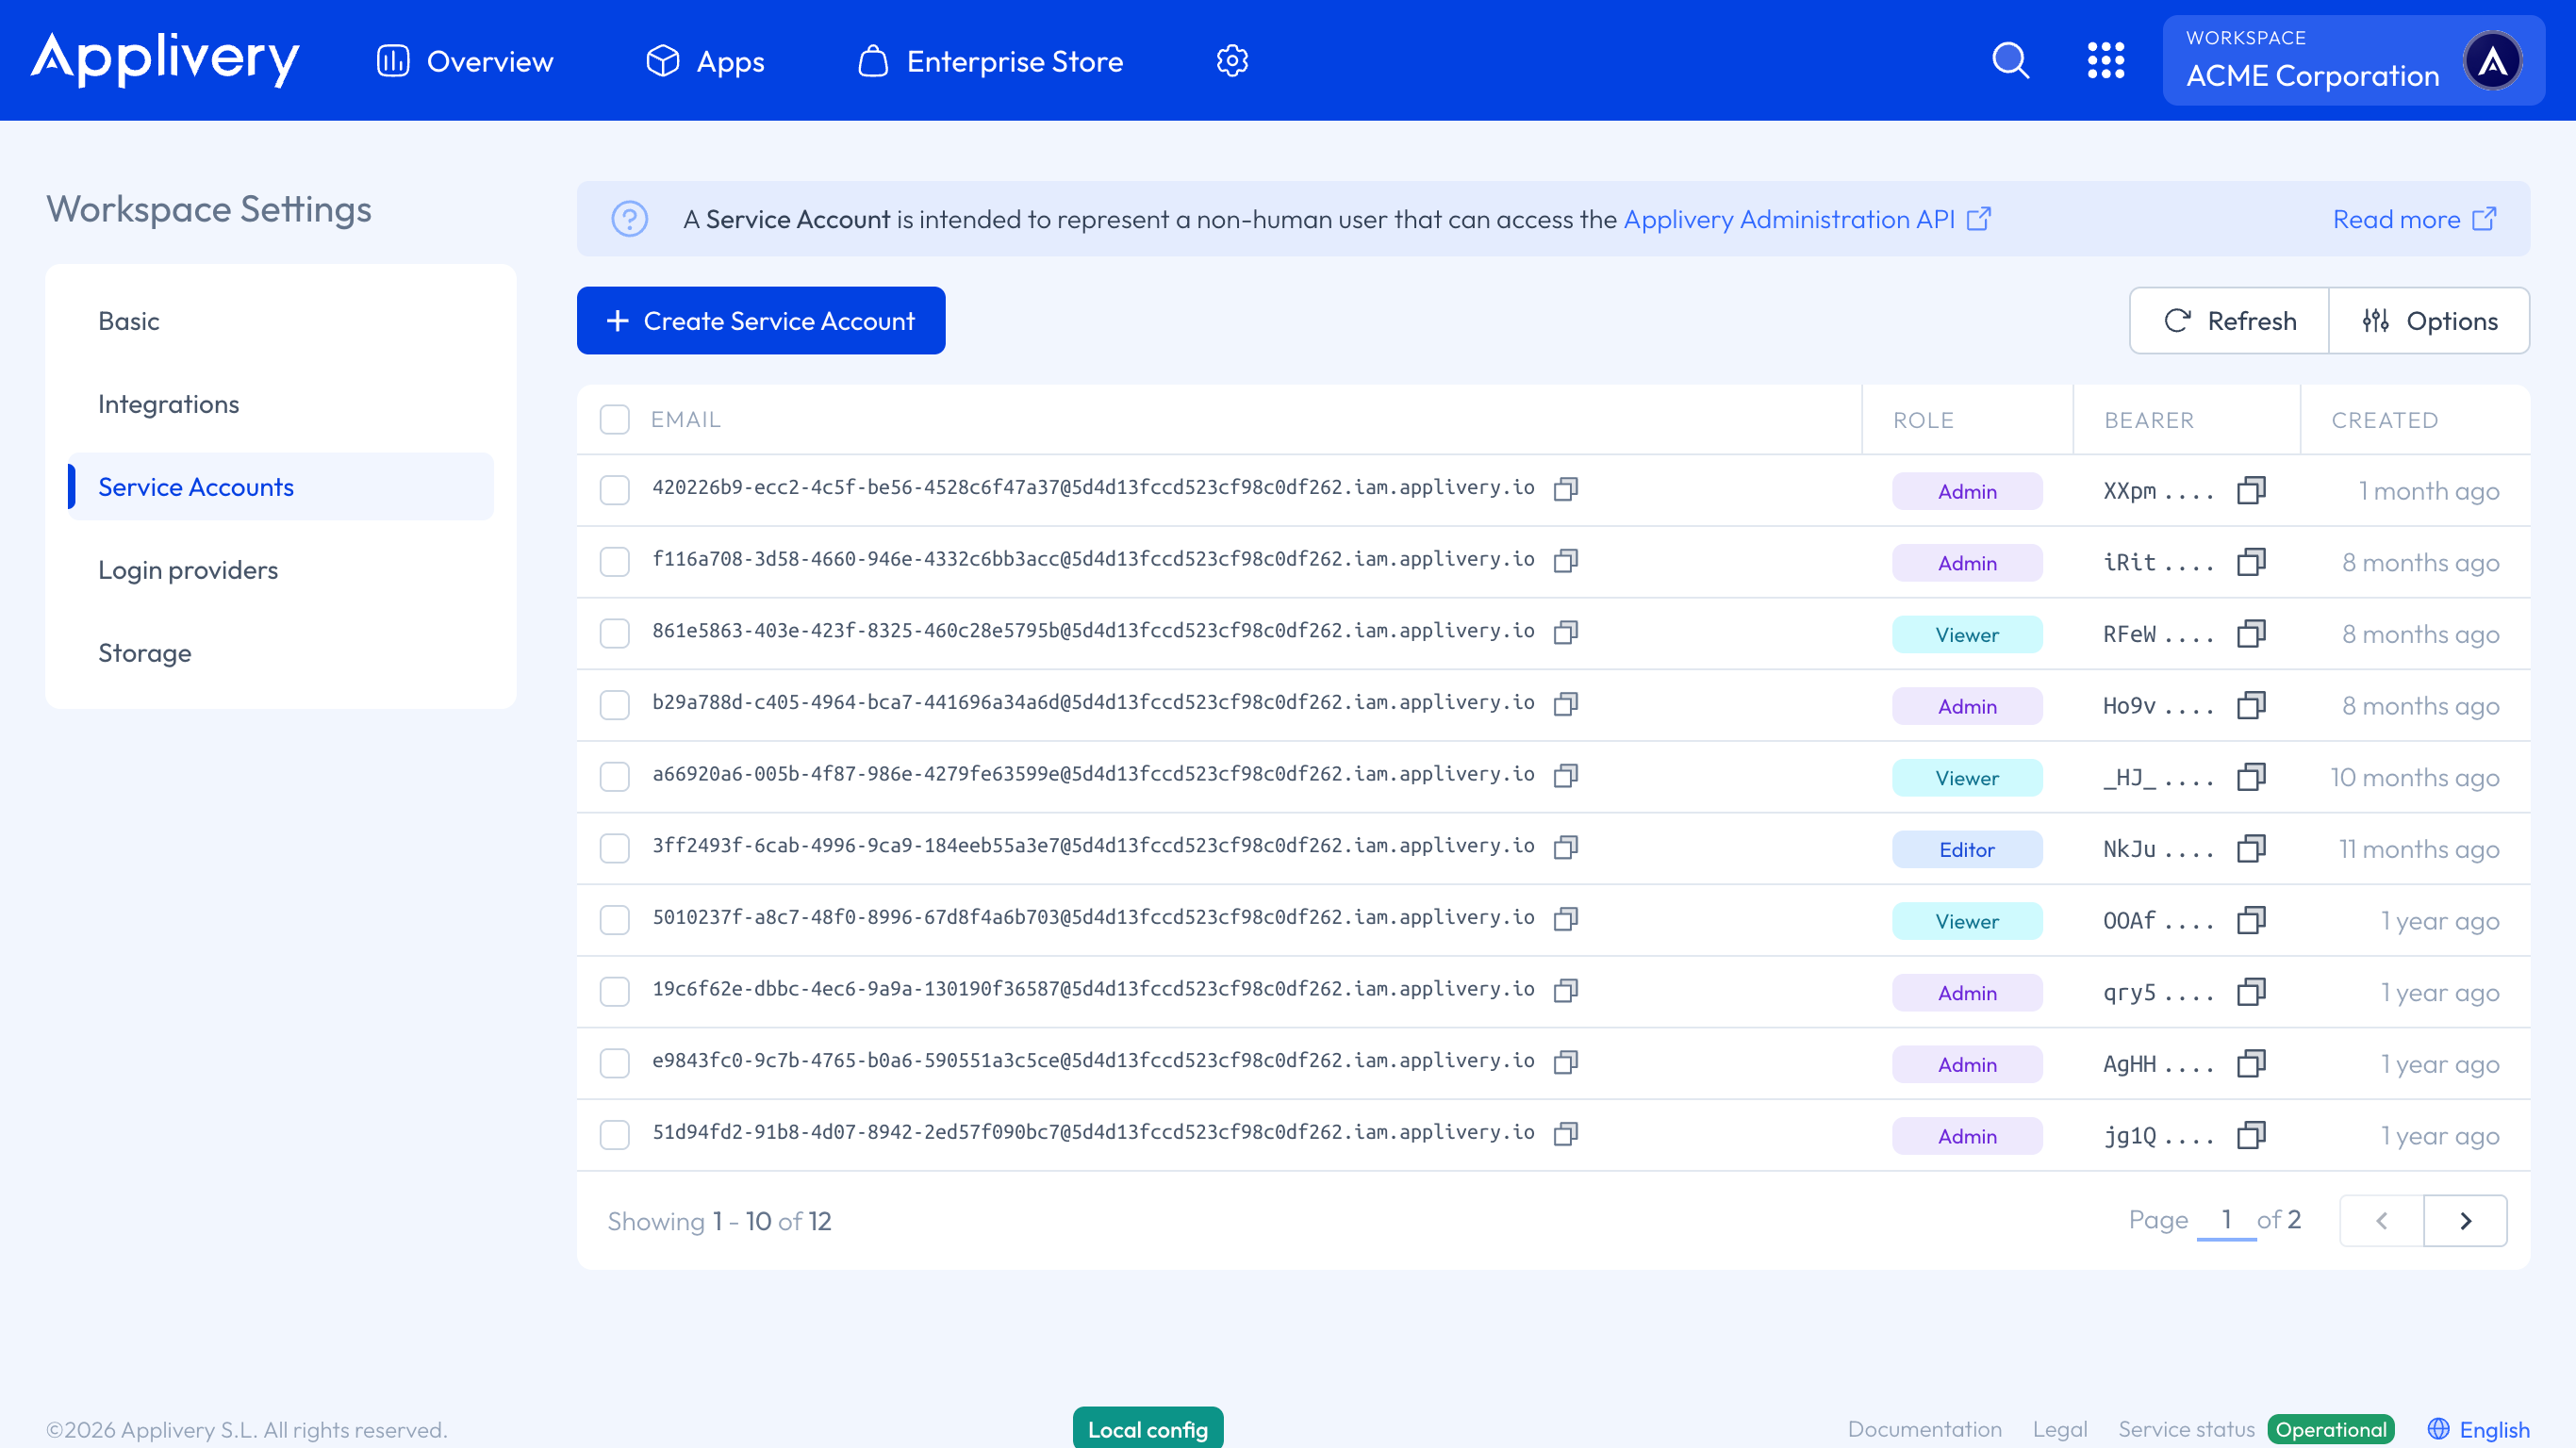
An Applivery Service Account and its corresponding Bearer token. App Live uses these credentials to authenticate against your Applivery Workspace. See Service Accounts for instructions on creating one.
Connect your Applivery Workspace to App Live
Once in the App Live Dashboard, in the Select Source 1 panel, click Integrate with Applivery 2. Enter the Bearer token 3 from your Applivery Service Account and click Connect Workspace 4.

Once authenticated, you will be redirected to the App Live dashboard with your Applivery Workspace connected. Your Apps and projects will now be available in the Select Source panel.
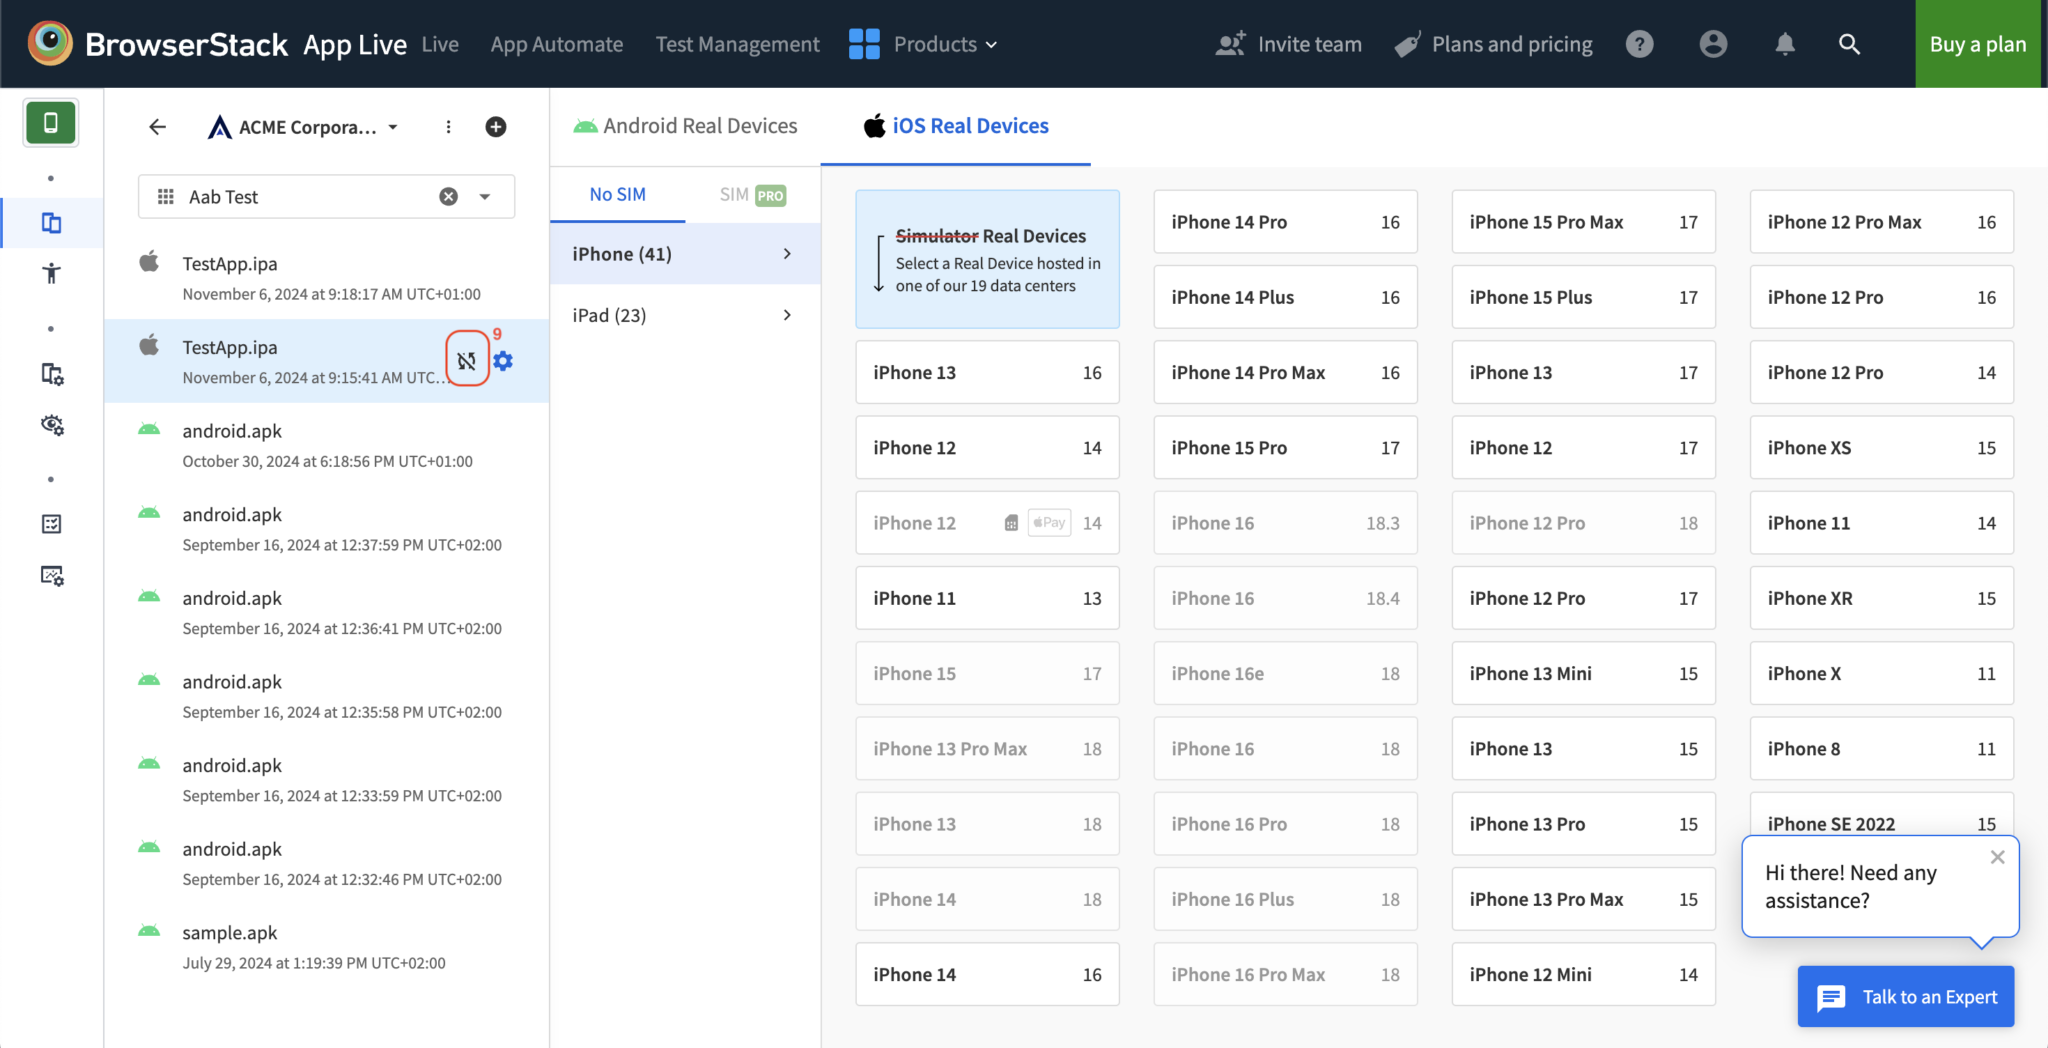
Browsing Apps and Releases
App Live organizes your Applivery data using a three-level hierarchy:
Project → Apps → Releases
Projects correspond to your Applivery Apps. The list includes both projects you have added yourself and projects shared with you by teammates.
Apps within each project show all applications associated with it.
Releases show all Builds available for testing within a given App.
Select a project, then an App, then a release to access the available Devices and start a test session.
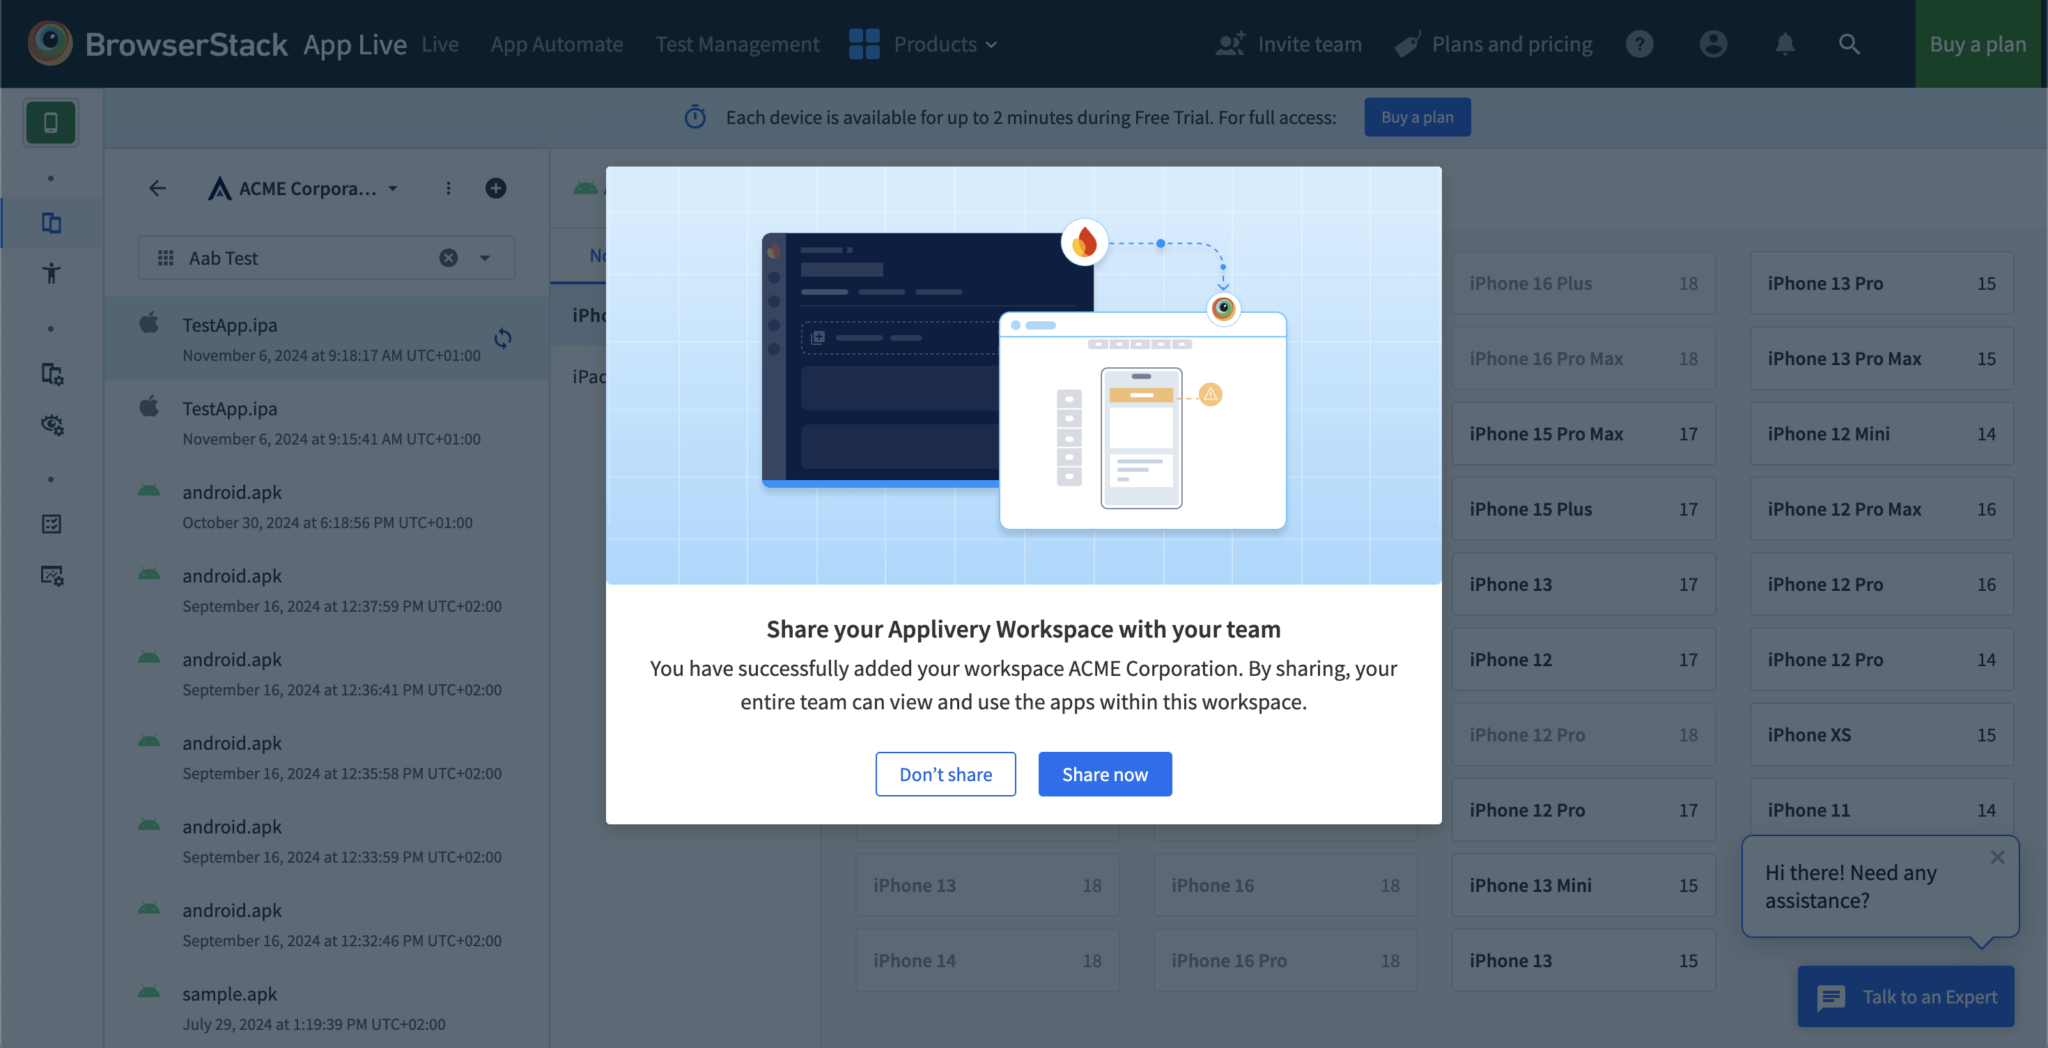
Sharing Projects with your Team
Once you have added a project, you can share it with your team. Shared projects appear on your teammates' App Live dashboards under the same project list.
You can only share projects that you have personally added. Projects shared with you by others cannot be re-shared.
In the project list, click the ⋮ 5 (more options) icon next to the project name, select Share 6, and confirm by clicking Share 7 in the dialog.
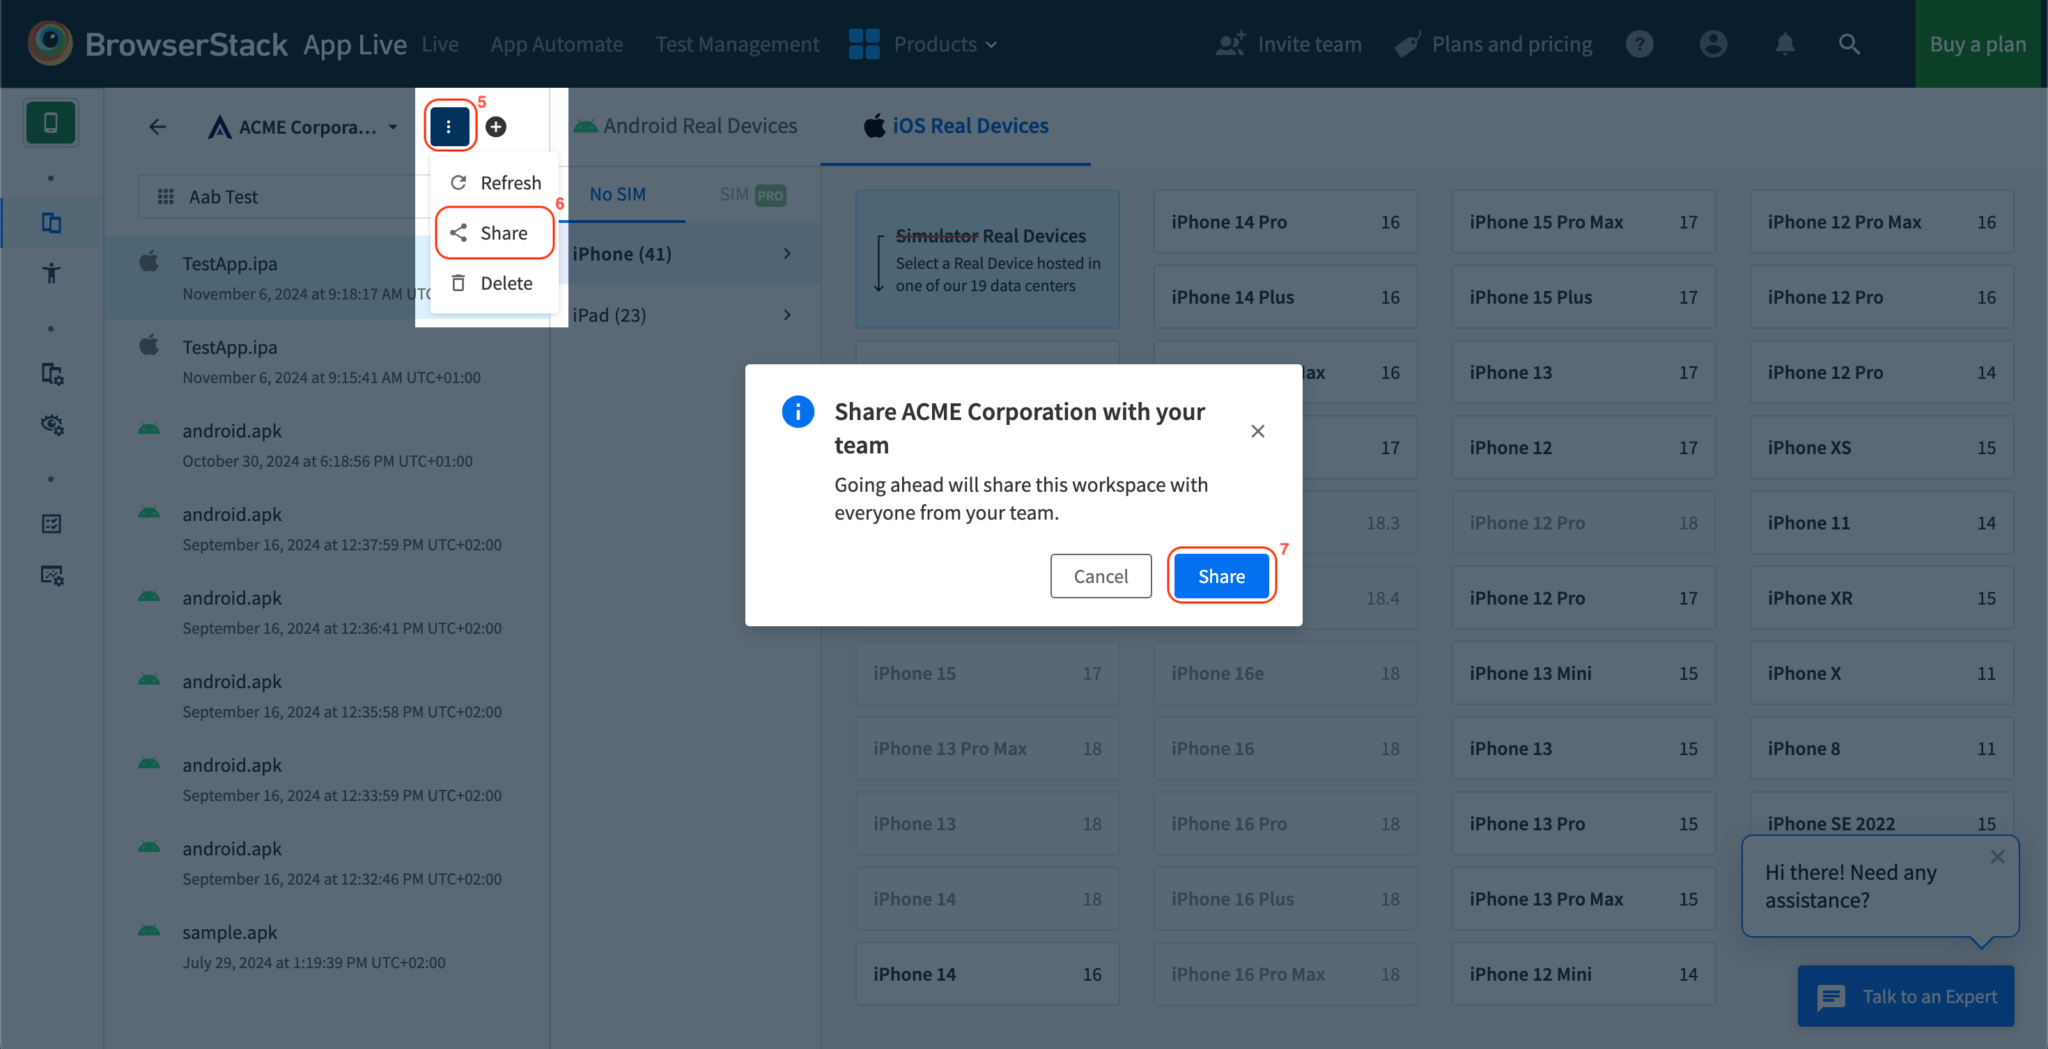
The project is now accessible to your teammates in their App Live views.
Synchronizing App Releases with BrowserStack
Syncing an App release uploads it to BrowserStack Cloud, which makes it available for live sessions and unlocks advanced configuration options such as large app support and video injection. Configurations applied after syncing are persistent for that release.
Sync a release
Select the project and app you want to sync.
Click the synchronization icon 8 next to the App name.
Wait for the process to complete. The sync icon changes to an unsync button when done, and configuration options become available.

Unsync a release
Unsyncing removes the release from BrowserStack Cloud. After unsyncing, the App will no longer be available for testing in App Live, and configurations cannot be applied.
In the App list, click the unsync icon 9 next to the App name.
The release is removed from BrowserStack Cloud.
Launching an App Live Session
Open the App Live dashboard and select a project from the list.
Choose the App you want to test.
Select a release — the latest version is automatically synced to ensure you are testing the most recent build.
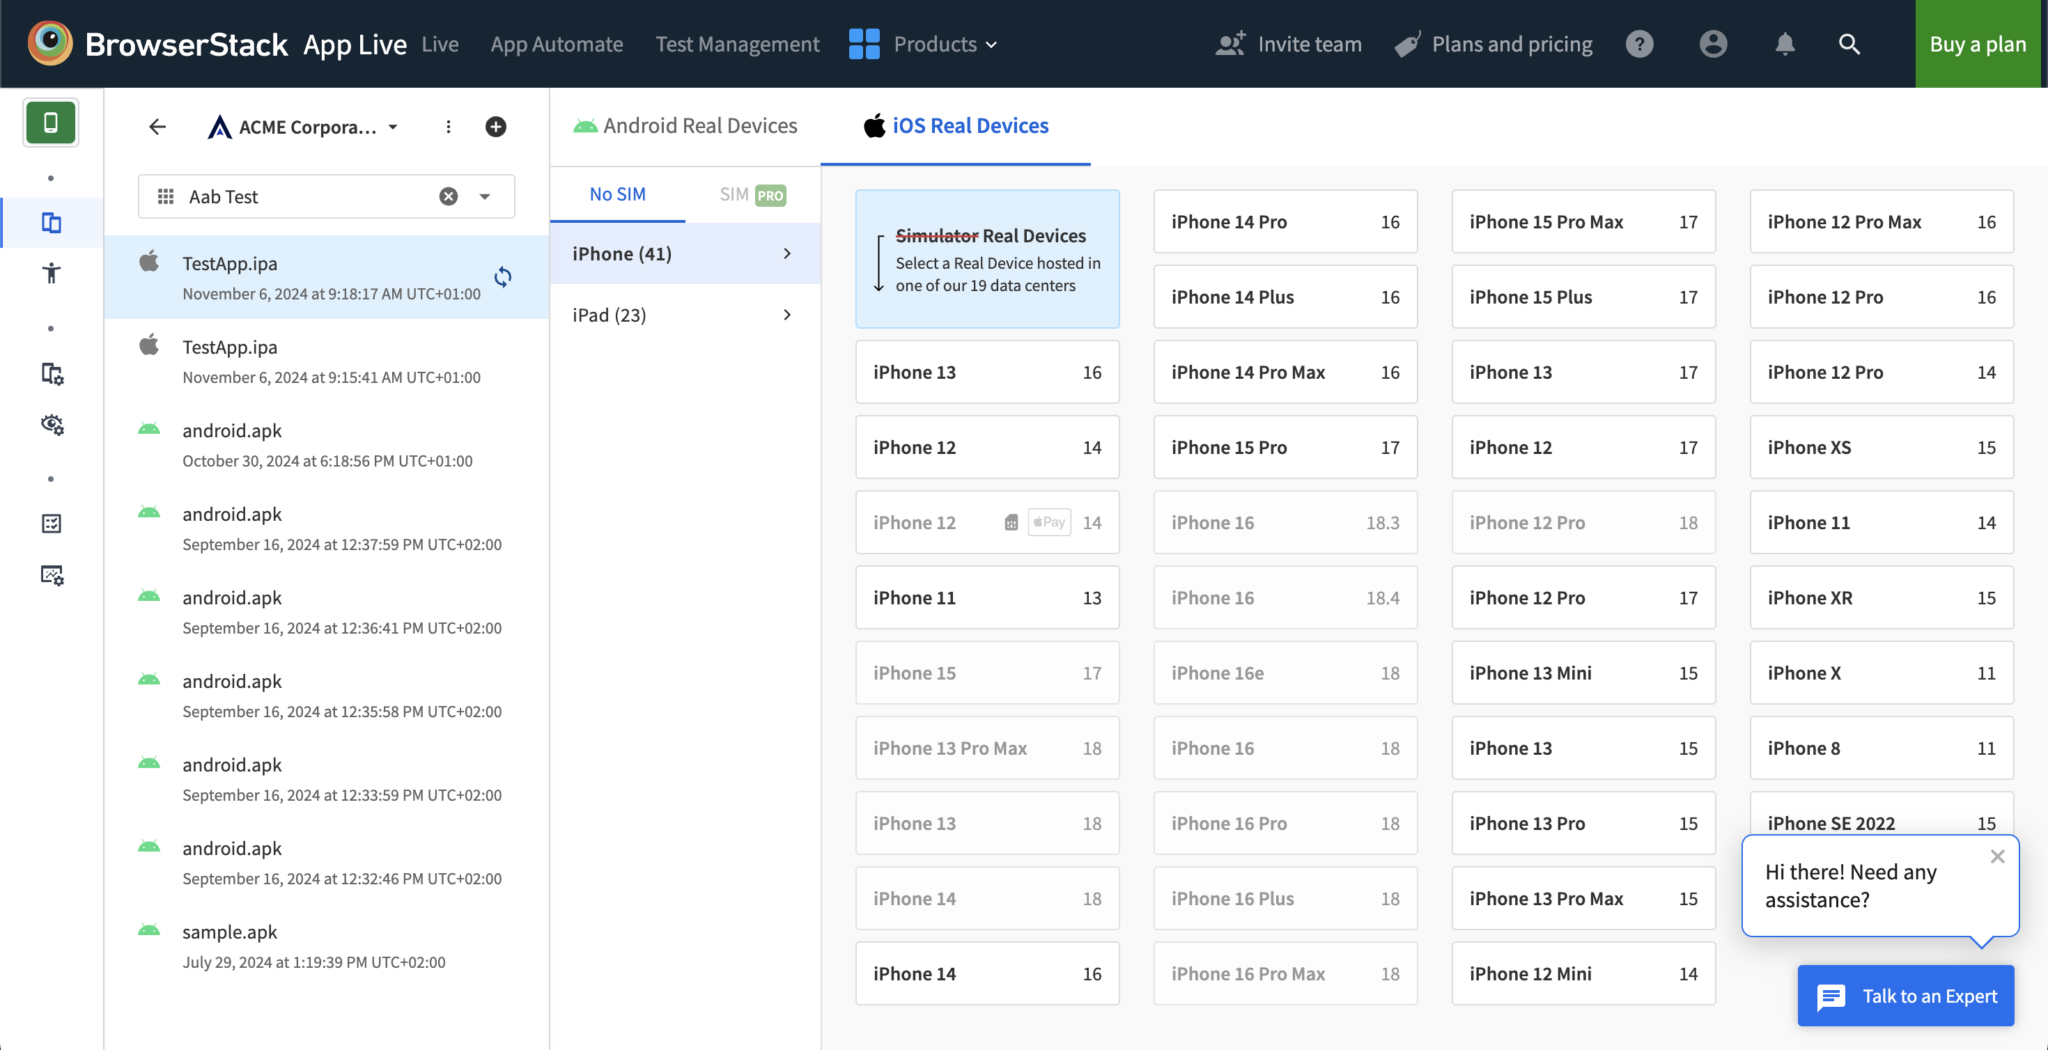
Choose a Device from the available options.
The session launches with your selected App and device.

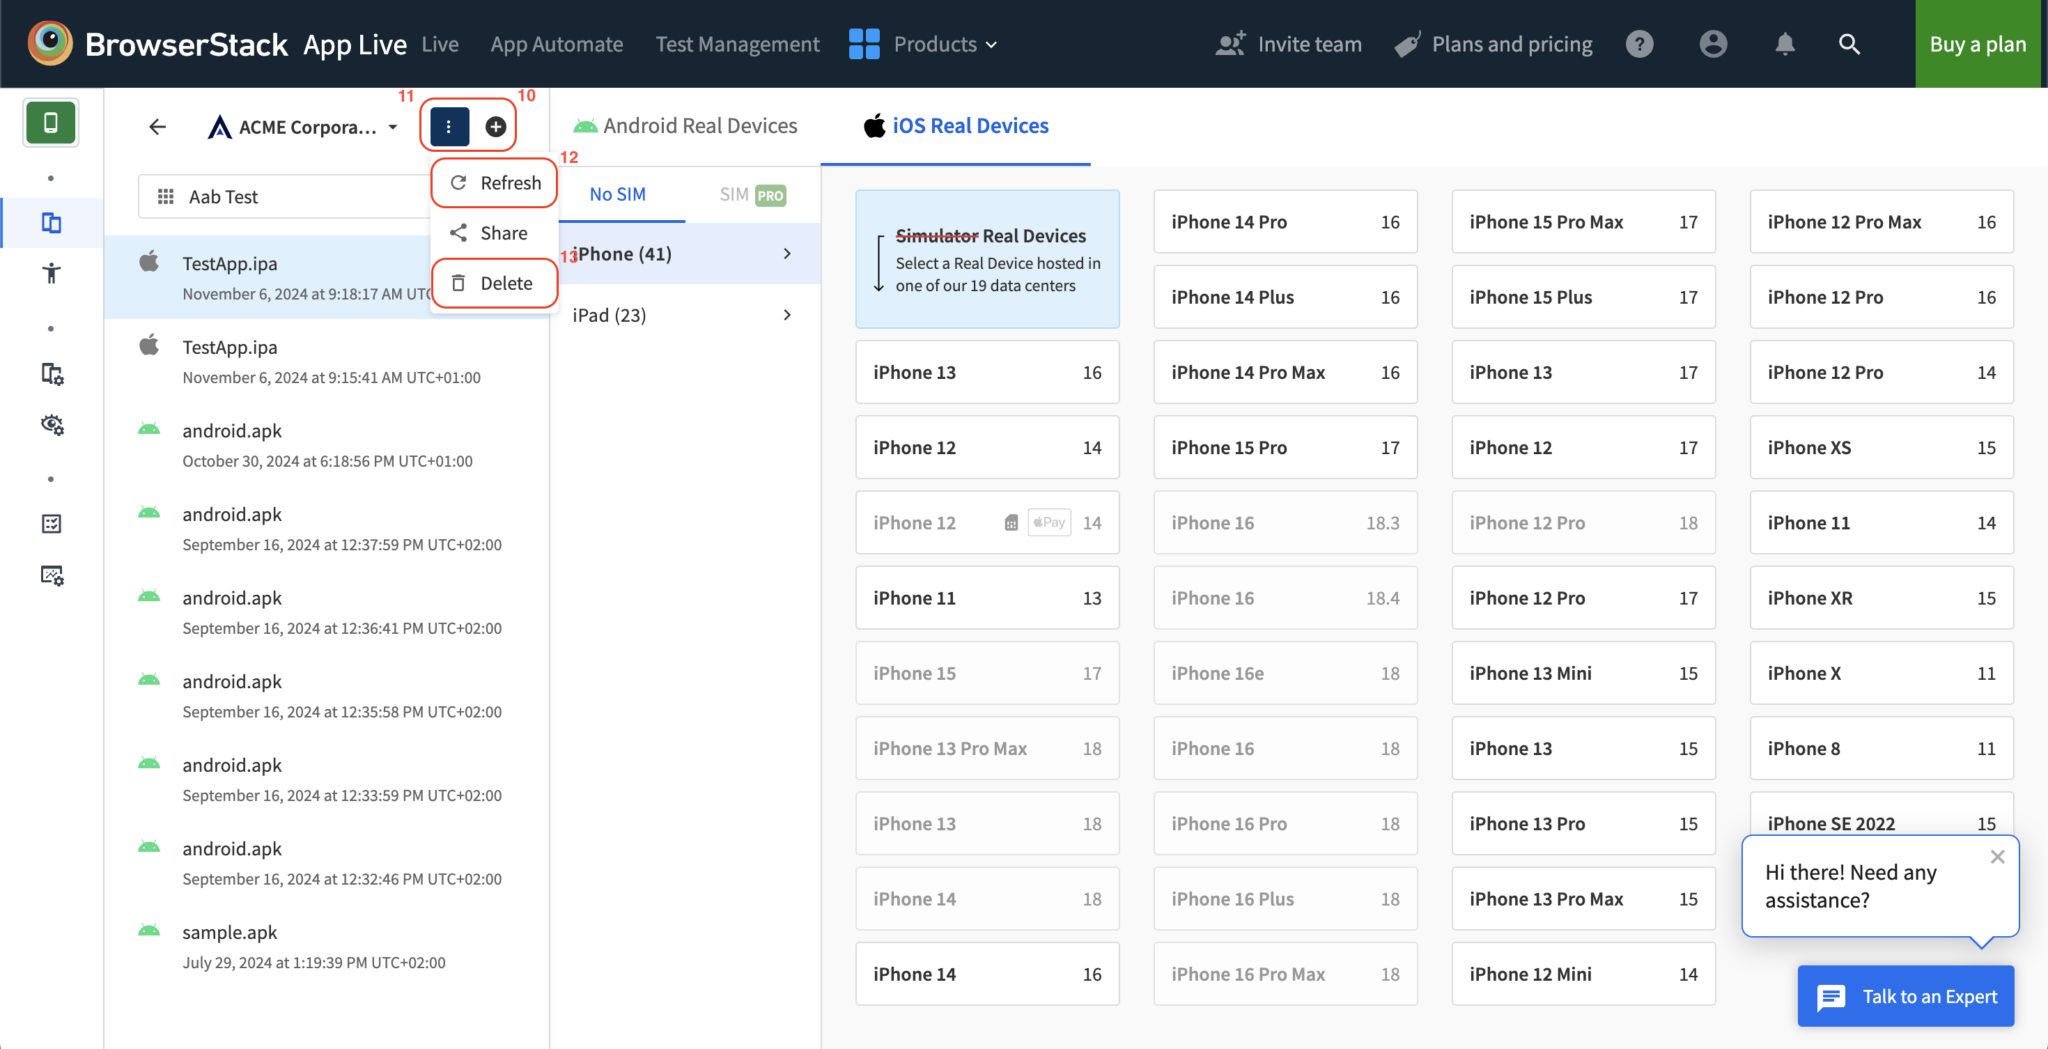
Managing Projects
Add a project
Click the + 10 icon next to the project list in the App Live dashboard and follow the Applivery integration flow.
Refresh a project
Select the project from the list.
Click the ⋮ 11 icon and choose Refresh 12.
This pulls the latest Apps and releases from your Applivery Workspace.
Delete a single project
Select the project.
Click ⋮ and choose Delete 13.
Confirm the deletion.
The project is removed from your App Live view. Projects shared with you by others are not affected.
Disconnect your Applivery Workspace
To remove all projects you have personally added and disconnect your Applivery Workspace from App Live:
Go to the App Live Integrations page.
Find the Applivery tile and click Disconnect.
This removes all projects you added. Projects shared with you by teammates remain unaffected.